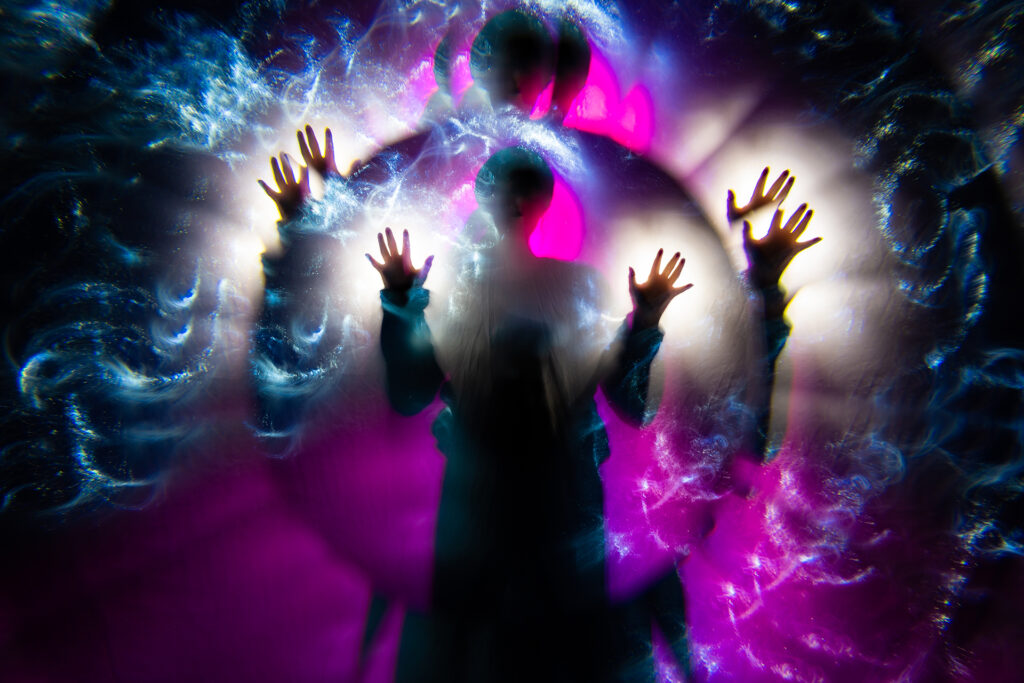
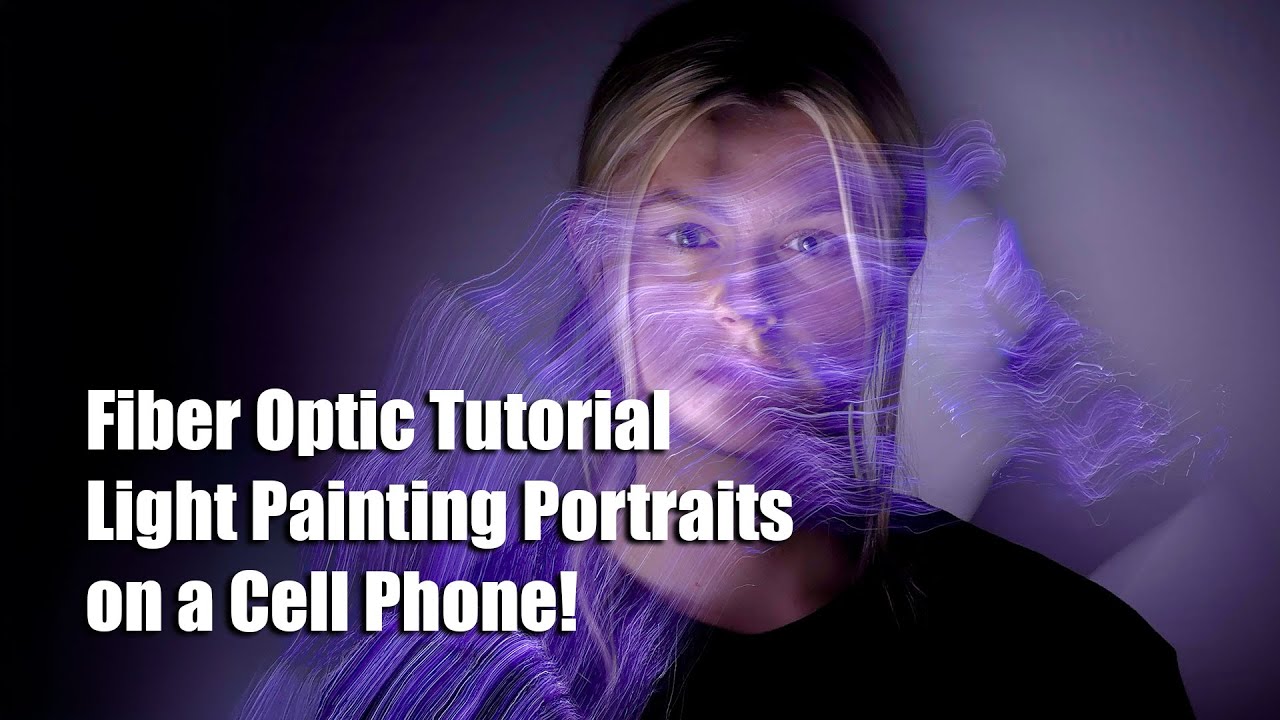
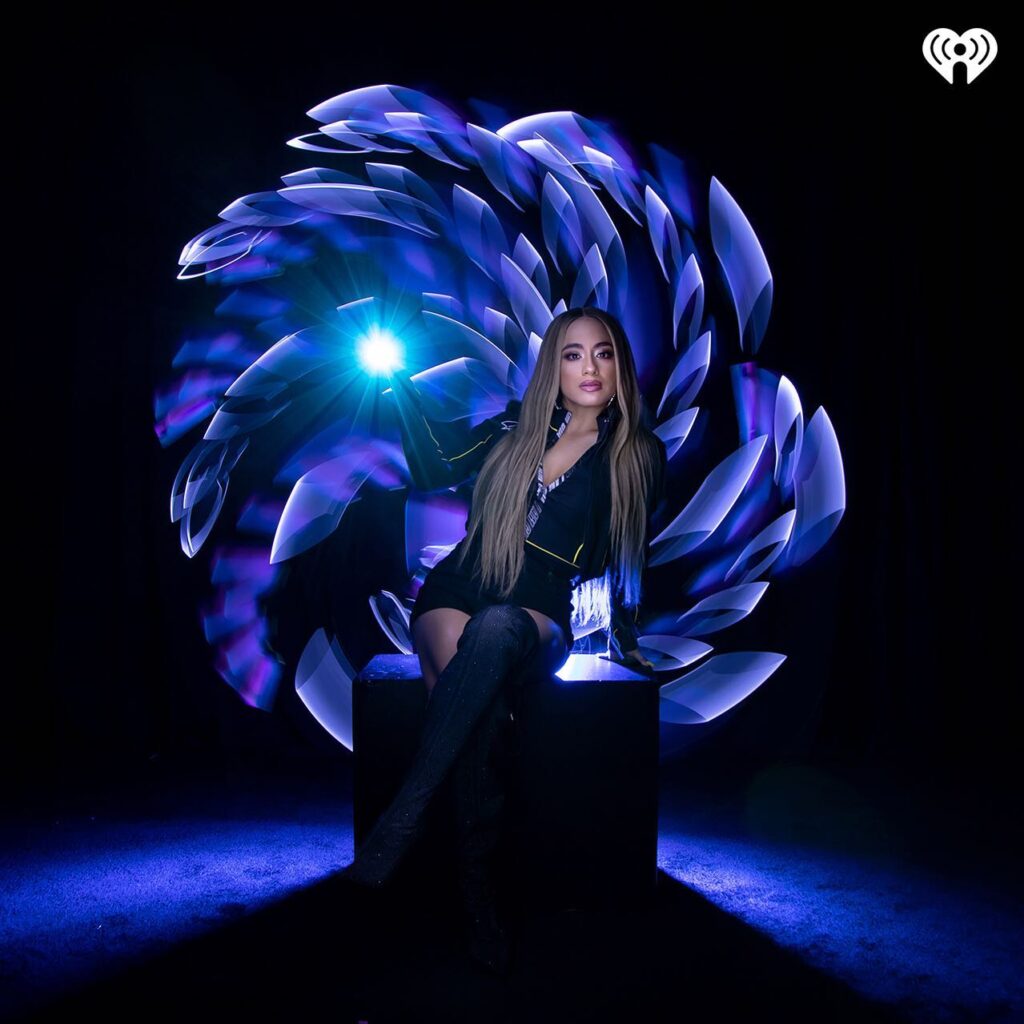
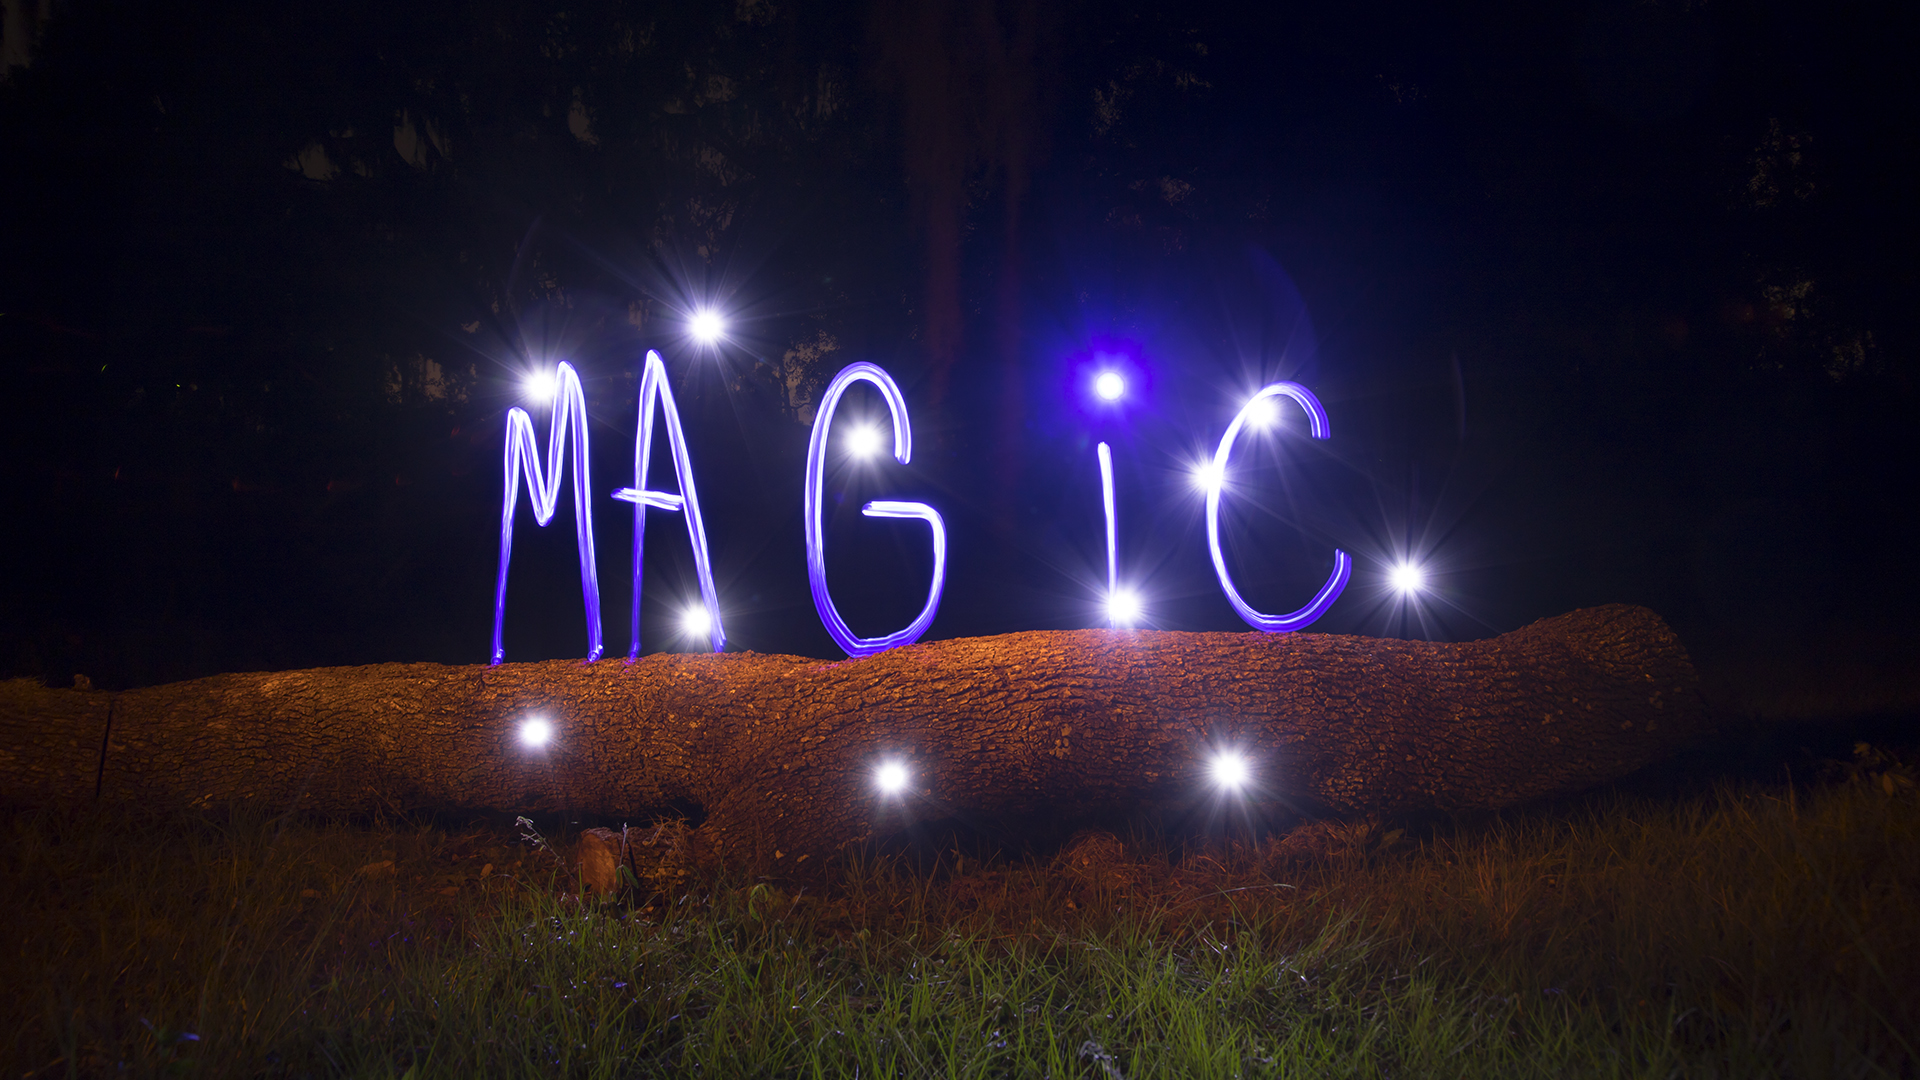
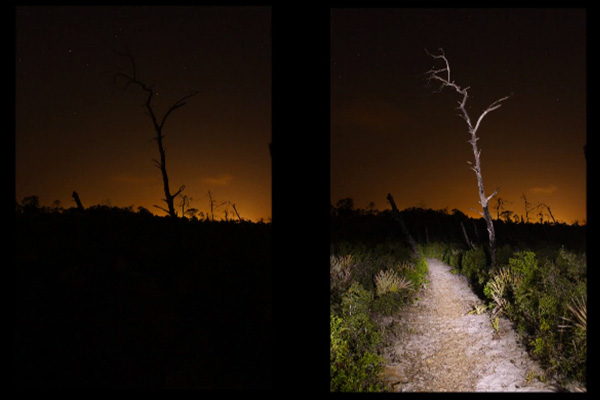
I am supposed to be taking a break from blogging for a little bit but this was to inspiring not to share… Gunnar Heilmann a member of the Light Painting Group Aurora Movement has been creating some really cool light painting portraits recently using black fiber optics! He was getting a lot of people asking how the heck are you getting these results so Gunnar was cool enough to make a video tutorial showing us all who to do it! Check out the short video tutorial and some of these awesome images below!
Search Results for: fiber optic
Fiber Optic Light Painting Tutorial by Maria Saggese
If you are not following the Light Painting Photography of Maria Saggese you are missing out on some incredible and inspiring work. One particular style of Light Painting Maria has become know for her beautiful work with Fiber Optics creating images that are instantly recognizable as her own! I asked Maria if she would share some tips about these awesome works of art and she went far beyond that providing a full tutorial to share! Read on below for the tutorial and if you find it inspiring as I know you will, please make sure to tag #MariaSaggese when posting any images on social media you create using this technique so Maria can see what you are creating!
Light Painting Fiber Optic Tutorial by Maria Saggese
In this tutorial I am going to explain how to create beautiful silhouettes with fiber optic using Light Painting Brushes system. I will explain how I set up my camera and I will share my technique to create double silhouettes in the same frame. I will also share how to obtain an overlapping effect and a double exposure “evanescence” effect all during a single long exposure photograph!
Equipment required:
Camera with bulb mode (or Long Exposure)
Tripod Remote or Cable Shutter Release
Fiber Optics + Universal Connector
Torch or Flashlight RGB Flashlight
or LED Flashlight with Colored gels
The tools that I use are the Light Painting Brushes Fiber Optics: There are two versions of the fiber optics a Black & White they both attach to just about any flashlight using the Universal Connector.
To change fiber’s colors I use a Led Lenser P7QC flashlight with 4 colors or the 10 color “Color Shine RGB Flashlight”. You can also customize the color’s fiber by placing some colored gels over any torch you attach to the fiber optics using the Universal Connector.
Set up
Set up is simple – just the camera on a tripod focused on the area where my model is.
To focus I turn on the studio lights, focus on the model with the focal length that I am going to use in my picture then I turn off the studio lights. After focusing with the lights on I switch the camera’s focus to manual focus, this will make sure the camera will remain in focus when the lights are off and starting the exposure.
The camera settings that normally I use are:
BULB Mode
F/11-F/13
ISO ranging from 200-400
White Balance: Daylight
RAW format
Technique
After starting the exposure, I go behind the model, I turn on my flashlight moving the tips of fiber with a slight movement to outline the figure as a “cloud” or an aura. Starting from the model’s face I slowly outline all parts of the body all the way down to the feet. The most important thing is not to paint with the fibers behind the same area several times, otherwise you will not have a defined silhouette.
Settings for this image: 40 Sec Exposure, F/11, ISO 200. Created using the White Fiber Optic.
To get more cloudy or smoky effect I increase the speed of painting with fiber even light painting in front of the model as seen in the image below.
Settings for this image: 50 Sec Exposure, ISO 200, F/10. Created using the White Fiber Optic.
How to create double silhouette
During the same exposure, I first create a silhouette using the techniques described above with one color using the fibers, then I turn off my torch. The model has to move to a new position to reflect on the opposite side. I choose a different color (or the same) to create a second silhouette that will overlap with the first one created.
Settings for this image: 61 Second Exposure, F/11, ISO 200. Created using the White Fiber Optic.
Settings for this image: 140 Second Exposure, F/13, ISO 200. Created using the White Fiber Optic.
Double exposure
To create my double exposure effect I first create my silhouette and then I turn off my torch. Then without a model in the scene I illuminate the background or, in this case, the bed, to obtain an overlapping and “evanescence” effect during the same exposure.
Settings for this image: 54 Second Exposure, F/13, ISO 400. Created using the Black Fiber Optic.
Settings for this image: 60 Second Exposure, F/11, ISO 200. Created using the White Fiber Optic.
White or Black Fiber?
Personally I love the white one, because the fiber is completely illuminated and not just the tips, with this I get a more nuanced effect, while the black one has a more contrasted and “Scratched” effect. The result is a little bit different for each tool so you can try both and choose your favorite effect.
Settings for this image: 35 Second Exposure, F/13, ISO 200. Created using the White Fiber Optic.
Settings for this image: 35 Second Exposure, F/13, ISO 200. Created using the Black Fiber Optic.
If you try this technique please share your work on Facebook and Instagram using the hastag #mariasaggese
You can find more of Maria’s absolutely beautiful work at the links below:
Facebook
Instagram
Website
Light Painting Tool Tutorials
ANYTHING that emits, reflects, refracts, shapes, forms or manipulates light can be considered a Light Painting Tools. In these tutorials you can learn about tools from the Light Painting Brushes System and ways to modify them to get the most out of your Light Painting Tool kit. These tutorials will also show you how to create some super simple and easy DIY Light Painting Tools. My favorite thing about the Light Painting Brushes system is that the Universal Connector was designed with the DIY Light Painter in mind. The Universal Connector was intentionally designed to fit any standard water or soda bottle so you can literally take trash and turn in into an amazing Light Painting Tool!
Light Painting Tool Tutorials

Light Painting Brushes Starter Kits Introduction
Learn about the different tools in the Light Painting Brushes Starter Kits and see some of the magic you can create with them right out of the box.

Light Painting Brushes Fiber Optics
Learn more about the Light Painting Brushes Fiber Optic Attachments and see some of the unique Light Paintings you can create with them.

Color Your Plexiglass
Jason D. Page shows you 4 different ways to add color to your Plexiglass Light Painting Brushes.

Screw On Color Filters
Learn all about the Light Painting Brushes Screw on Color Filters, giving you creative colorful options.
Light Painting Tutorial – The Sheet Technique
How to Light Paint with The Sheet Technique – Step‑by‑Step Tutorial
Light Painting Artist Jason Rinehart demonstrates his innovative and creative “Sheet Technique,” using a flat sheet of light to paint expansive forms and portraits in-camera long exposures. The possibilities for the technique are truly limitless.
🛠 What You Need
- Flat White Sheet
- Light Painting Tools from Light Painting Brushes
- Camera with Manual or Bulb mode
- Tripod
- Remote shutter release or timer
- Dark studio or outdoor environment at night
📸 Recommended Camera Settings
- Mode: Bulb or Manual exposure
- Shutter Speed: BULB
- Aperture: f/8
- ISO: Around 400
- Manual focus
🎨 How to Use The Sheet Technique
- Compose and focus your shot on a tripod with the lights on.
- Tuen off the lights and initiate the exposure.
- Illuminate the sheet from behind and in front.
✨ Creative Tips
- Use colored gels or light modifiers to create layered color effects.
- Experiment with different Light Painting Brushes tools.
- Illuminate from various angles and distances
- Combine the Sheet Technique with other techniques.
📍 Helpful Notes
- Wearing dark clothing helps you remain invisible in long exposures.
- Practice motion flow before triggering the long exposure.
- Use a remote or timer to minimize camera shake during exposure.
🔗 Related Tutorials
Light Painting Tutorials by Jason Rinehart
Explore unique and inspiring Light Painting Photography tutorials by artist Jason Rinehart. Known for his heartfelt creativity and distinctive techniques like the Peacock and Spiral, Jason shares step-by-step lessons that illuminate his passion for light, movement, and storytelling through Light Painting.
Jason Rinehart’s Light Painting Tutorials

The Peacock Technique
Learn how to create glowing feather-like fans of light behind your model in this Tutorial by Jason Rinehart.

Light Painting a Spiral
Spin light into spirals with smooth motion, pivot, pivot, pivot.

The Sheet Technique
Learn The Sheet Technique, a creative and innovative Light Painting Technique with endless possibilities.

Fiber Optic Light Painting Portraits
Learn how to capture Fiber Optic Light Painting Portraits on your Cell Phone.
Explore more Light Painting Tutorials or start with the Light Painting 101 Guide to learn the basics.
Light Painting Tutorial – The Peacock Technique
How to Light Paint a Peacock Effect – Step‑by‑Step Tutorial
In this tutorial, Light Painting Artist Jason Rinehart presents his signature “Peacock” technique—creating dramatic feathered arcs of light that fan outward from a central point using tools from Light Painting Brushes. The result resembles a glowing peacock tail in one long-exposure frame.
🛠 What You Need
- Plexiglass tools from Light Painting Brushes
- Camera with Bulb mode
- Tripod
- Remote shutter release or timer
- A dark environment—studio or outdoors at night
📸 Recommended Camera Settings
- Shooting Mode: Bulb
- Shutter Speed: Approx. 50–90 seconds
- Aperture: f/8
- ISO: ~400
- Manual focus locked on starting position of the light tool
🎨 How to Create the Peacock Effect
- Set your camera on a tripod and frame your scene.
- Begin the long exposure.
- Sweep the light tool upward and outward in a smooth fan pattern.
- Create evenly spaced “feathers” radiating from center.
- Stop before exiting the frame, turn off light, then close the shutter.
✨ Creative Tips
- Combine multiple fan sweeps with different colors for layers.
- Use plexiglass for bold strokes.
- Practice your sweep motion at normal speed before firing long exposures.
📍 Helpful Notes
- Wear dark clothing to stay invisible in the exposure.
- Pre‑visualize the maximum reach of your fan before lighting up.
- Use a remote shutter or intervalometer to minimize camera shake.
🔗 Related Tutorials
How to Light Paint a Creepy Halloween Mask | Tutorial
How to Light Paint a Creepy Halloween Mask
In this Light Painting Photography tutorial, I show how to Light Paint a creepy, custom-made mask I received from artist Annie Jones. Using a combination of tools from LightPaintingBrushes.com and SpiffyGear.com, I worked to bring out the eerie textures and haunting character of the mask — all captured in one single long exposure!
I illuminated the mask from below to emphasize its shadows and surface texture. To enhance the eyes, I used the Blue Light Pen. I added Fiber Optic effects for visual texture and a glowing backdrop, and finished the image with glowing lines created using the KYU-6 wearable LED.
📸 Camera Settings
- ISO: 100
- Aperture: F8
- Shutter Mode: Bulb
- Exposure Time: 250 seconds
If you want to try more eerie-themed Light Painting techniques, check out this Illuminated Being Tutorial for creating otherworldly portraits in the dark.
For more inspiring work, check out the Annie Jones Instagram Page
🛠️ Want to use the same tools? Visit LightPaintingBrushes.com and SpiffyGear.com to browse the gear used in this tutorial.
#lightpainting #halloween #creepymask #fiberoptic #spookyphotography
Cell Phone Light Painting Tutorials
Explore step-by-step Light Painting Photography tutorials captured using only a cell phone. These videos and guides demonstrate how to create stunning images using iPhones or Android devices with long exposure apps, tripods, and Light Painting tools like fiber optics, light swords, glitter sticks, and more!
🛠️ Explore the full range of Light Painting Tools used in these tutorials at LightPaintingBrushes.com.

Getting Started with iPhone Light Painting
Learn how to Light Paint using the Slow Shutter Cam App.
View Tutorial

Holographic Circle Light Painting
Use the Holographic Light Sword for colorful circle effects.
View Tutorial

Fiber Optic Portrait with iPhone
Jason Rinehart shows how to capture glowing fiber portraits.
View Tutorial
Light Painting Tutorials by Jason D. Page
Explore some of the most popular Light Painting Photography tutorials by Jason D. Page. These tutorials cover techniques for beginners and advanced artists alike, with step-by-step instructions, gear recommendations, and artistic inspiration.

Glitter Stick Orb
Learn how to create a wavy orb using the Light Painting Brushes Glitter Sticks.

How To Paint With Light
This video showcases the fundamentals of illuminating a scene with Light!

Defocused Fireworks
Create sea creatures in the sky with the technique of Defocused Fire Works!

SpaceX Rocket Lauch Angel
This video showcases the reality of trying to Light Paint an Angel during a SpaceX Rocket Launch!

Polaroid Light Painting
Learn how to capture Light Paintings on a Polaroid Camera using tools from Light Painting Brushes.

Camera Rotation Tutorial
Learn how to spin your camera 360 to create extraordinary geometric designs from ordinary scenes.

Cell Phone Light Painting Tutorial
Learn How To Light Paint an Orb on your Cell Phone.

Cell Phone Light Painting Tutorial
Learn how to Light Paint an Illuminated Being on your Cell Phone.

Cell Phone Light Painting Tutorial
Learn how to Light Paint a Holographic circle on your Cell Phone.

Cell Phone Light Painting Tutorial
Learn how to capture a Glitter Stick Orb on your Cell Phone.

Fiber Optic Light Painting Portrait
Learn how to create Fiber Optic Light Painting Portraits.

How To Light Paint A Flower
Learn how to create a luminous flower of light using Plexiglass Tools from Light Painting Brushes.

The End Is Near
Learn how to Light Paint this powerful image using color hoods, fiber optics, and a mini plexiglass diamond.

How To Light Paint a Skull
Learn how to Light Paint a Skull using the Fiber Optics from Light Painting Brushes.

How To Light Paint Smoke
Learn how to Light Paint a smoke or fog effect using the Light Painting Brushes Light Whip.

Spiked Orb
Learn how to Light Paint a spiked orb using plexiglass tools from Light Painting Brushes.

No More Orb Feet
Learn how to use Light to erase unwanted elements, like orb feet, from your Light Painting work.

Faberge Orb!
Learn how to Light Paint a designer orb using tools from Light Painting Brushes.

4 Ways to Add Color to Plexiglass Tools
Learn how to use color gels and modifiers with your Light Painting Brushes.
The End Is Near Light Painting Tutorial by Jason D. Page
Light Painting Tutorial – The End Is Near
In this Light Painting Photography Tutorial, learn how to Light Paint the image titled “The End Is Near” using tools from
Light Painting Brushes. The Light Writing effect is created with the Mini Plexiglass Diamond, the colorful accents are made with Color Hoods, and the fiery lighting is created using the Black Fiber Optic paired with a DIY Color Filter.
This image was created by Jason D. Page. To explore more tutorials by Jason, check out his full collection here.