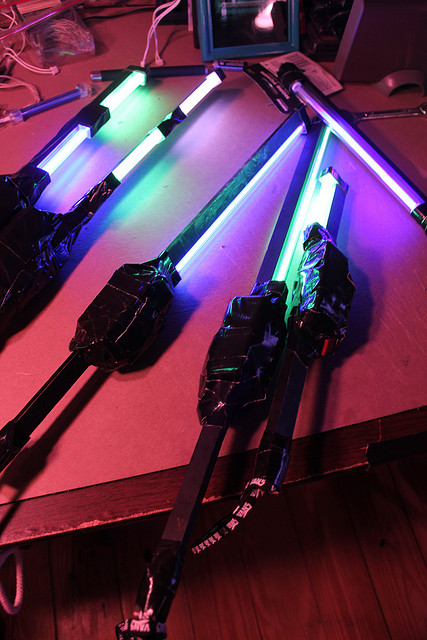
DIY Cold Cathode Light Painting Tool Tutorial by Dana Maltby (TCB)
In this DIY Light Painting Tool Tutorial, you will learn how to assemble and operate a battery-powered cold cathode tool. Created and presented by Light Painting Artist Dana Maltby, a.k.a. TCB (Twin Cities Brightest)… enjoy!
Check out more from Dana at TwinCitiesBrightest.com and his Flickr gallery.

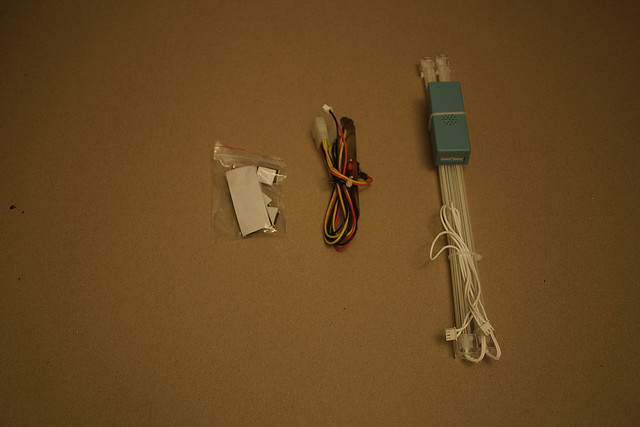
🧰 What You’ll Need:
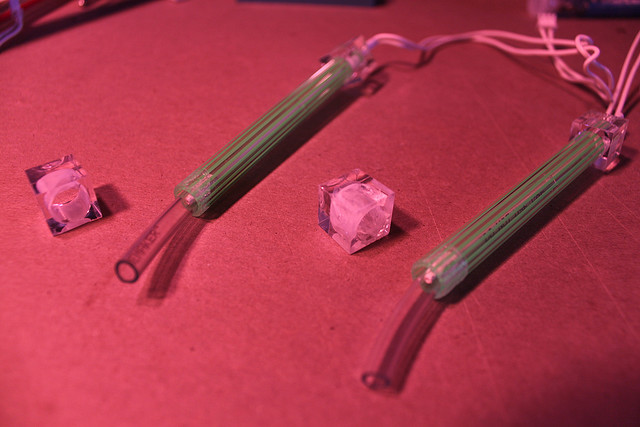
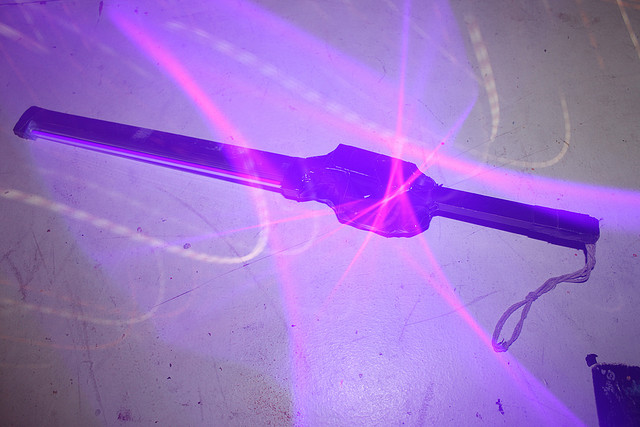
- Cold Cathode (from a kit with inverter)
- Soldering Iron & Solder
- 8 AA Batteries
- Battery Holder for 8 AAs
- Switch
- Electrical or Duct Tape
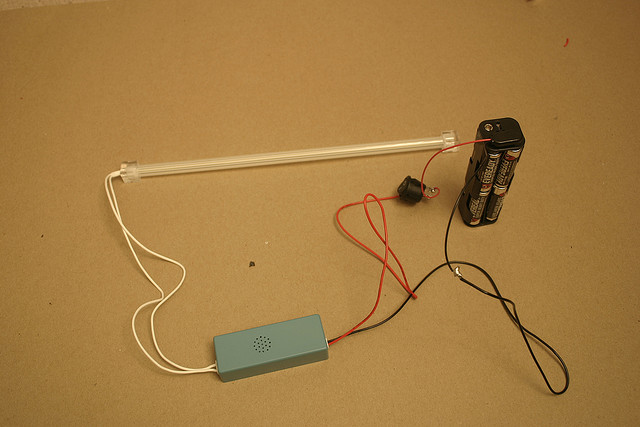
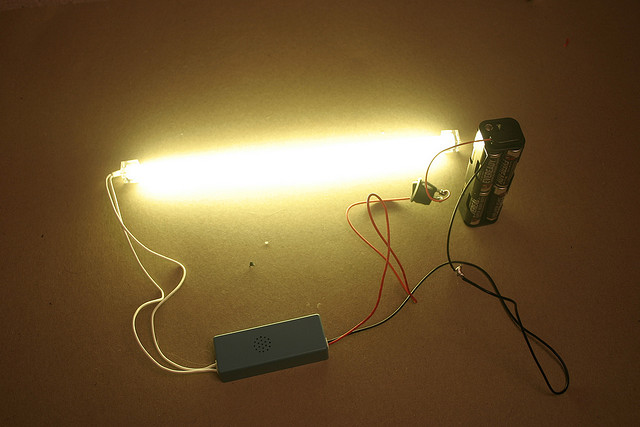
✅ Make sure you buy a kit that includes the inverter (blue box). It allows the cathode light to run off batteries. A good brand is LOGISYS — inexpensive, flexible, and supports two cathode lights per inverter.

💡 Tip: Buy the dual sets so you have a spare in case one breaks while swinging it around.


🙌 Thanks to Dana Maltby, TwinCitiesBrightest.com, and Dana’s Flickr
Also a shoutout to Pixelated Light for the tubing idea!