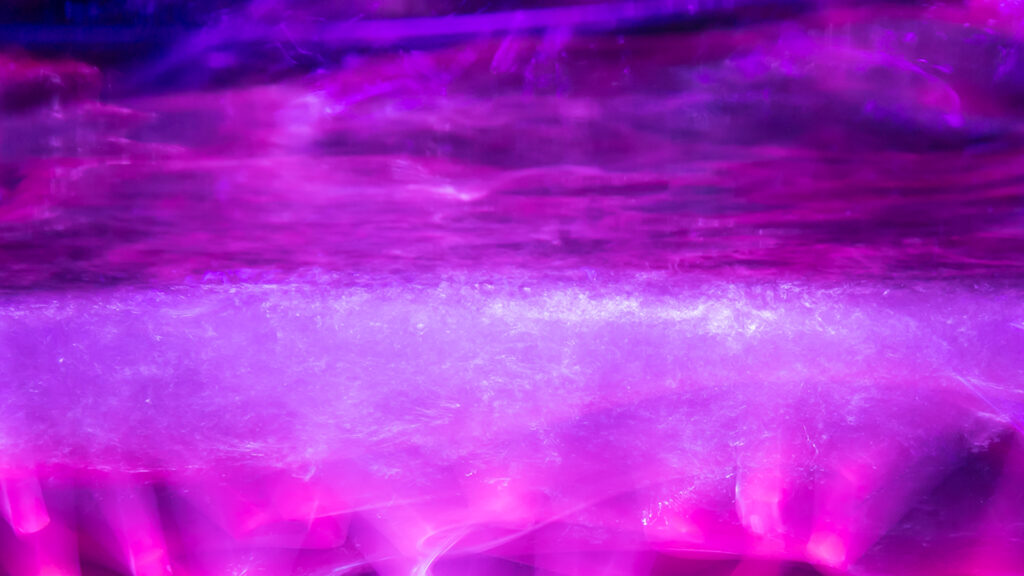
I recently received Denis Smith’s Liquid Light Tools and was excited to try them out. I called my friend Chris, who is an underwater photographer, to test them out. This was our first attempt, we didn’t really have any idea on what we wanted to create with them so we just jumped in the pool and starting waving them around in the water. We found that a half in/out shot gave us some cool abstract forms so we did a few of those, we also attempted to illuminate a palm frond but that didn’t really work out too well. The pool location was pretty limiting and we didn’t get the best results, but we did come up with a few good ideas for next time that will hopefully be in a much more interesting location. Also In the video I am switching out the tools I did not realize that you can actually use 2 pieces of plexiglass at the same time in the holder that Denis designed, because out of excitement and/or stupidity I skipped the tutorial video he sent along with the tools… Hopefully there will be more underwater Light Painting to come and next time the results will be much better.
Liquid Light Tools: https://www.denissmith.com.au/-liquid-light-tools
Follow me on IG: https://www.instagram.com/jasondpage_lightpainter/
Follow Chris on IG: https://www.instagram.com/chrisleidyphotography/


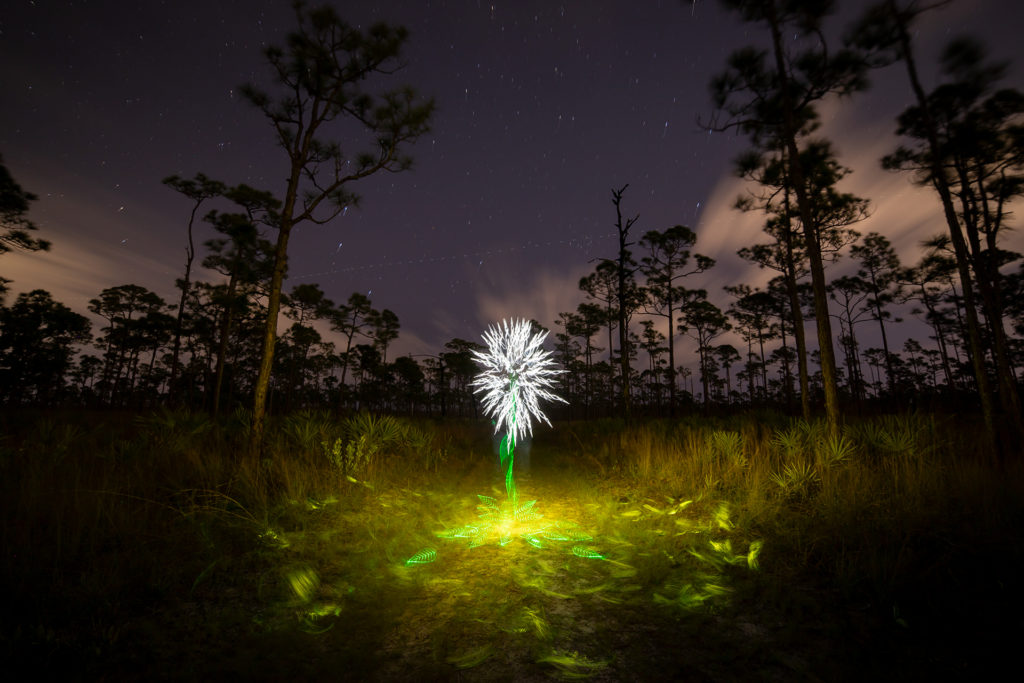


 We did this session with our friends Dario Cuesta and Miguel Gomez, the inspiration came from the spectacular location. It is a country house that although it was not in use, it was not abandoned, so we were lucky to get permission from the owner to go to take our photographs there. We wanted to create a light plant because the house reminded us of a mushroom and it seemed to us that it could integrate very well some type of light flower in front of this beautiful house. We only had to start designing our light plant, we did not have anything clear what its shape would be. We knew the colors we wanted to use, green to match the mushroom house and a pink to give it a good contrast, so it was time to start to practice the branches and see how the light strokes worked. Here are a few of our first practice shots.


 The tools to paint the plant were 2 plexiglass rod with its adapter and some round methacrylate filters.


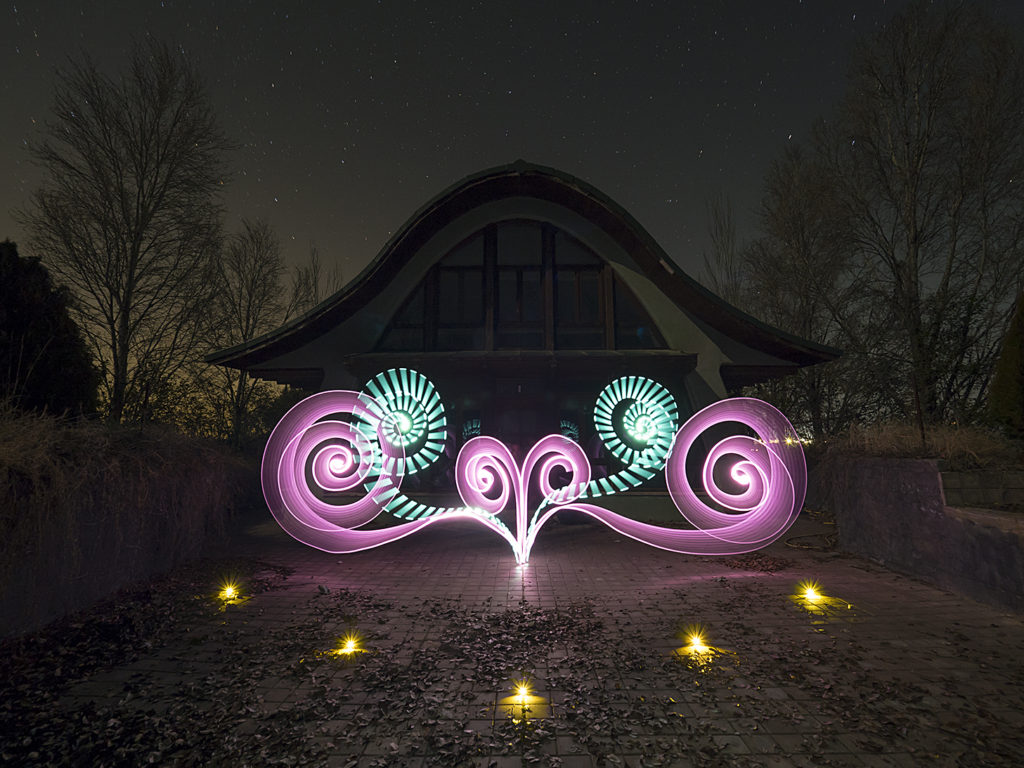 We made these points of light with some boxes of colored LEDs that we placed well placed on the ground. Below is a photograph of this tool that we use a lot when we need fixed continuous light.
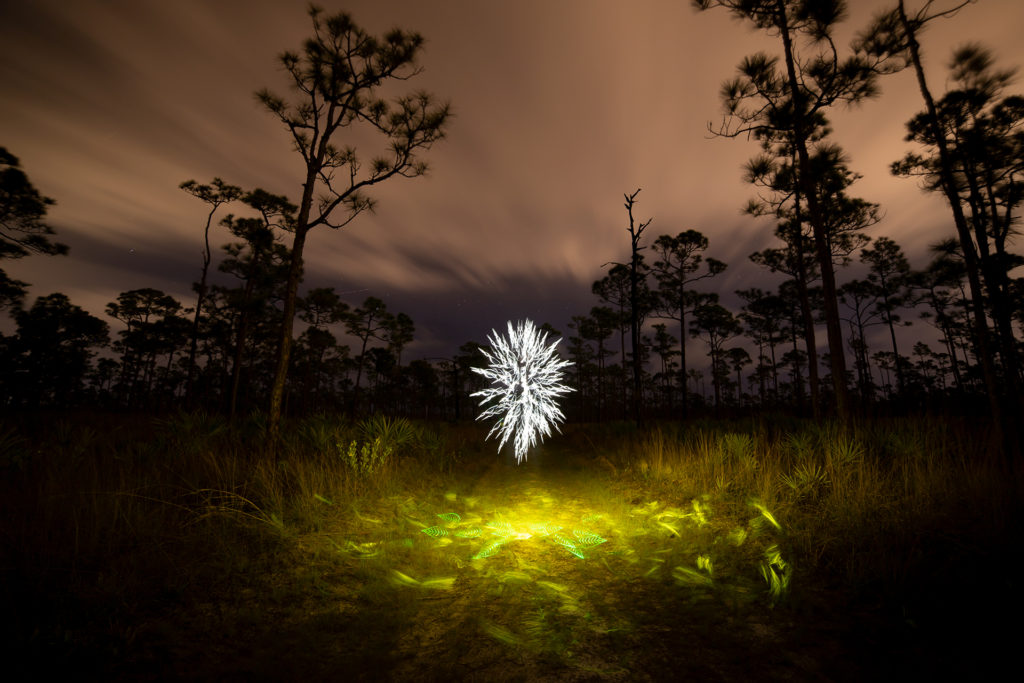
  At this point in the tests, perhaps 2 hours had passed, many times people do not know the work behind creating a single image! Remember that it was also very cold and there were more and more tests that we did that you don’t see here. We also tried to see if we could include some sparkles but we didn’t like it so we discarded that idea.


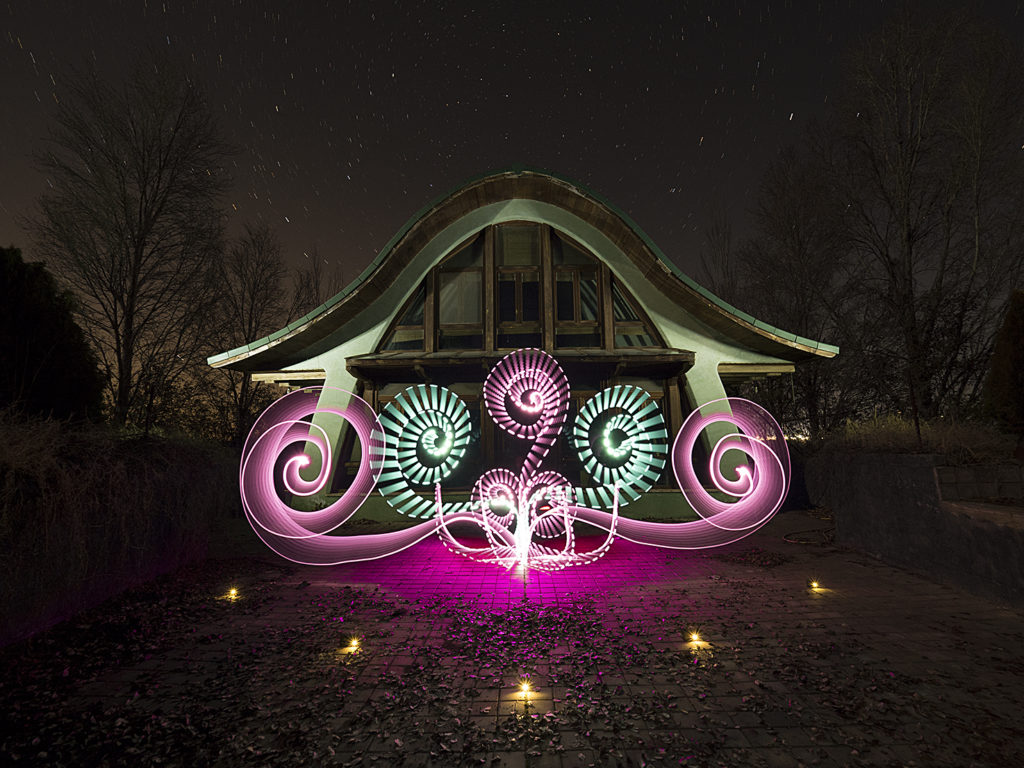 This was the last test before launching into the final photograph, as you can see, all the lines are already in order and the mushroom house masterfully illuminated by Dario, with the Fenix FD41 flashlight. At this point, it was time to configure the camera, the settings that we used were: