And the winner for the December 2016 Light Painting Photography Contest themed “Light Man” is… The incredibly talented group of 4 Light Painting Artist; Luis Kuziw, Leonardo López, Pablo Mielniczuk, and Pablo Piloni who collectively go by the name Elemental Light!
Elemental Light said this about the development of the winning image:
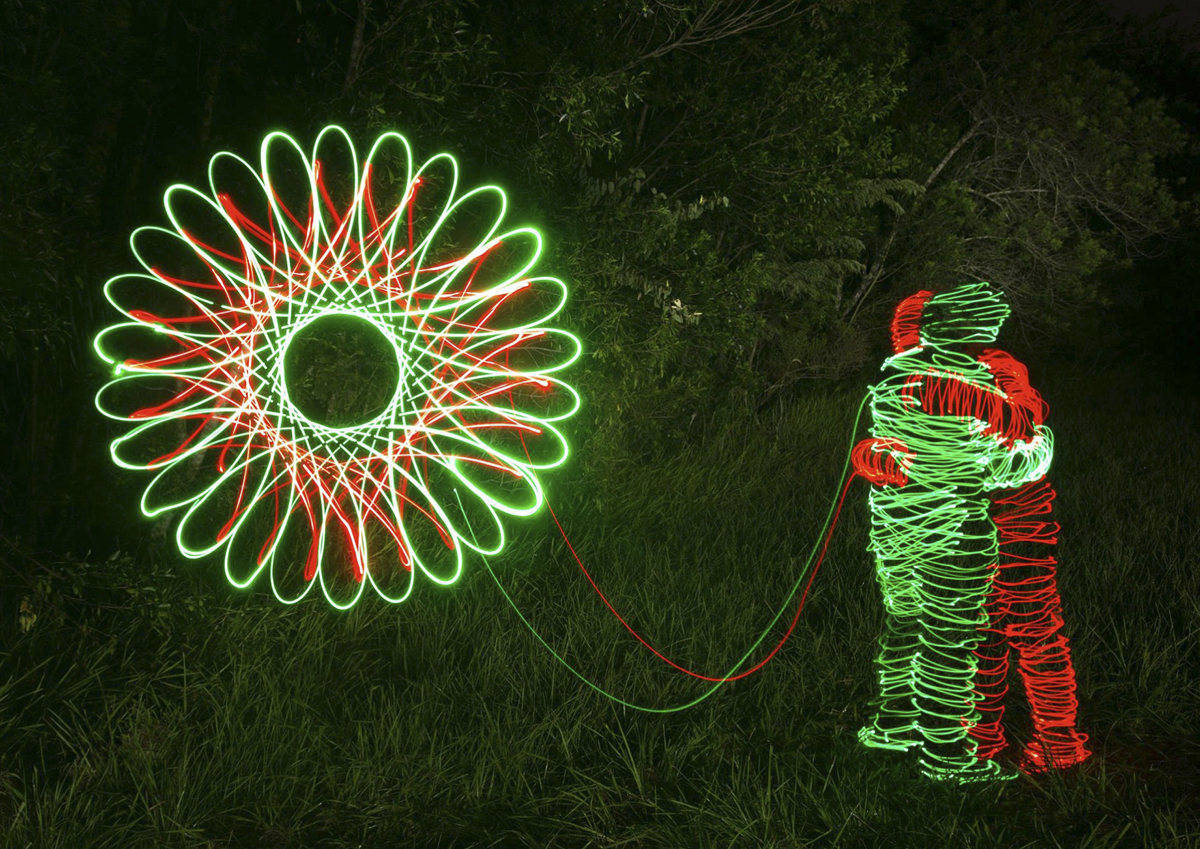
The development of this photograph came up from a phrase: “Even if we are opposites it doesn’t mean that we can‘t complement each other.”
From this idea, we thought different possibilities to show this complement using the light and the technics that we already knew from light painting.
Our first idea included three light man and three mandalas/flowers, which two of those united. From this idea, made a sketch to agree with the photograph.

We went out shooting one night, with the help of 3 models, in an abandoned place. After several attempts we got the photo.

But when we returned home and saw it on the computer screen we realized that the result did not quite convinced us, so then we decided to change the type of scenario by one that refers more to nature and eliminate the lonely light man.
It took us several tries but we got the photo we wanted.

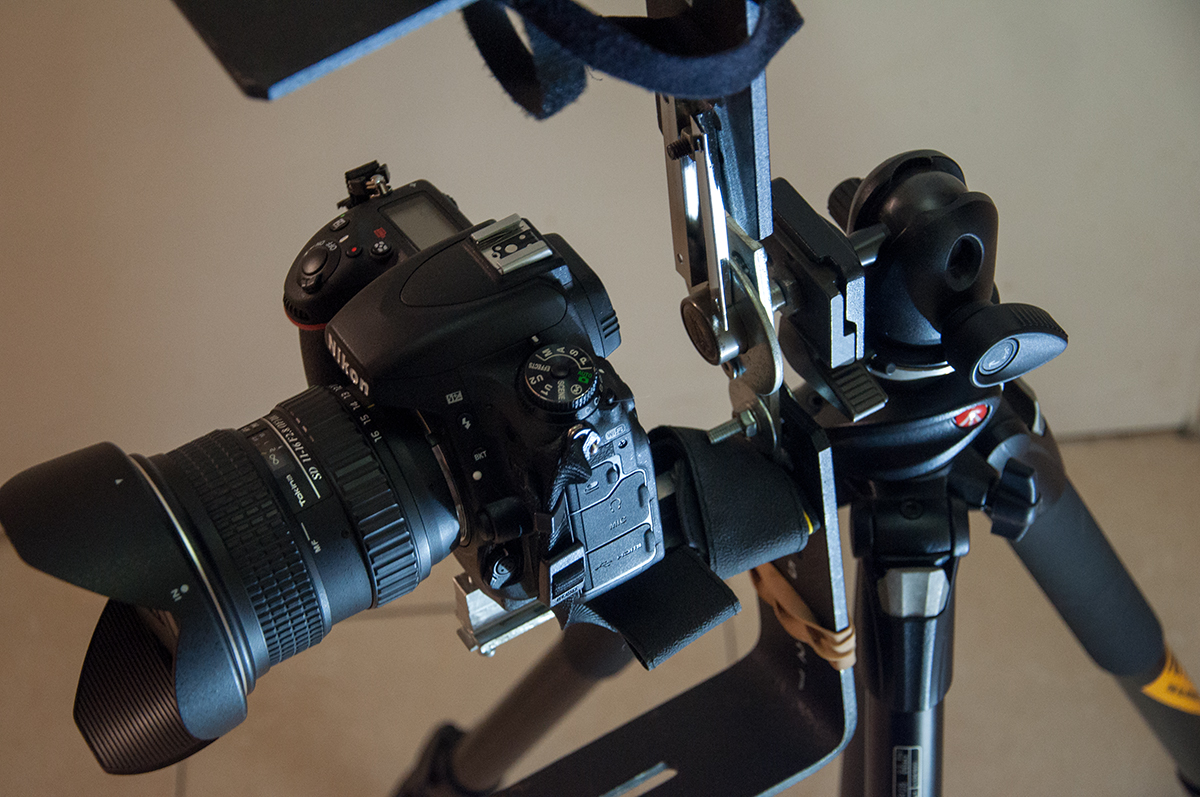
To perform the flower/mandala form, we developed an tool made out of bicycle parts, which we called “Mandala Maker”

By placing lights on it, we can generate different patterns.
 The Mandala Maker has already given us some good results in other works too.

With the help of two models that posed steady, we drew their shape using the “Freehand RGB Pencil” from “Herramientas lightpainting”, in a line that would end in the location of the led light of its corresponding color in the mandala maker.
With a remote control we change the Freehand color and draw the other light man, we used complementary colors to express the idea.

Then we spin the Mandala Maker to form the flower/mandala shape … Once this was done, we removed the mandala maker and the models to illuminate the background.

Exif data: f/7.1 – 559s – ISO 100
To see more incredible work like this from Elemental Light check out their Facebook Page HERE and Instagram Page HERE!
For this inspiring work Elemental Light will receive a LPP prize pack filled with treasures from our sponsors below. Click here to see the current contest theme and find out how to enter to win your LPP prize pack!


Click here to see the current contest theme and find out how to enter to win your LPP prize pack!


 Jerry
Jerry Diedre
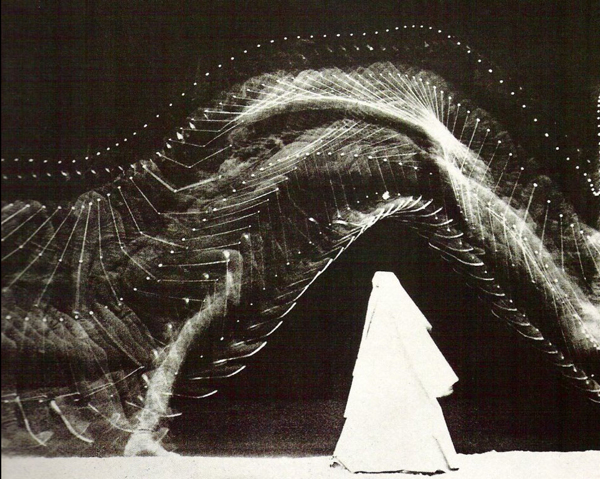
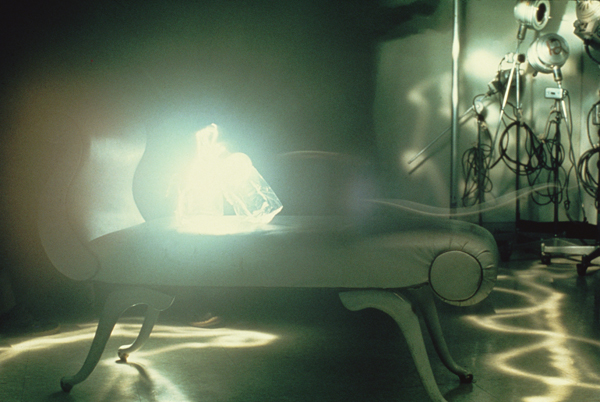
 Photo-Respiration HATTACH 1996
 Photo-Respiration #63 1990
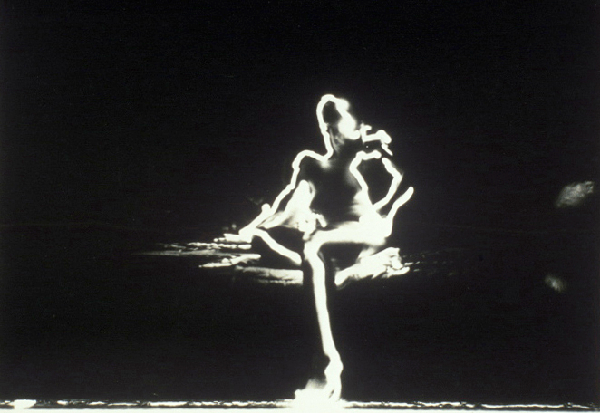
 Photo-respiration #1 1988 b
 Photo-respiration #25 1989