Fiber Optic Light Painting Portraits on a Cell Phone – Tutorial by Jason Rinehart
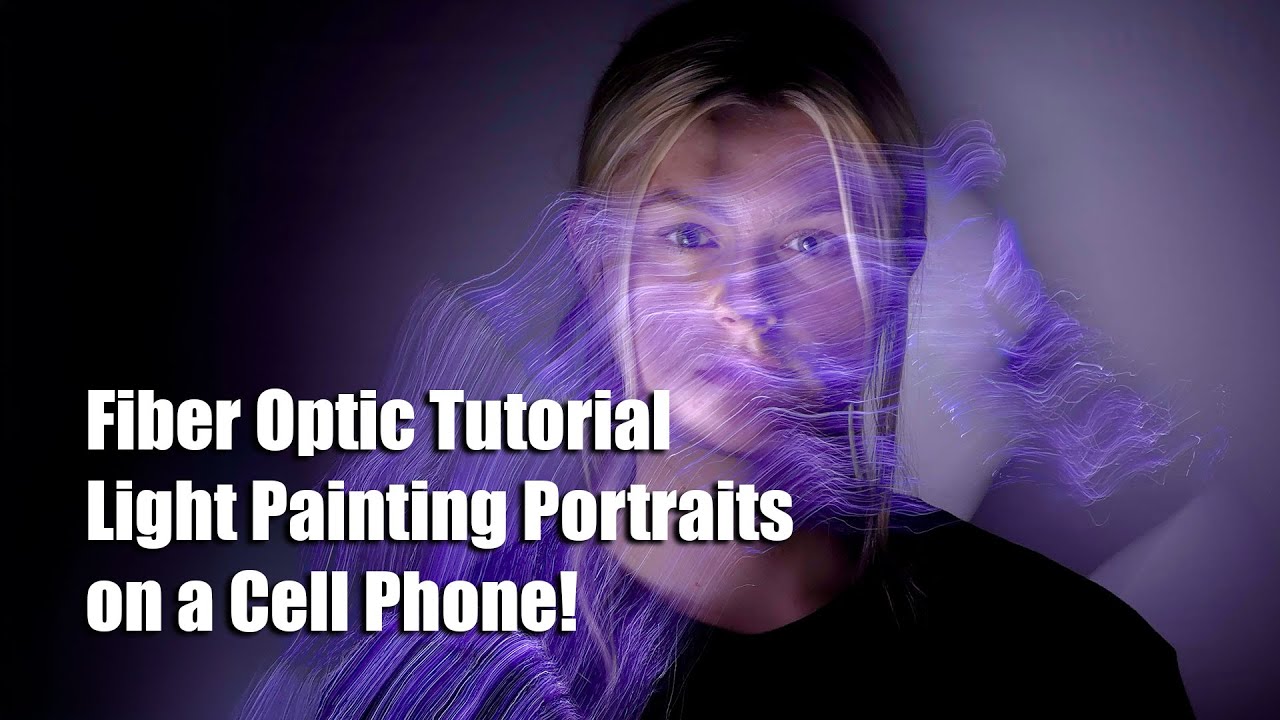
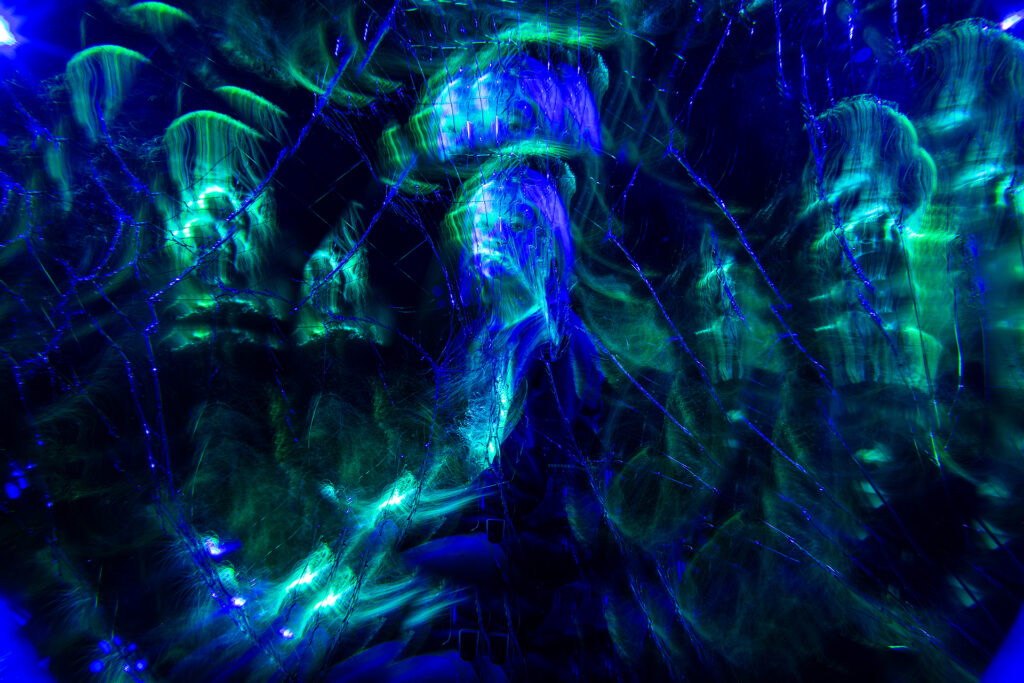
In this tutorial, Light Painting Artist Jason Rinehart demonstrates how to create fiber optic light painting portraits using only a cell phone camera. See how playful movement and fiber optic brushes can transform a simple portrait into a glowing work of art.
🎯 What You’ll Learn
- How to set up a phone camera for long-exposure light painting portraits.
- Using Fiber Optics from Light Painting Brushes.
- Tips on posing, exposure timing, and motion blur control.
🛠 Equipment & Setup
- Smartphone with long-exposure or “Night” mode
- Fiber Optics from Light Painting Brushes
- Tripod or steady surface for phone stability
- Dark or dimly lit environment
📸 Camera Settings & Technique
- Use “Night” mode or manual exposure settings if supported
- Exposure duration: ~5–15 seconds per portrait
- Adjust brightness level to keep highlight details
- Lock focus on the subject to prevent refocusing mid-exposure
🌀 Step‑by‑Step Workflow
- Mount your phone securely on a tripod or flat surface.
- Frame your subject and manually lock focus/exposure if possible.
- Activate the exposure/start the capture.
- Gently paint fiber optic light trails across the subject’s form, keeping movements smooth.
- Adjust your speed and angle to control how bright or soft the stroke appears.
- End the exposure before moving out of frame or turning off your light.
✨ Creative Tips
- Experiment with different colors of fiber optic brushes or LED tools
- Use multiple strokes or overlay multiple exposures for richer visuals
- Maintain smooth strokes and consistent motion for clean light paths
📚 Related Resources