Light Painting Photography

For the promotion and progression of Light Painting Art and Artist.

  • Home
  • Blog
  • History
  • Artists
    • Dean Chamberlain
    • Eric Staller
    • Susan Sims-Hillbrand
    • Vicki DaSilva
    • David Lebe
    • Troy Paiva
    • Bruno Mesrine
    • Chanette Manso
    • Patrick Rochon
    • Aurora Crowley
    • LAPP-PRO
    • JanLeonardo
    • Lightmark
    • Arturo Aguiar
    • Pete Eckert
    • Trevor Williams
    • Michael Bosanko
    • Jason D. Page
    • Nocturne
    • Brian Hart
    • Jeremy Jackson
    • Janne Parviainen
    • Jadikan-LP
    • Dana Maltby
    • Lichtfaktor
    • Dennis Calvert
    • TigTab
    • Hannu Huhtamo
  • Tools
    • Light Painting Brushes Starter Kits Introduction
    • Fiber Optics Light Painting Tools for Photography
  • Tutorials
    • Beginner Light Painting Tutorials
    • Light Painting Tutorials by Artists
    • Light Painting Tool Tutorials
    • Kinetic Light Painting Tutorials
    • Light Painting with Fire Tutorials
    • How To Light Paint A Flower
    • Light Painting Photography Tutorial: The Spiked Orb
    • How To Light Paint a Faberge Orb!
    • No More Orb Feet – Light Erases Darkness
    • The Tinfoil Light Painting Technique
    • How To Light Paint A Ghost
    • Electric Orb Light Painting Tutorial
    • Spirographs and Physiograms Tutorial
    • On Camera Light Source
    • Off Camera Light Source
    • Orb Techniques
    • Steel Wool Tutorial
    • Custom White Balance
    • Omnidirectional Light Cap
    • Gel Holder
    • Simple Orb Tool
    • 4 Ways to Add Color to your Plexiglass Light Painting Brushes
    • Driving Shots at Night
    • Wire Wool Spinning
    • El Wire Tutorial
    • Light Stencils
    • Orbs
    • Dome Tutorial
    • Battery Operated Cathode
    • Light Wheel
    • Double Wheel
    • Fire Wall Tutorial
    • Fire Rain Tutorial
    • Smoke
    • How To Light Paint with the Polaroid One Step +
    • How To Focus In The Dark
    • Light Painting Tutorial The Peacock Technique
    • How To Shoot Defocused Fireworks Tutorial
    • Drone Light Painting Tutorial
    • Light Stencil By Trevor Williams
    • Andrew Whyte Dome Tutorial
    • Light Painting Workshop by Patrick Rochon
    • Rob Turney Refractographs
    • SpiroJib by Johnny Griffin
    • Lens Swap Light Painting Tutorial
    • Camera Rotation Light Painting Tutorial
  • Videos
    • Light Painting Documentaries
      • Jason D. Page Documentary
      • Ball of Light
      • Night Photography: Finding Your Way In The Dark
      • Lightpainted Reality
      • SeeMe | In Focus : Pete Eckert
      • Pete Eckert – Dancing on The Edge of Perception
    • Dean Chamberlain
    • Vicki DaSilva
    • Patrick Rochon
    • Lichtfaktor Light Painting Videos
  • Terms
  • Links
  • Connect With Us!
  • About
You are here: Home / Light Painting Photography / Light Painting Break Down: Tim Gamble for “Stroma”

Light Painting Break Down: Tim Gamble for “Stroma”

March 30, 2015 by Jason D. Page

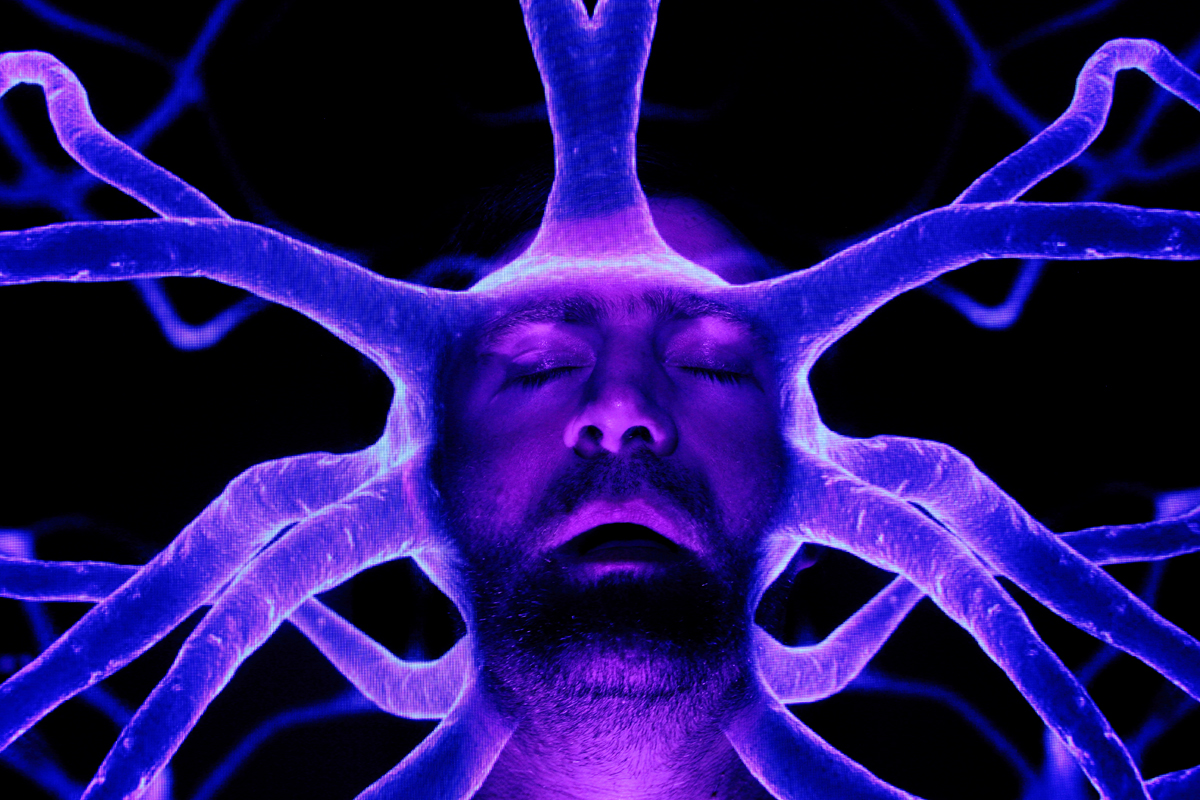
Light Painting Tim Gambel Stroma

From time to time we come across a light painting and just stare it wondering how the F@#! did they do that?!?! Break Down is a series if which I only ask the artist one question “How the F@#! did you make this” its up to the artist to tell as little or as much as they want. For this Light Painting Breakdown Tim Gamble talks us through how he created the above image titled “Stroma”

So Tim how the F@#! did you make this?

GEAR USED:
Canon 650D
Tamron 17-50 f2.8
Yongnuo 565 ex + snoot
Samsung Tab 2
Tripod
Light stand with clamp for tablet
Yongnuo radio triggers for flash.

Patience 🙂

Settings
F-stop 14
Iso 100
63 seconds
Manual white balance

Firstly I took an image of a synapse and mirrored it for symmetry using a drawing app on the tablet. Next I used the same app to draw a head shaped space in black where I wanted my head to expose in the shot.
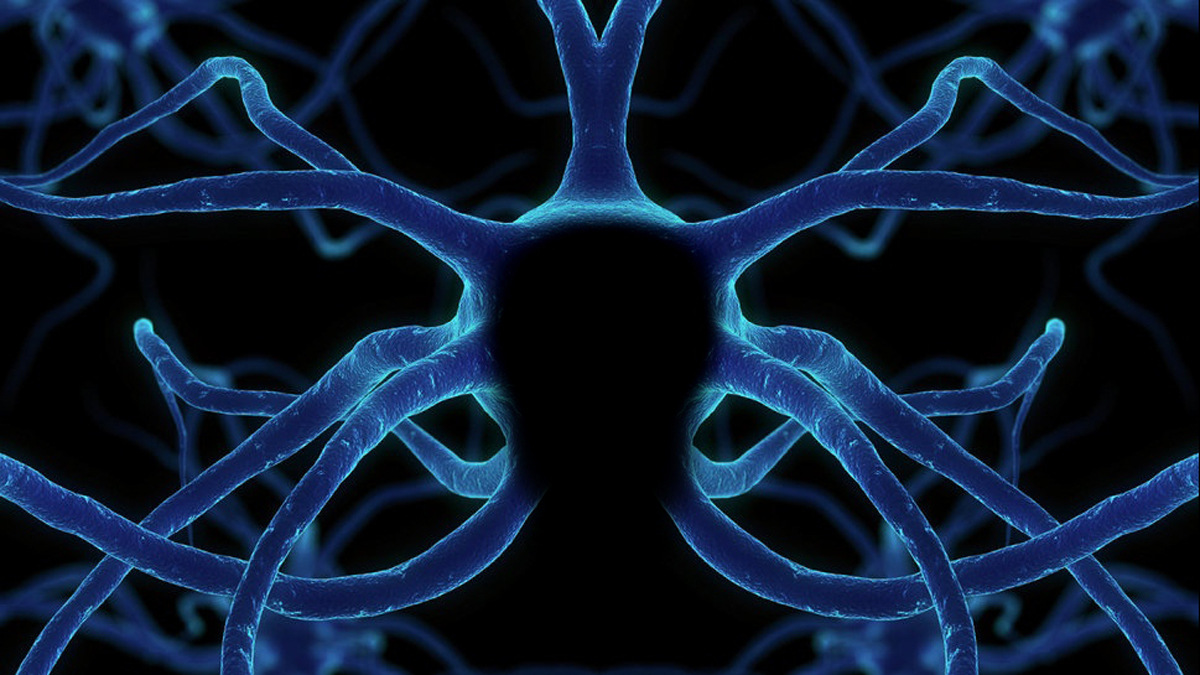
Synapse Mirrored

Set up the camera at head height and worked on the flash aspect of the shot. Ensuring my head was in the right place, focus was good and no light was spilling onto the wall behind me. I snooted the flash for this to concentrate the light from the flash onto my face. I used my radio triggers to fire the flash as this was the second part of the double exposure and therefore I wanted to choose when it went off. I also used my torch to illuminate under my chin to eradicate any shadows. Once happy I placed a marker on the floor and noted focus and focal length before moving onto the tablet.
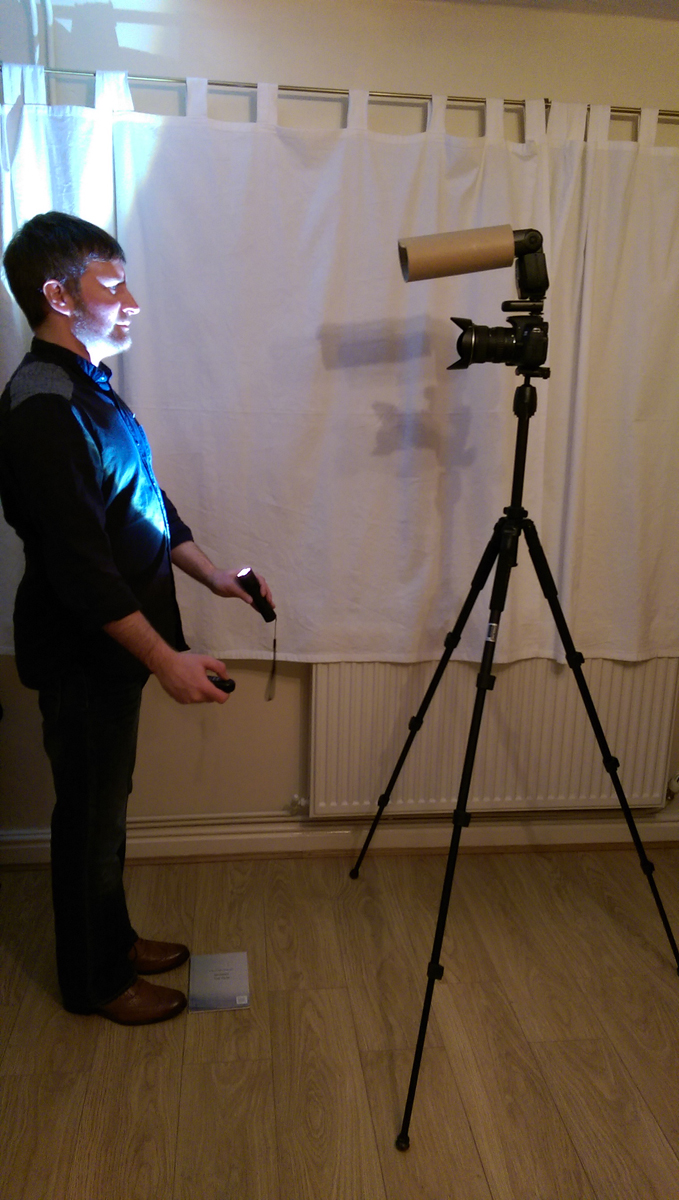
Snooted Flash

I clamped my tablet to the light stand and used image 1 from before. Framed and focused and worked on the exposure time for this part. 1.5 seconds was enough to burn this part in. Once happy with everything I was ready to go.
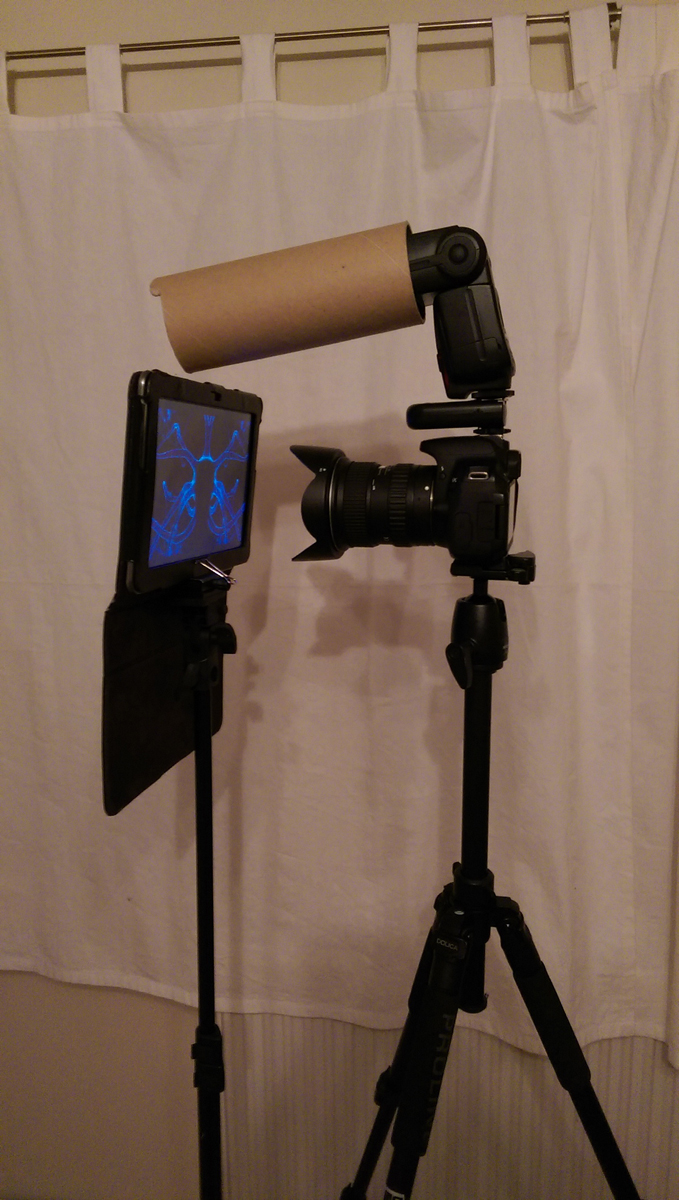
Exposing the Synapse

Lights off and shutter fired. Counted to 1.5 seconds and put the lens cap on. Moved the tablet out of sight, reframed and focused for my head. Lens cap off and took up my position on my marker. Torch in one hand and radio trigger in the other I fired both at the same time ensuring I kept my head still.

The process took about 2.5 hours from start to finish.

Check out more of Tim’s incredible work HERE.

Filed Under: Light Painting Photography

Comments

  1. James de Luna says

    March 30, 2015 at 5:39 pm

    Yeah man great explaination, and well deserved to be featured 🙂 Awesome !

    • Tim says

      April 1, 2015 at 6:32 pm

      Cheers James mate.

Copyright © 2026 · News Pro Theme on Genesis Framework · WordPress · Log in