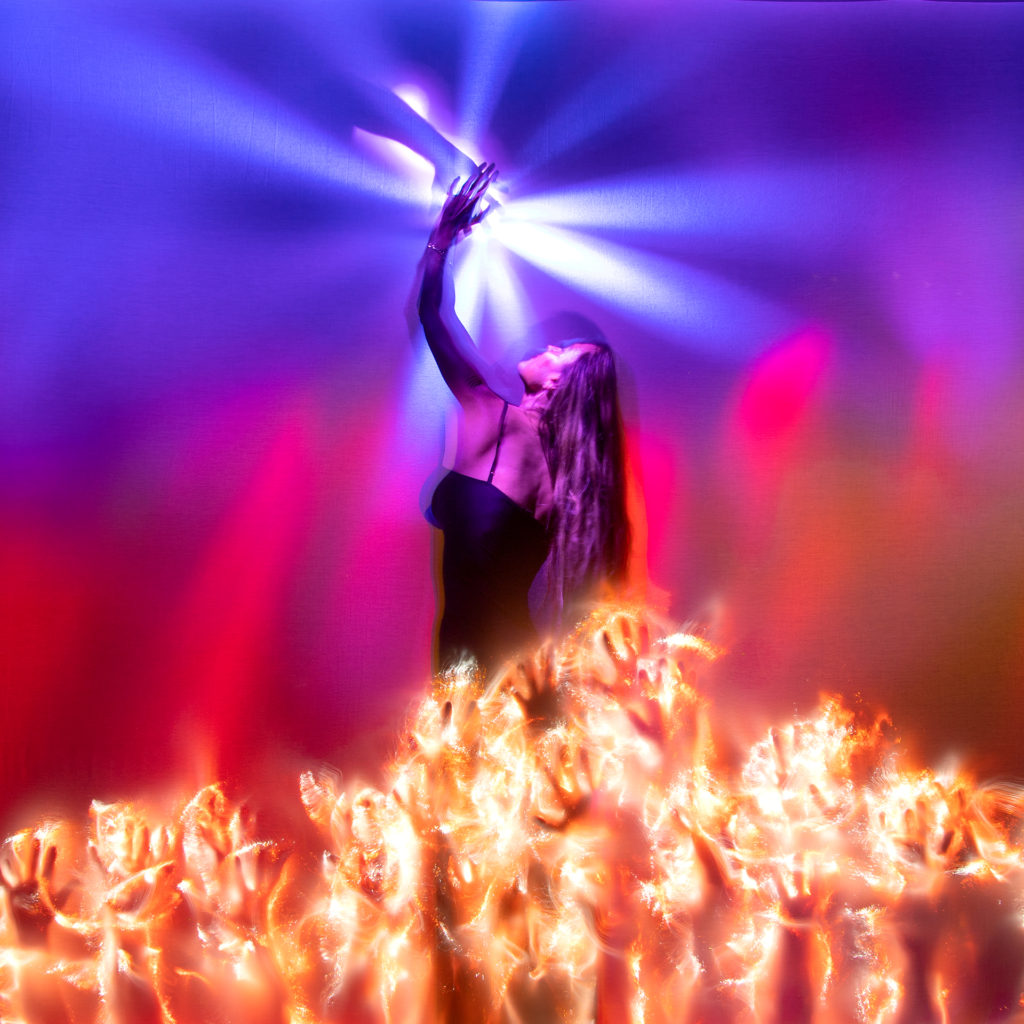
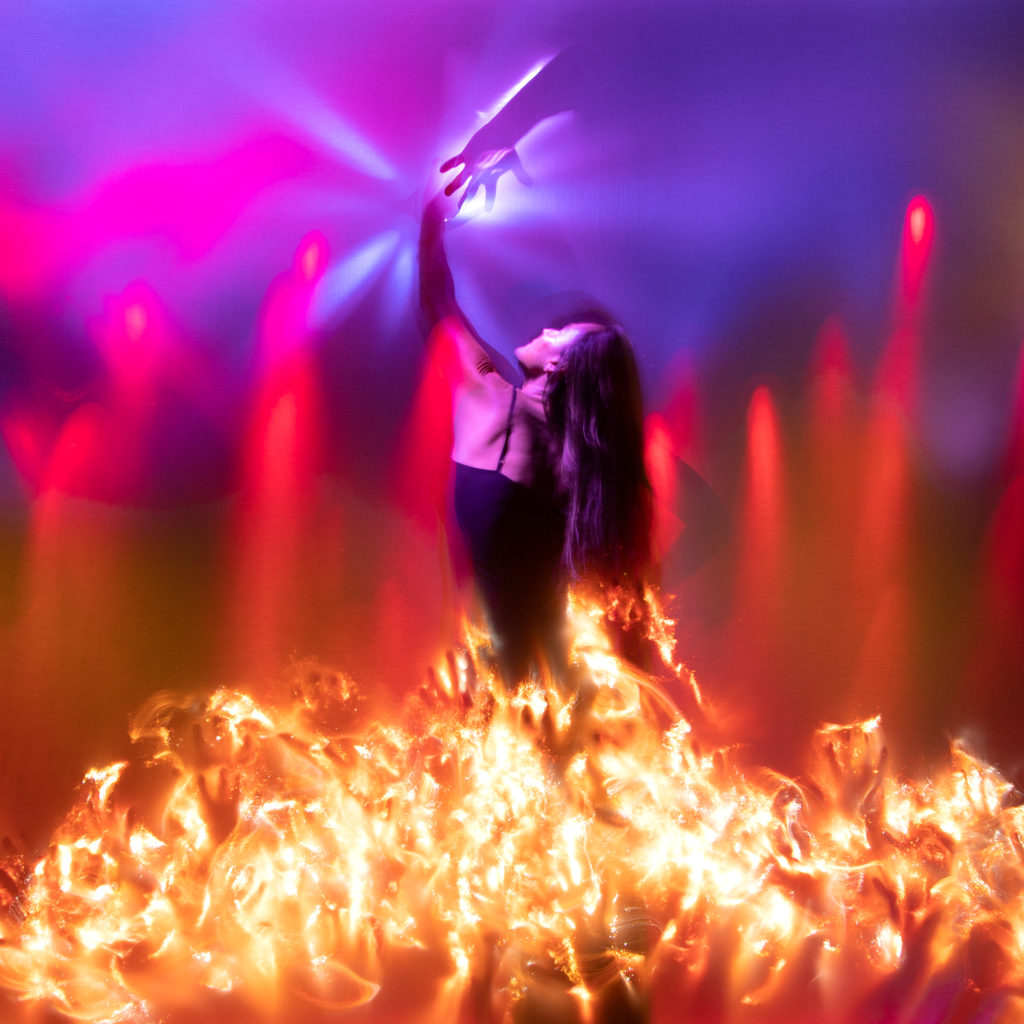
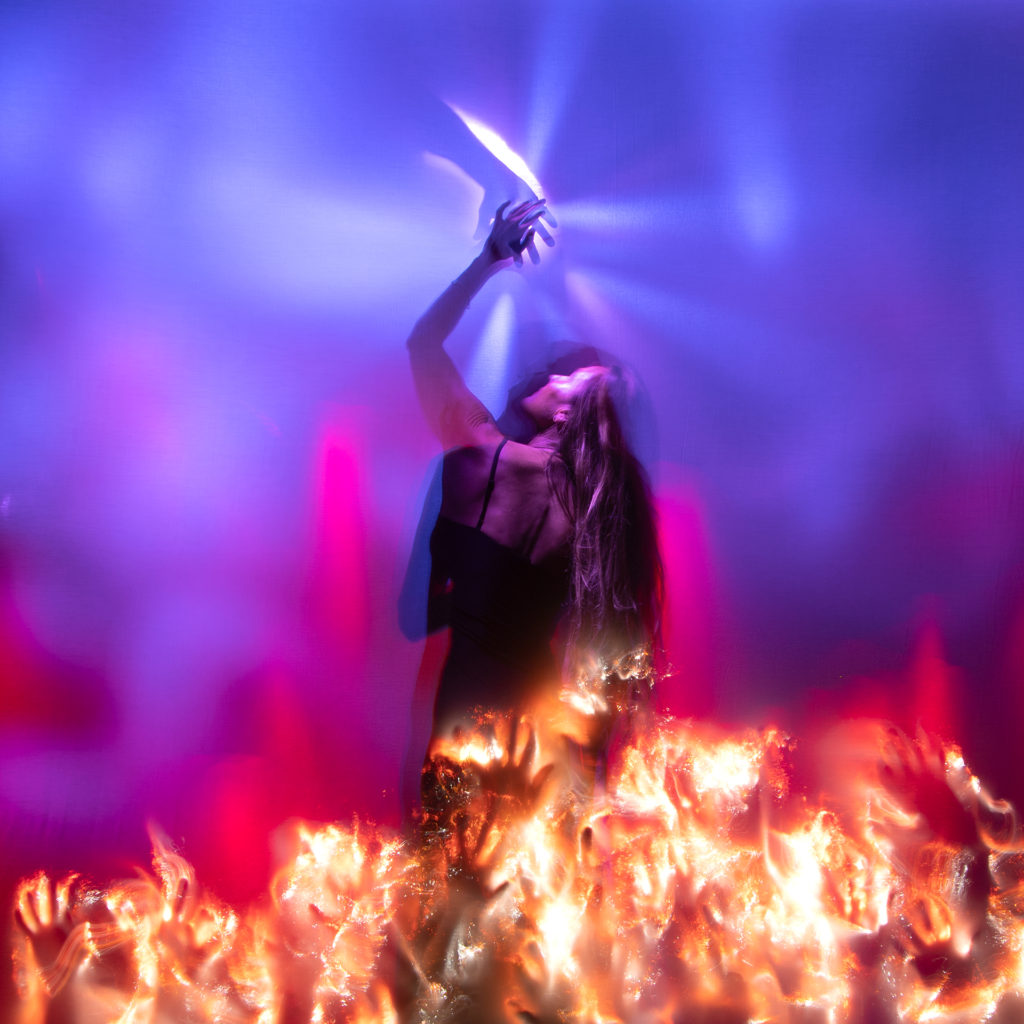
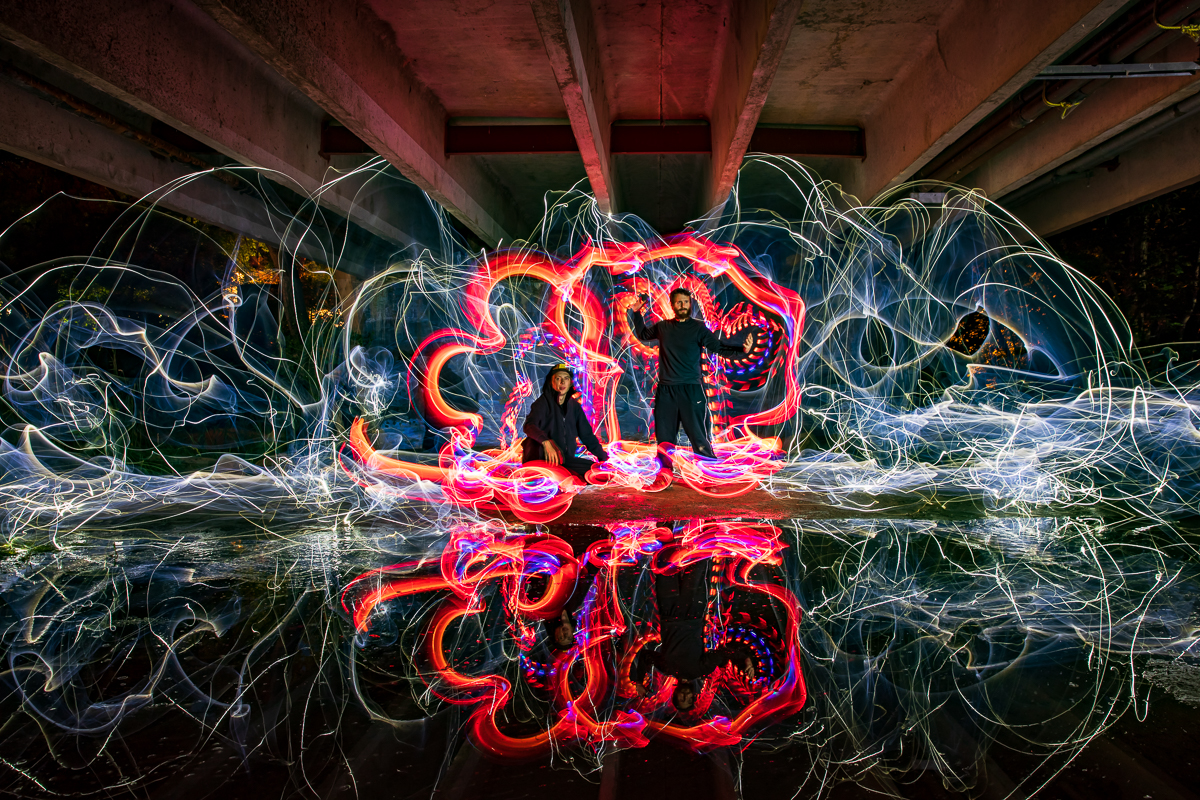
In this video I show how Dawn and I created this light painting using the Color Filter and Hoods and the Black Fiber Optic from Light Painting Brushes. Hope you enjoy.
For the promotion and progression of Light Painting Art and Artist.
In this video I show how Dawn and I created this light painting using the Color Filter and Hoods and the Black Fiber Optic from Light Painting Brushes. Hope you enjoy.
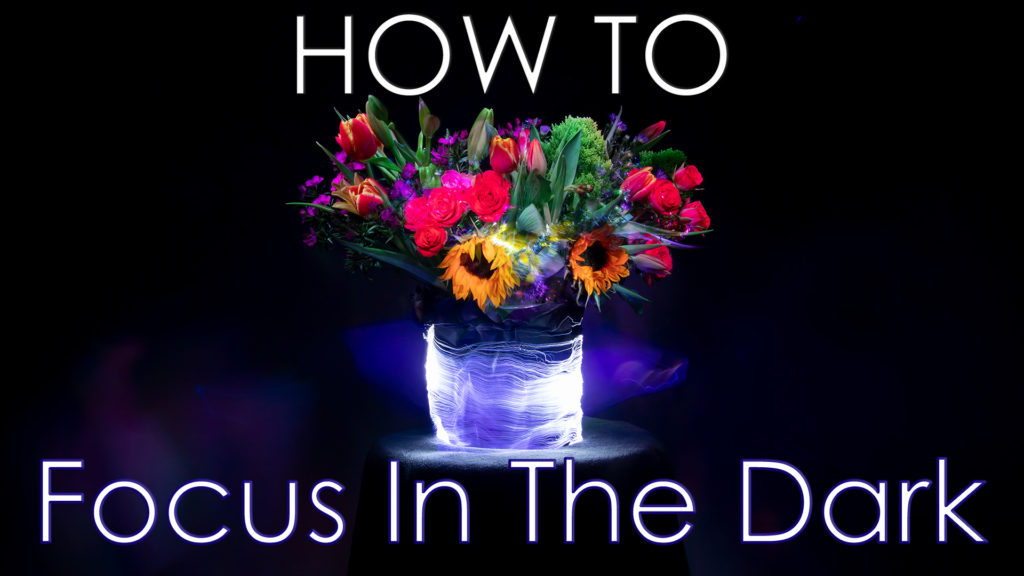
In this light painting tutorial I answer one of the most common questions that I get about Light Painting and that is How To Focus In The Dark. These are the two techniques I use to focus when I am creating my light paintings and this is what works for me. Since posting this video I have learned two new things from the community that can make your focus even better. The first is that when you are shooting on a tripod you should turn off your image stabilization and the second is that if you are using a varifocal lens you will get sharper focus if you do not zoom all the way in, instead you simply frame your shot first and then use the focus assist to pull your focus. Apparently when using a varifocal lens the focus will change when you zoom out. I have used these two techniques for 20+ years with every camera and lens set up I have ever had and never had any trouble but maybe my expectation of sharp focus is different and now with these new tips it can be improved! Anyway hope the video and these tips help you to achieve focus in the dark! Enjoy.
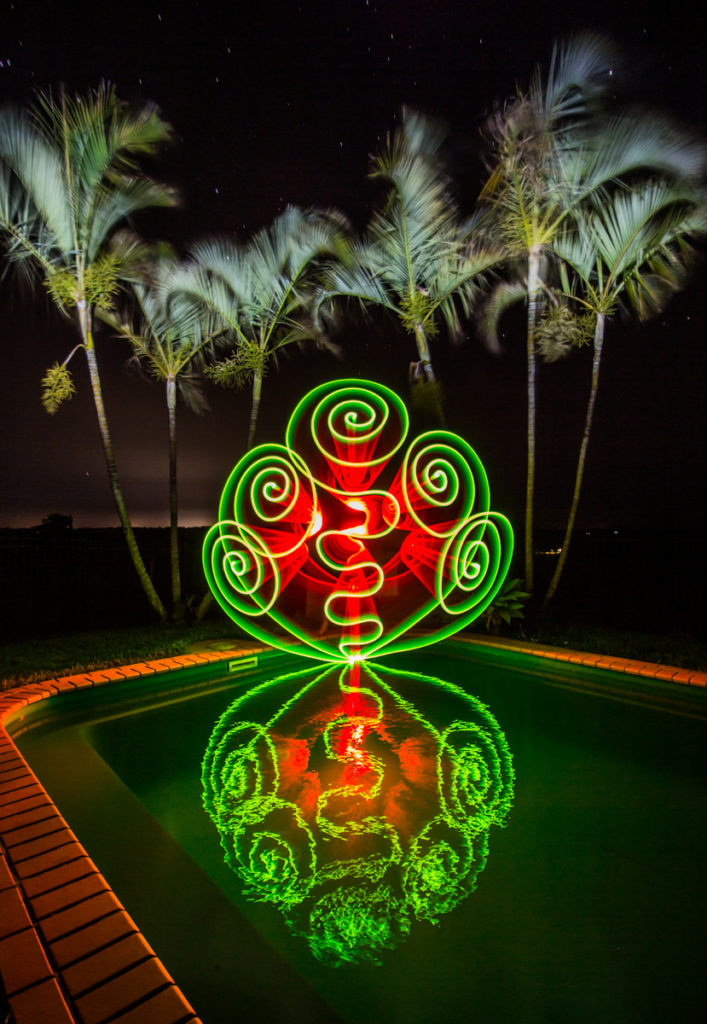
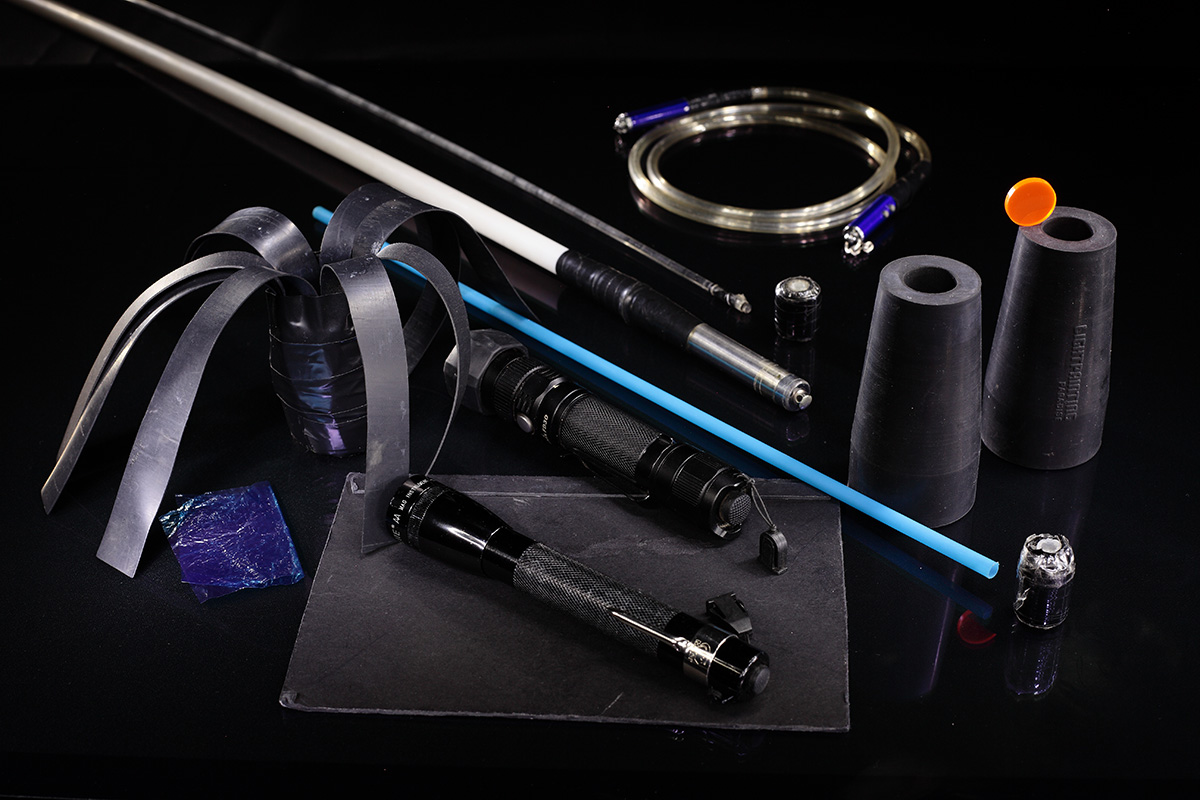
The winner of the Light Painting Photography Homemade Light Painting Tool and Image is Rod Evans for this ingenious Light Painting tool made up of hose clamps, tube guards and empty M&M containers! Incredible how a light painter can walk trough a store and see things differently… “I wonder what that would do if I shine a light through it”
Here is what Rod had to say about his winning image and the tool he created it with!
I captured this image at the pool in my backyard (in northern NSW, Australia). The spiral design was drawn completely by hand and is a shape that I have been working on for the last year or so. Most of my attempts at this shape are not worthy of publication but if I stick with it I usually end up getting at least one good shot from a shoot. When I saw this one on the back of the camera I really liked it as it has good symmetry and a nice reflection.

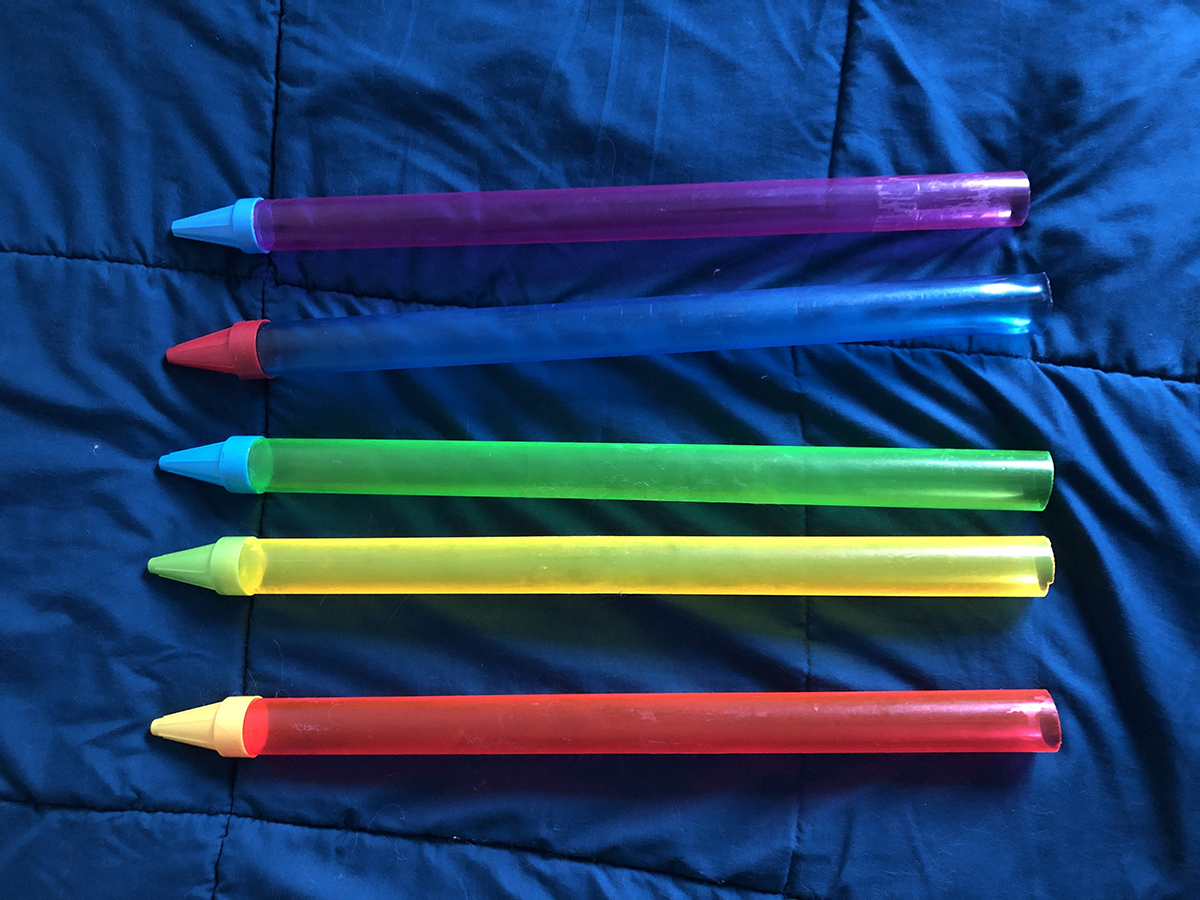
The tool I built is basically a red acrylic tube with a green M&M’s container taped on the end (I chose the red and green colours for one reason only….it was Christmas!!!). I purchased several coloured acrylic tubes from China recently and I love finding things to tape on the ends for light painting. Walking through the supermarket a while ago, I noticed the M&M’s containers (in four different colours) and thought they might look good with light shone through them, so I purchased them all, cut off the lids and put them to work. I’ve since done a few shoots using the containers and they all look great. The red tube is attached to the torch using a silicon grey-water adaptor that I bought from my local hardware store. I use butterfly hose clamps to secure the tube and torch in place. Torch used was a Nitecore P26. After creating the spiral shape I then walked over to the camera and painted in the trees with my headtorch. Check out more of Rod’s awesome Light Painting work on his Instagram Account HERE!
For this winning Image Rod will receive a prize package filled with light painting tools and treasures from our sponsors COAST Flashlights, Neon Flexible, Rosco and Light Painting Brushes ! Please support these awesome companies that support our light painting art from, without them this contest series would not be possible! If you would like to enter the next Light Painting Photography contest click here for all the details.



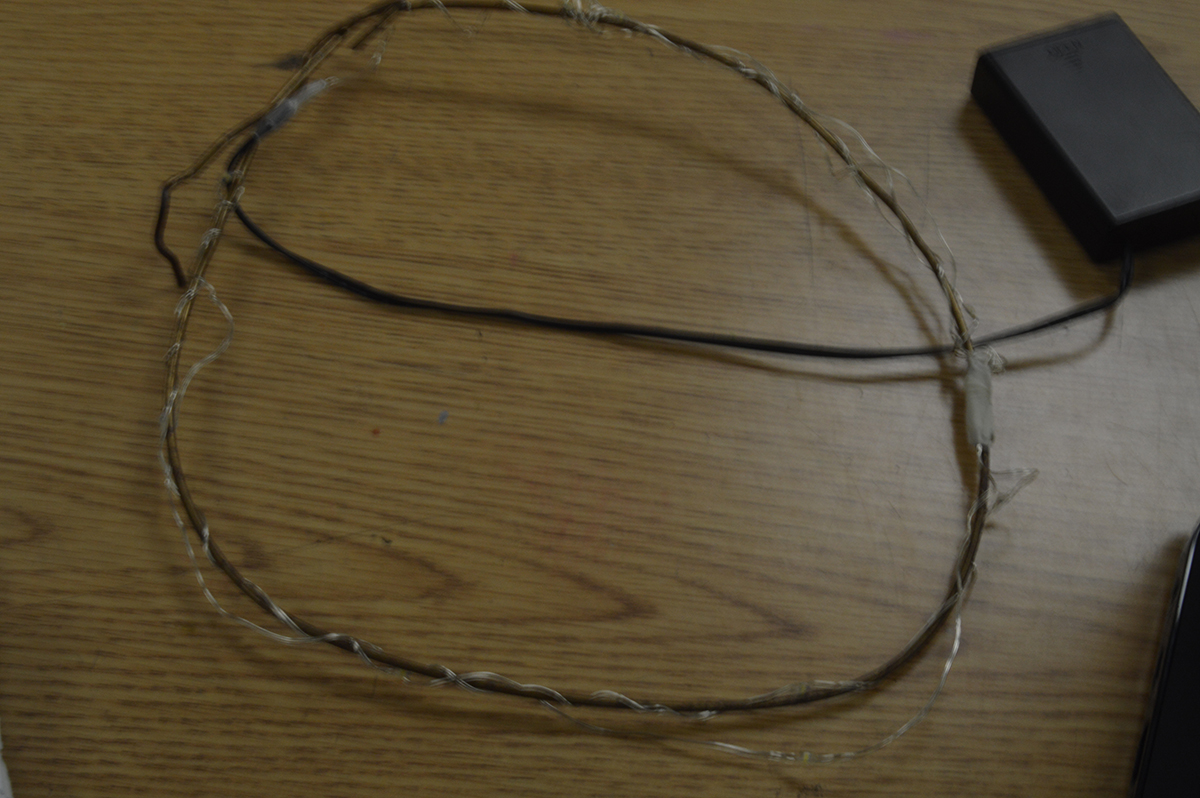
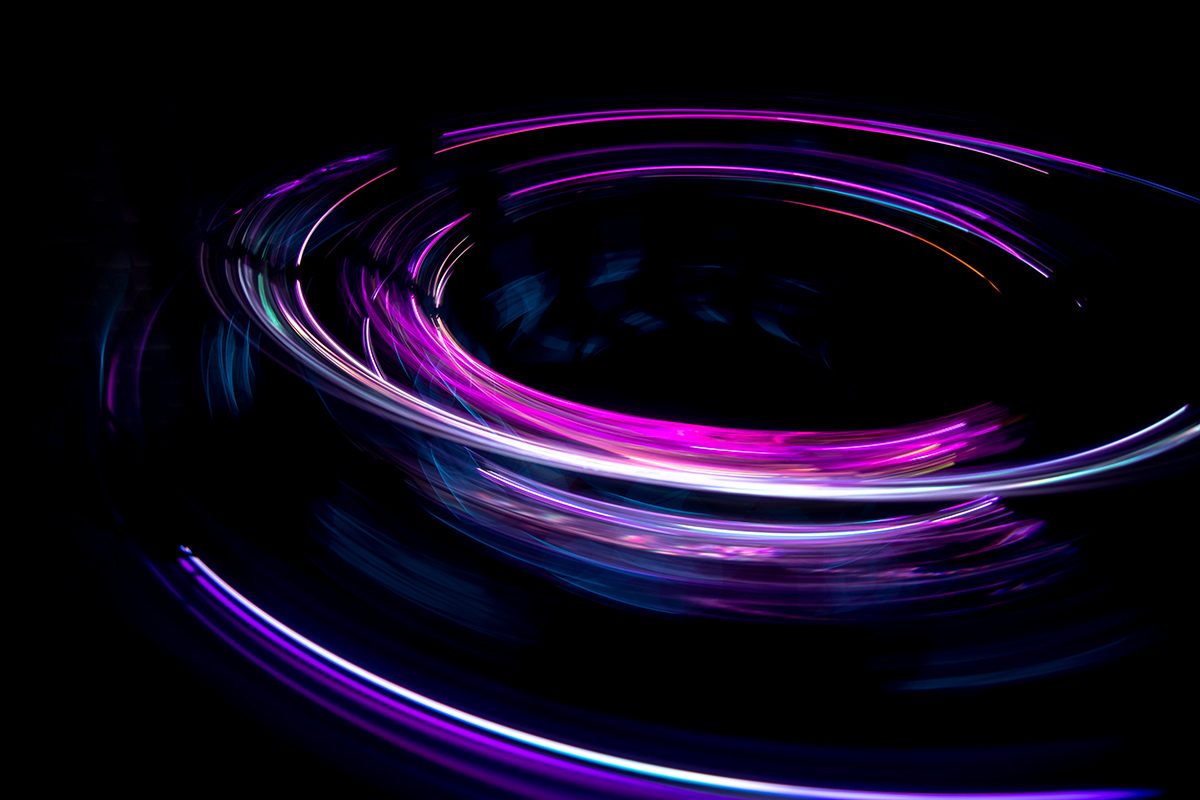
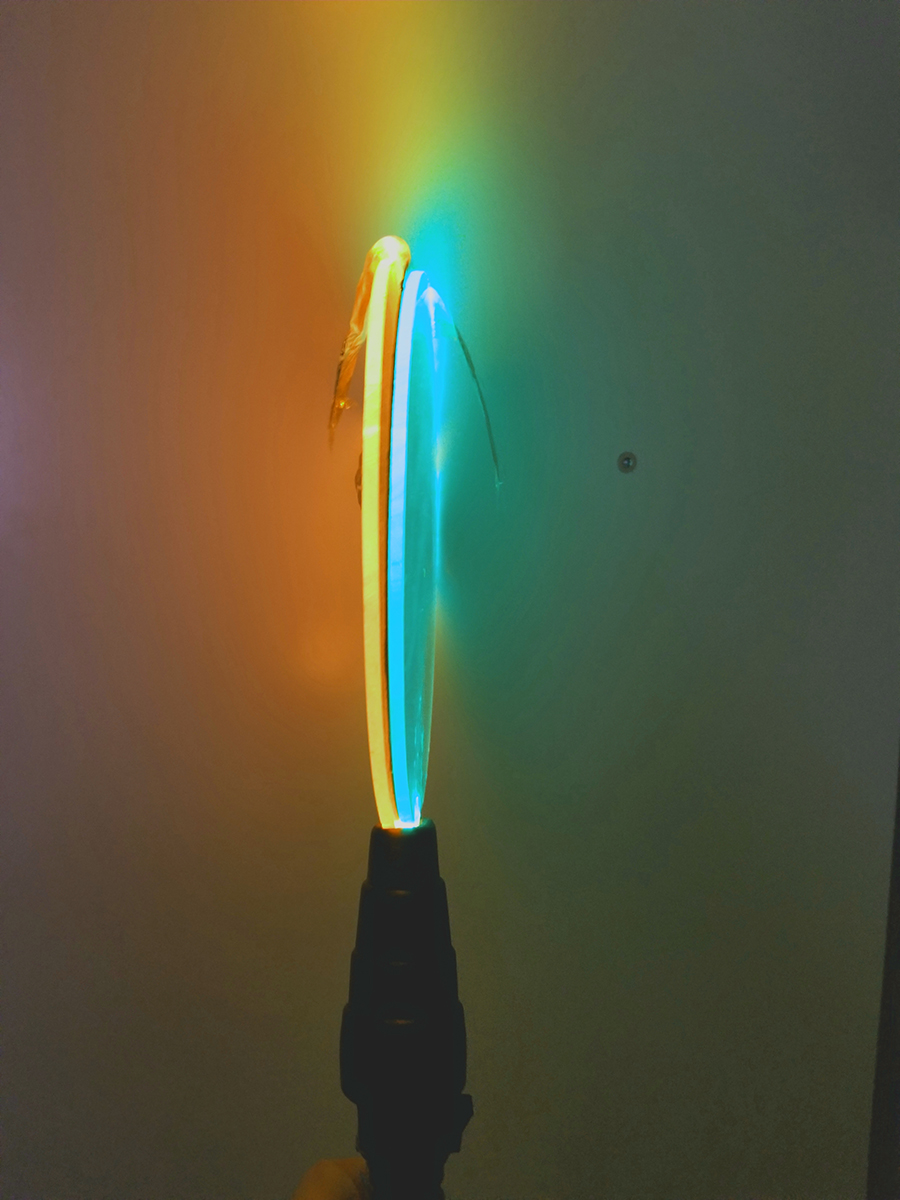
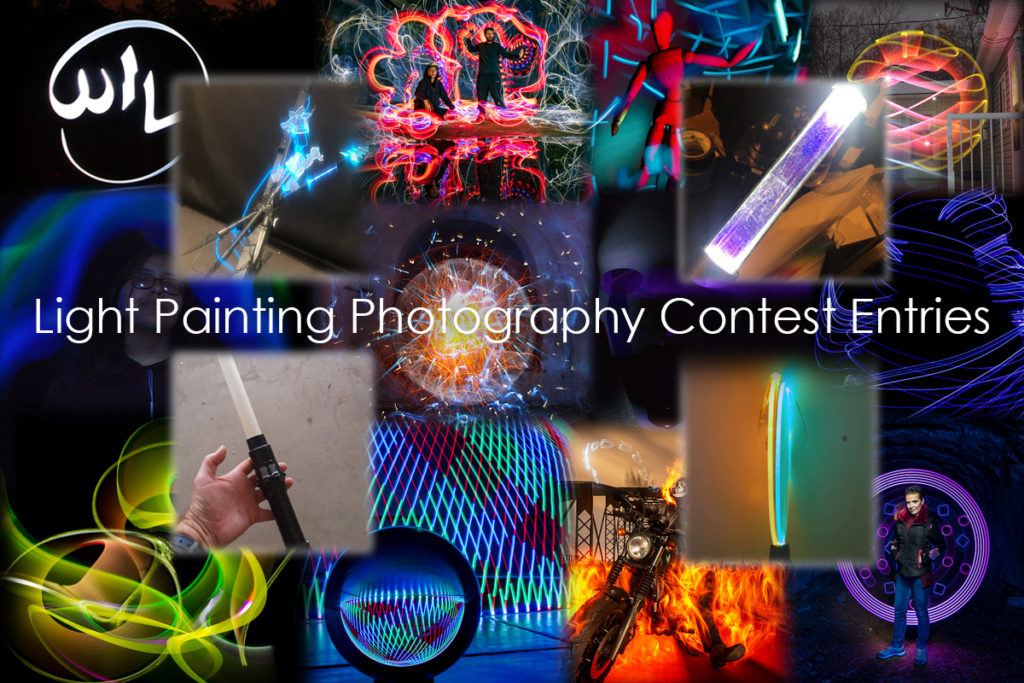 Here are the entries for this months Light Painting Photography contest! The theme of this light painting competition was to create a light painting using some sort of homemade light painting tool. That means you must have created something unique or at the very least modified some off the shelf light. You will see that each image has the tool used to create it directly after it and they are numbered the same, so light painting 1 was created with tool picture 1. Please pick the 3 different images you love based on the images alone and leave your selections in the comment section of this page. Everyone PLEASE VOTE in the comment section of this page to pick your top 3 favorite images, ONLY VOTE ONE TIME. The images all have a number in the title (EXAMPLE… IF ONE OF YOUR FAVORITES IS THE IMAGE TITLED “Light Painting Photography Contest Homemade Tool 01″ THEN YOU SHOULD PUT THE NUMBER 01 AS ONE OF YOUR CHOICES). Voters must include 3 UNIQUE choices for your votes to be counted. In other words no 1,1,1, or 5,5,5, or 7,7,7,…..The voting will end December 31st, 2019 at Midnight Eastern Standard Time, Enjoy.














Light Painting Photographer Russell Klimas hasn’t been light painting that long in the grand scheme of things but man has he made some incredible images in the last couple of years. Not only has he created some really awesome light paintings he has been busting down doors and getting his name out there! Russell’s images, innovation and work ethic are a real inspiration. He recently gave a TedX talk about Light Painting called “Light Painting: Photoshop in Real Life” It’s a great talk, check out the video below!