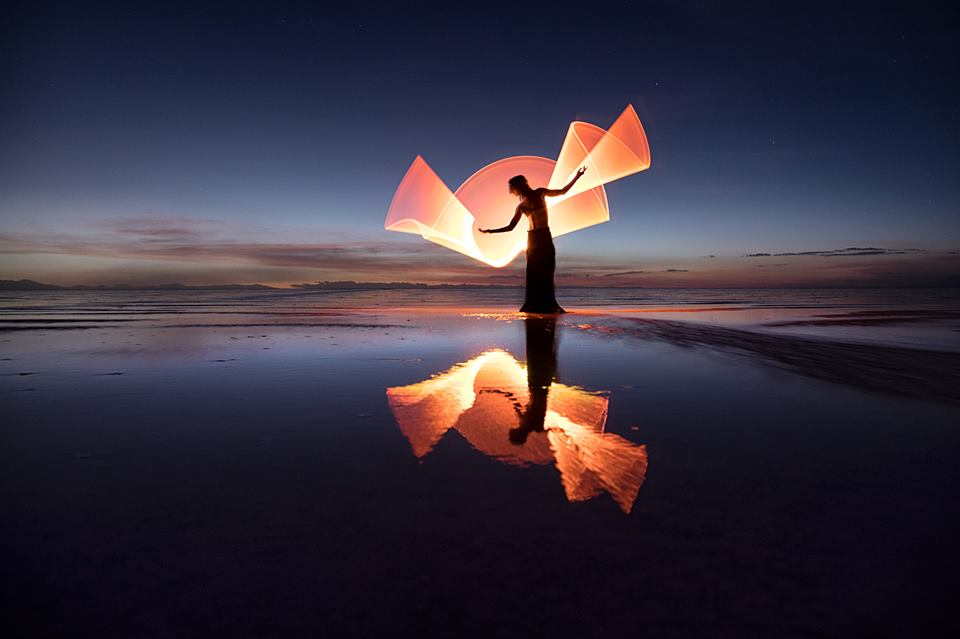
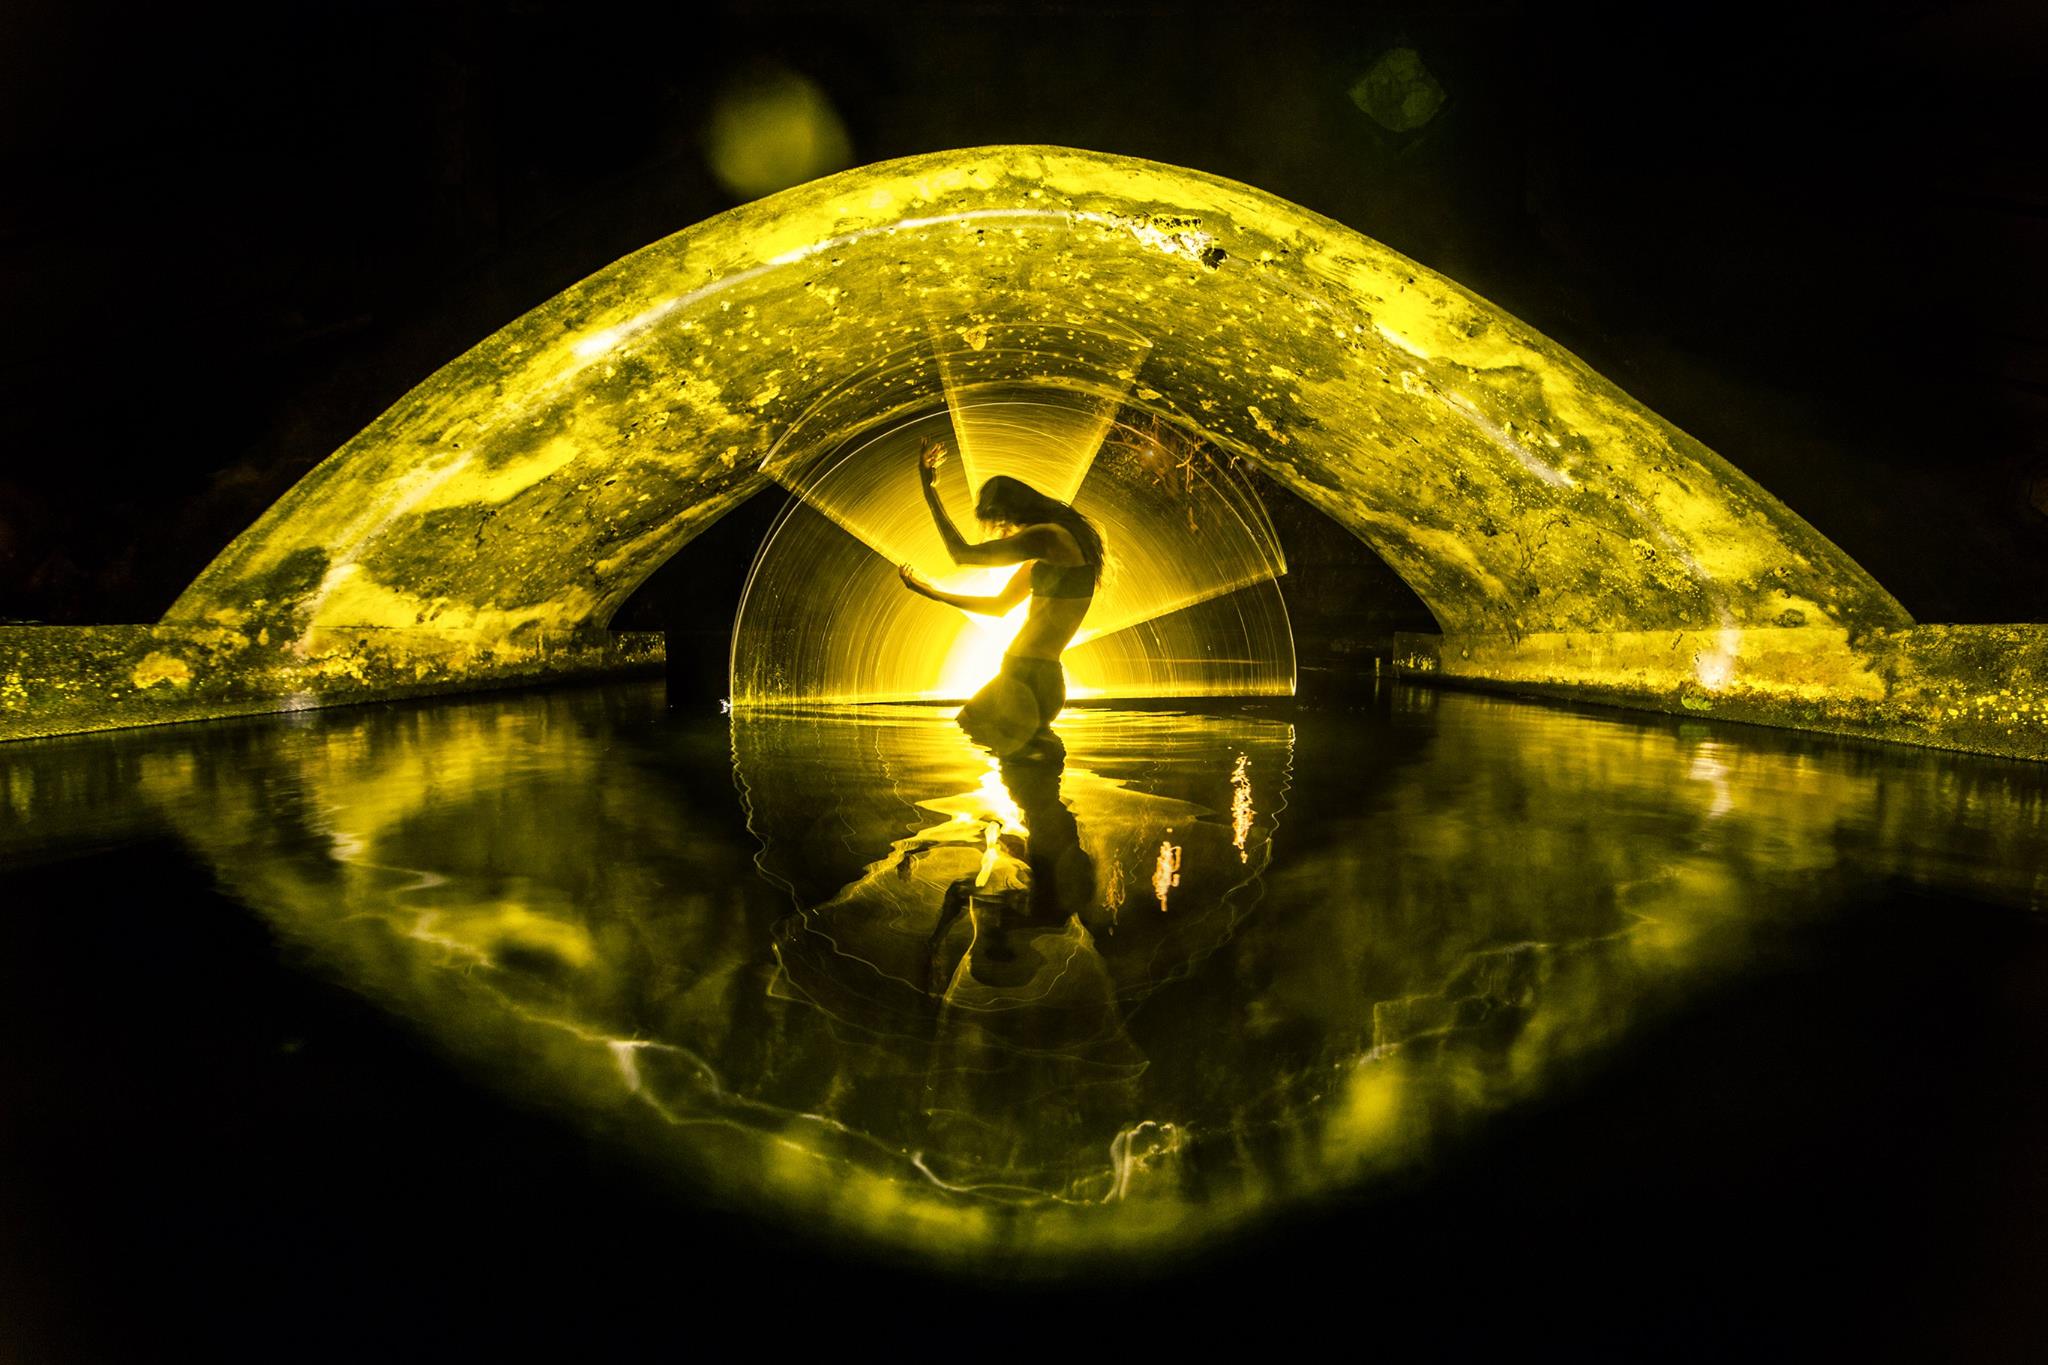
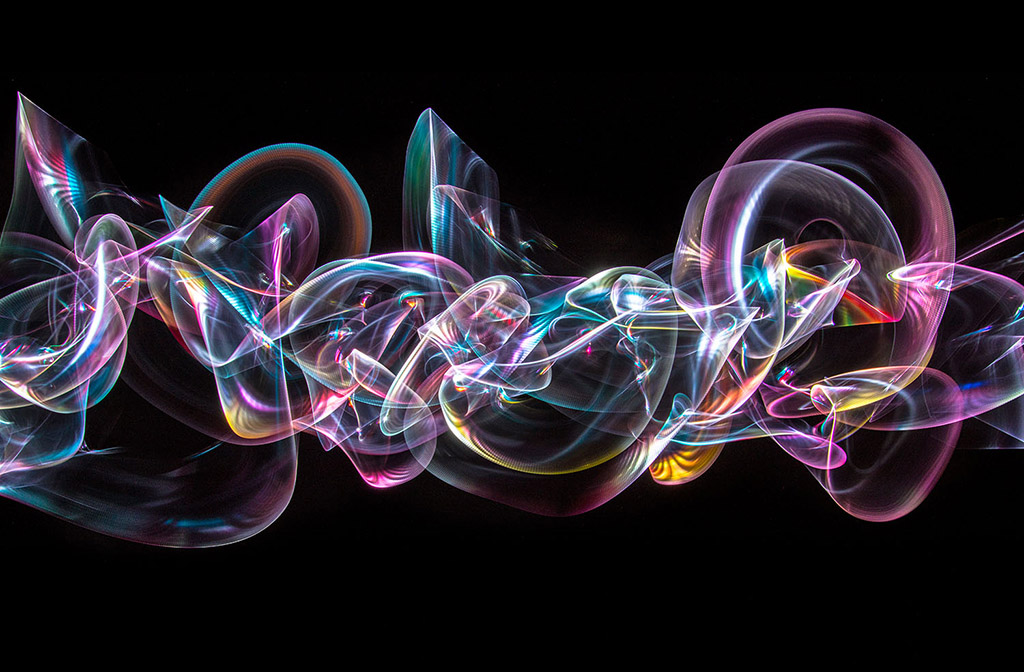
Tube Stories Episode 3 by Eric and Kim Thats A LOT of Tubes… Enjoy.
Light Painting Interval Exposure
Innovation is in the fabric of the Light Painting Photography Art Form and community. For many of us so is inventing and/or modifying our own tools and gadgets to create a specific effect that we are looking for. Dennis Berka is one artist that loves to create his own gadgets for light painting. Recently, while exploring new ways to capture fire in long exposures, Dennis came up with something entirely new that he calls Interval Exposure! This technique brings to mind the early Photoflash work of Gjon Mili, but instead of using a flash Dennis achieves his effect using a pretty cool invention! Enjoy.
Interval Exposure by Dennis Berka
Inspiration
At first I wanted to create a better way to capture fire in long exposures. The problem with fire in long exposures is that it usually gets burned out on the sensor. Fire has a lot of dark and bright details but they move around all the time. So I was looking for a way to prevent the bright details from burning out the dark details.
In the back of my head I had an article about the effect a rolling shutter created on fast movements and I thought this could be a good solution. But you would have to open and close the lens very fast, so putting someone next to the camera with a piece of cardboard was out of the question.
I designed a few discs with holes in them so once you let them rotate in front of the lens this would interrupt the exposure in intervals.
After the first experiments I soon realized that the wanted effect on fire could be achieved but the whole concept had the potential to do amazing things with any light source because it gives the light source an effect as if it had a strobe.
It is fascinating that no one tried this so far, seeing how simple and easy it is, but I guess you can say this for many things in life.
Structure
I took a geared 12V motor (around 720 RPM) with a PWM controller to adjust the speed and put this in a printed box. The box was easily mounted on a tripod and the axis of the motor left blank to be able to put different discs on it.
The great question is “how can someone design such a tool”. I have the advantage of using a 3D printer for my tool designs, so I was able to design and print this pretty easy. The files to print out this tool can be found on Thingiverse.
If you don’t have a 3D printer at your disposal you can use black acrylic to cut out the discs (or any other material that can be cut in stable discs of this size) just make sure the discs are balanced or they create a lot of wobble if spun fast.
As a connector to the motor axis you can use spacers for linear shafts used in mechanics. They are rings with small screws that can be attached to a shaft like the one on the motor. Simply glue one of these rings to the disc in the exact center.
There are probably a lot of other ways to do this and I am curious to see what designs others will produce!
After a few experiments I realized that a few different disc designs were very useful for different effects.
If you create a disc that has evenly distributed open and closed segments you half the exposure which gives any light source a strobe look. The speed and amount of open and closed segments controls how strong this effect is. You can see this effect most commonly in strobed flashlights or those dimmed with PWM. But you can apply this effect to any light source! No matter if it is fire, sparklers, a lamp or car trails.
Keep in mind that the amount of openings only influences the speed of the interval-effect. If you have a large variance in motor speed you just need one disc of this type.
If you use a disc that is mostly closed and only has small slits in it you get an effect that can be compared to shooting movement with a strobe flash. Because of the fast and short exposures any light source or lit object will appear relatively static on the photo. But keep in mind that even with small slits you will get a certain amount of movement blur depending on the speed of movement. Any light source (torches, sparklers, etc.) appears as if they are switched on and of real fast.
The amount of open segments in this type of disc influences the frequency of exposures. If you use wider segments you get more movement blur, if you use narrower segments you get sharper photo parts.
Keep in mind that you have to create the open segments with an edge along a line from the center of the disc to its circumference. This is because the further you go from the center the faster a point on a disc rotates. So if the open segments are wider at the outside the image gets exposed correctly everywhere. If the segment was the same width along its length the outer side of the photo would get less exposure then the inner side.
Usage tips
The most important thing to keep in mind is that the exposure is interrupted. This means that you increase your exposure time depending on how many open segments your disc has. If your disc has an even distribution of open and closed segments the exposure is halved. So if you would need 5 seconds for a scene to be lit correctly you will need 10 with the disc. With discs that have small slits this effect is even stronger. I use a disc that has two 10° slits, so only 20° of the whole 360° are open. This means that only 1/18 of the disc is open, which means the exposure time is multiplied by 18. One second exposure would then take 18 seconds.
You can combine this with normal techniques. So you could light a scene normally then cover the lens and put the disc in front of the lens and let it rotate, then remove the cover to create intervalled light streaks.
Also keep in mind that there will be a small gap between the lens and the disc, so any light that hits the disc from behind can be reflected into the lens and create flares and strange lights in your photo.

At the top right you can see some strange light that were created by reflections of colored light behind the camera.
Examples

Black fiber optics and a fast turning disc. The tips of the fiber optics create an awesome light rain effect
Conclusion
Even though this technique is really simple it has a lot of potential. I have tried out a couple of different lightpainting elements with it already and found out that it is worth to try it out on any old technique you know. It can create quite amazing effects even with techniques you know for years.
I have a lot more experiments planned for this, so stay tunes for even more examples and results.
I hope a few other light painters will adapt this technique and build their own interval exposure tools. Looking forward to see your amazing photos and results using this technique!
If you have questions you can reach Dennis on his Facebook page Ryu’s Lightworks.
Light Painting Tube Stories 2, by Eric Pare.
Light Art Digital Magazine 2nd Edition
The second Edition of Light Art Digital Magazine is out and it is full of amazing images interviews! Download it for free right here!
Light Art Congress Speeches from Oviedo
All of the speeches from the second International Light Art Congress in Oviedo Spain have been uploaded to the intrawebs! If (like me) you were not able to attend this awesome light painting photography event at least you can check out some of the speeches from some of the leaders of the light painting movement! Below is an interesting one from light painting pioneers Lichtfaktor and all the links to the rest are below! Enjoy.
HANNU HUHTAMO “From light art to social art” [LightArtOVD 2016] (EN)
https://youtu.be/HD18nKI5CiI
PALA TETH “A little touch of magic and a big bunch of fireworks” [LightArtOVD 2016] (EN) https://youtu.be/XsOv8WlteRo
DAN WHITAKER “Organized chaos and seeing things from a different angle” [LightArtOVD 2016] (EN) https://youtu.be/Lhe3Sp4FViI
CHANETTE MANSO “Light or matter” [LightArtOVD 2016] (EN)
https://youtu.be/3E17ryQDi_s
JADIKAN “Relief Lightpainting Photography, another perspective” [LightArtOVD 2016] (EN) https://youtu.be/39fbFH_MI1E
ADRIESPELEO “Fotografía nocturna de naturaleza y mundo subterráneo” [LightArtOVD 2016] (ES) https://youtu.be/QTlSEItQh6s
MASS “The Light and the Body” / “Contorsiolight” [LightArtOVD 2016] (ES & FR) https://youtu.be/f0pPz_BmFms
ELEMENTAL LIGHT “Luz elemental” [LightArtOVD 2016] (ES)
https://youtu.be/V5Vpnz16r-o
DARKREDTEAM “Evolución en el light painting de DARKREDTEAM” [LightArtOVD 2016] (ES) https://youtu.be/cDqLN_xutxI
Light Painting Facebook Learning Groups
Recently there have been some great new groups created on Facebook specific to particular styles of Light Painting and I thought it would be good to share some of them here. These groups are great places to find inspiration, tips, and most importantly a community of like minded individuals that are happy to help you create your light painting visions. Enjoy.

Ericparelearn.com
The first is one founded by Eric Pare this group is all about light painting with the fluorescent tube guards that Eric has made famous.
Light Painting Brushes Tricks and Tips
This group is run by the Light Painting Brushes Brand Ambassadors and is a awesome group all about creating using the Light Painting Brushes tools.
LightBlading
Founded by light panting pioneer Patrick Rochon this light painting group is specific to the art of using plexiglass light painting tools also known as blades.
Fiber Optic Light Painting
Founded by fiber optic light painting pioneer Maria Saggese this group is all about the incredible effects that can be achieved with fiber optic light painting tools.
Light Paint Lab
Founded by creative madman Dan Chick this group is great for awesome ideas and being inspired by Dan’s cutting edge techniques!
Camera Rotation and Kinetic Photography
This group is all about creating light paintings by moving your camera! Image above by CRT pioneer Chris Thompson.
Jan Leonardo/Learn
Founded by LAPP co-creator Jan Leonardo this group is for learning and sharing Light Art Performance Photography.
The Official Pixelstick Group
All about using the Pixel stick to create your digital light painting magic.
If you have a Facebook account I highly recommend checking out these groups.
New Light Painting Guinness World Record, 1000 Orbs!
The quest to create the most light painted orbs in a single exposure all started with Andrew Wells and his Century of Light Orbs Project, in which Andrew single handedly created 100 light painted orbs in a single exposure!
Then the East Coast Light Painters, (myself included) broke Andrew’s record and got the first “Official” light painting world record by creating 200 orbs in a single exposure.
Then a team from India took a completely different approach to creating the orbs and blew the record away by creating 900 mini light painted orbs in a single exposure.
Now that record has officially been broken with 1000 Light Painted Orbs is a Single Exposure! What is even more wild is that they were all created by hand! 20 participants under the direction of Wolfgang Laich and Michael Walch have created ONE THOUSAND handcrafted light painted orbs in a single exposure! Check out the full interview with Wolfgang below for all the info on how they created this record setting image!
Hi Wolfgang congratulations on breaking the Guinness World Record for the most Light Painted Orb in a single image, 1000 Orbs is a one hell of a lot of Orbs! Can you tell me who was involved in setting this new Guinness World Record!
Well it was my friend Michael Walch and me (Wolfgang Laich) as the photographers. We, along with 18 friends and 3 independent referees took part in the attempt. A total of 20 people worked to build the light orbs in the final picture.
You had mentioned that you have not been light painting that long, how did you start light painting and how long have you been creating your images?
We started light painting about 2 years ago in the winter time. It gets dark early here (Kempten/Allgäu Germany) so we use the time for taking pictures. Mainly we try to tell a story with our pictures! First we made pictures with burglers in the dark night, movements and shadow, Fire balls…. then coloured shiny dead persons… we used more and more self made tools and also Light Painting Brushes.
We are two “Hobby” photographers with lot of energy for always trying new things. We meet one evening each week and try new things. Not all of our work is light painting, we are no specialists! (maybe we become…) We never could and want compare with professionals! We know this, we admire your work (also the other really good Light Art Professionals like JanLeonardo Wöllert…) For us what is most important is having fun and distraction from daily work time 😉
What inspired you to set out to break the record?
We found some pictures on the Guinness website from the former Record holders. The first record the Orbs were all made with a lot of handcrafted tools. Then the last record from the Indian team the orbs were made by little electric “game balls”. We wanted beat them with good old handcrafted orbs 😉 !
Can you tell me a little about the process, what was involved in the planning of the record attempt. How long did all the preparations take?
Normally in winter times after work it gets dark very early and there are no cows and fences in the fields 🙂 The farmers keep them away because of the snow. It is cold outside but that is the time when we have enough space, no people and time for some attempts. We worked for about two months (we built all the tools ourselves) with preparing, improving, testing and keeping the costs low, we needed for 2 months for all the preparations.
How did you create the orbs, did you make them by spinning them by hand or did you have a special tool?
We moved them by hand but in special way. We tried a lot of different possibilities, we made pictures and analysed the results afterwards. At the end after a lot of tries we decided that the best solution was to create the orbs using a tools with lights on both sides so a full orb would be created in a half rotation.
We had everything marked out with rows. We fixed three lines on the ground, one line in the middle of the field, one line marked the far right side and one line marked the far left side of the frame. On every string we fixed a little piece of wood every two meters on the rope. Three people were able to move back on the lying rope to the next little part of wood that marked the next location.

I took my place in the middle row on the line to give the instructions with my own voice. Every movement was coreographed, even how we created each individual orb in the row was by directions. Each of the 20 participants took their place in the row and then I gave the directions. To create each orb I gave the instructions “Lights on, half rotation, stop. Move to two o’clock, half rotation, stop. Move to three o’clock, half rotation, stop. Move to 5 o’clock…….. Think of it like standing on a watch face this was the easiest way to communicate where to turn the lights on and off for participants that had not done this before.
To create each orb we had 8 half movements. Then turn lights out!! Once we had a full row of orbs created the group moved one point back on the line. Then lights on and we repeated the same process with instructions all over again.
How big are each of the orbs?
Each of the orbs was approxamately 1.5 meters.
Why did you decide to create the orbs using this technique?
We chose this technique because it was the easiest for our friends to learn quickly. We wanted to create the image with a group. We only showed the participants how to create the orbs one time and only minutes before we set the new world record!
Did you achieve the image on your first exposure or did you have several attempts?
It was the first and only attempt we had. The weather was very cold and some participant weren’t be able to do it a second time. With really cold fingers it was even difficult to use the on/off button..
How long is the exposure for the winning image?
It was a 3149 second exposure.
What was the most difficult part of creating 1000 orbs in a single exposure?
Maintaining the proper distance between all the participants was the most difficult part. The problem was because of the optic lens with an 18mm lens. In front line you had ~40m and after 110 meter you need at least 55 meter. When our friend goes back to the next point after the “turn off” the light command the distance between the participants had to became little more….. And we didn’t use more lines… Michael always checked that the participants had the right distance to their neighbor before the lights were turned back on. That sometimes was not easy, but we all had a lot of fun with it!!!
Then second problem was making all the orbs countable!! We needed long ladder (5 Meter) to get an angle high enough for taking the picture. And last…. also because of the lens. We started with 12 people for 5 rows so that we didn’t lose too much of the best countable space in front of the camera.

Do you have plans to set any more light painting world records?
Good question, we normally never do the same thing two times. We will be happy to congratulate the next winners that will beat us! Different challenge maybe, we will do more light painting for sure!! After we got that nice response from you and JanLeonardo yes we try more and hope to improve but never want to copy!
Thank you very much for taking the time to share some great info on how you accomplished this excellent record, 1000 orbs by hand is just amazing! Great work and thanks again!
Thank you very much Jason and we are really proud that you found and show your interest!!!
Happy Regards and always a full “battery” 🙂
Wolfgang and Michael from Kempten/Allgäu Germany
To check out more work from Wolfgang and Michael you can check out Wolfgang’s Flickr page HERE.
360 Bullet-Time Light Painting with Eric Paré
Eric Paré and Kim Henry create all kinds of amazing Light Painting imagery. One of Eric’s more technical light painting endeavors is providing a sophisticated 360° Bullet-Time Light Painting Rig to major corporate and lifestyle events around the world. Eric is pushing the limits of Light Painting on many different fronts, but this set up of 84 cameras shooting simultaneously is something else. I thought it would be interesting to learn a little more about his Bullet-Time Light Painting rig, read on for all the info.
LPP ∇ What is 360° Bullet-Time Light Painting Photography?
EP ∇ I think the safest way to describe it would be to say it’s light-painting (long exposure) photography using an array of cameras in a 360 degree environment (cameras pointing inwards)
LPP ∇ How many cameras are you shooting with at one time?
EP ∇ When I started a few years ago, I was shooting with 24 cameras. Now I shoot with 84… and I’m planning on adding quite a few more within the next year to come for new projects… 😉
LPP ∇ How do you control all the cameras at one time, is this an off the shelf solution or something that you had to design?
EP ∇ There are a few options out there to control the cameras, but they have very limited features and they’re often buggy. Most of our clients (yes, we license our bullet-time software solution) were using the same old app and they switched to our things because it’s more stable and more modern. Basically, we have a web interface (meaning you can control everything using your computer, tablet or smartphone), and this is the starting point to the whole solution. It does everything: connect, control, calibrate, sync, trigger, download, preview and publish.
LPP ∇ Did you design the system yourself or is there a technical wizard behind the scenes?
EP ∇ In 2011, I put in place the full bullet-time system within two weeks for a live gig. I do a lot of coding, so these things are not too scary for me. Designing that kind of system in such a short period of time was quite reckless or silly, but I guess I’ve always liked challenges. Now things have changed and I have a great team on board working on this fancy system while I invest more time on the artistic aspect and the project’s management. I haven’t wrote a single line of code in that system for over a year, but my team is constantly improving things and adding cool features.
LPP ∇ How did you begin shooting Bullet-Time Photography and when did you bring Light Painting into the booth for the first time?
EP ∇ Light painting basically came into my life because of Bullet-Time Photography. As soon as I got a rig in the studio, I was looking for a way to light my models without revealing the cameras all around. So I started to create the light by hand and experimented with light-painting. I played around until I achieved my goal: having a studio quality light created by hand without revealing the cameras. One turning point for me was to see Patrick Rochon working. He’s very serious about his art, and this really inspired me to achieve professional results using light-painting techniques.
LPP ∇ In terms of Light Painting you shoot relatively short exposures, what is the average exposure time of the images you create in the bulletime-lapse rig?
EP ∇ In my studio as much as when I work outdoors, exposure is relatively short: it mainly stays around 1 second or so. I’m very conscious that in the light-painting world, most are doing exposure of above a minute, and if you look at the wikipedia of light-painting (the french version), it states that light-painting is always made with exposures above one second. But… i’m still doing some tracing using light, so I guess I qualify a little bit anyhow 😉
LPP ∇ What are the benefits of shooting a 1 or 2 second exposure, as opposed to something longer?
EP ∇ The main reason why I shoot with such short exposure from the beginning is that I want to achieve studio quality pictures using hand crafted light. It means that I want my subjects to be as crisp/sharp as possible on the image, every time. If you go over 2 second exposure it gets trickier because of the subject movement, even when you work with professionals.
LPP ∇ I know you have the system at your studio Montreal but you also travel and do some major corporate events, what are some of the companies you have worked with?
EP ∇ The first major event we did with 360* light-painting was for Adobe Max. We were two light-painters (Kim and I) and created more than 1000 pictures within 3 days. Since then, we collaborated with Microsoft, Intel and a few other brands on which we are preparing the next projects. We have a tour coming up in spring that will bring us to Spain, China, and USA. We’re all pretty excited about that!
LPP ∇ Traveling with the all that gear must be pretty complicated, how do you travel with all the equipment and how many people do you have to bring with you to set up?
EP ∇ Super complicated! Once again, I’m well surrounded. I have people helping me to handle the technical stuff, such as inventory, shipping, set up, etc. An event can involve between 5 to 12 people on site, depending on the circumstances.
LPP ∇ Recently I have seen some of your 360° work that looks like a combination of a interval and bullet-time, is this something new that you are working on?
EP ∇ Exactly! We developed a way to shoot one camera at a time, or by interval as we call it. This gives a whole new range of possibilities to bring more movement in our 360 work. It does work with light-painting too, as you can see on this first demo I did a few months ago:
LPP ∇ What do you see as the future of 360° Bullet-Time Light Painting Photography?
EP ∇ This is endless. I could spend a year in the studio and create something different every day. I’m not good at figuring out what the future looks like, but I can tell you that it’s very bright and full of creativity. Come play with us! I want to inspire people to play inside and get creative!
LPP ∇ I know you are super busy these days, thanks for taking the time to answer some questions and share a little behind the scenes of this incredible Light Painting set up!
Check out more on Eric’s Website, Instagram, Facebook Page, and he also has a very nice group called Eric Pare/LEARN with all kinds of great info!
Light Painting Break Down: James De Luna “Spectral Super Model”
From time to time we come across a light painting and just stare it wondering how did they do that?!?! Break Down is a series if which I only ask the artist one question “How the F@#! did you make this” its up to the artist to tell as little or as much as they want. Recently Light Painting Photographer James De Luna posted this colorful, magical, stellar, interesting, glorious, luminous and radiant image called “Spectral Super Model” . My mind was blown by this amazing creation so I asked for a “Light Painting Break Down”.
LPP ∇ James, Spectral Super Model is pretty, How the F@#! did you make this?
JL ∇ Well first things first when working with models… make sure they are warm, comfortable and in a good mood, their hair and makeup done nicely etc… oh hang on mine is plastic …
I adjusted the wig.
For this shot I wanted to have the lens above the model so I actually put the tripod on top of 3 large containers.
The next step was to do the background, so I set my focus to the model, aperture to f8 and turned out the lights (I have a room where complete darkness can be achieved) Waving my tool behind the model upwards and downwards I made a silhouette of the mannequin.
Next I removed the wig and stuffed the first el wire up my sleeve. The way I do these is by holding the wire against the model as it flashes on fast mode and on slow mode for the hair. You literally wrap it around the body just once and move the wire, trying to get the coverage even.
Finally I repeated in the two other colours. That’s really all there is to it … but in this case it took 29 minutes, so you certainly need a little patience 
GEAR USED:
Sony a6000
Zenitar 16mm lens
Home made RGB led tool
EL wires in pink green and blue
Tripod
Model (A mannequin)
Light Painting Meet Ups 2017!

2017 is looking to be a great year for Light Painting Meet Ups! The Light Painting World Alliance has just wrapped up another epic Light Painting event in Rome and already we have 3 more dates locked in for exciting Light Painting Meet Ups around world!

May 19th-21st a light painting meet up will be held in British Columbia (Canada)! 2 epic locations are set for this meet up including the Alexandra Bridge and Othello tunnels, both are located in Fraser Canyon! The meet up supervisor for this event is Derek Lawrence. Click here to find out how to participate in this event!

June 3rd-4th LPWA founder Sergey Churkin will be hosting a light painting meet up in Moscow, Russia! Needless to say this will be an incredible opportunity to shoot in a historic location! Click here to find out how to participate in this event!

July 21st-23rd a light painting meet up will be in Washington State under the shadow of Mount St. Helens in the Pacific Northwest! Light Paintings will be created in some of the magical caves located in the area. The meet supervisor for this event will be Chris Bauer! Click here to find out how to participate in this event!


