DIY Wheel Light Painting Tool Tutorial by Dana Maltby (TCB)
In this Light Painting Photography Tutorial created by Dana Maltby, a.k.a. TCB, you will learn how to wire and operate a light wheel. Dana’s wheel tool is similar to other tutorials like Nocturne’s Dome Tool and Andrew Whyte’s Dome Tutorial, but Dana uses this tool in a much different way!

You will need a strand of battery-operated Christmas lights, duct tape, and a wheel.
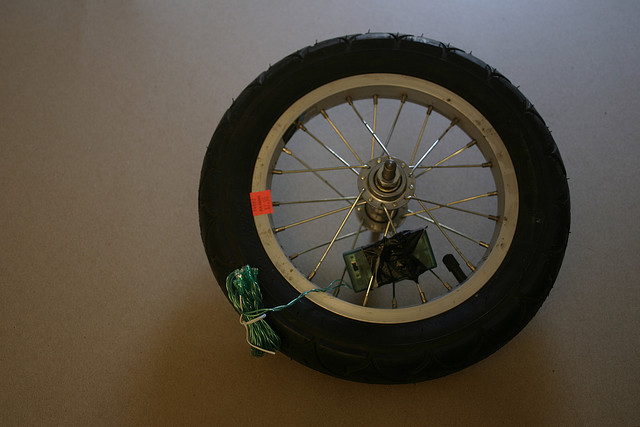
Position the battery pack inside the spokes so the switch becomes the “back” of the tool and the lights point away from that side.

There was extra wire at the beginning, so I taped it up into a bunch.
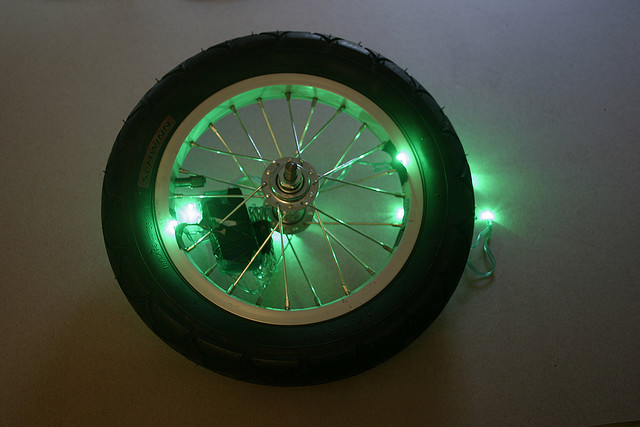
Keep in mind the switch is on the other side — this is the front. I decided to use only 7 of the 10 lights. I taped light #1, skipped three, then taped light #5 opposite to it.
Then I taped light #3 equally between #1 and #5. Lights #2 and #4 are still hanging.

With lights 1–5 done, you can see that only 3 more are needed to complete the wheel.

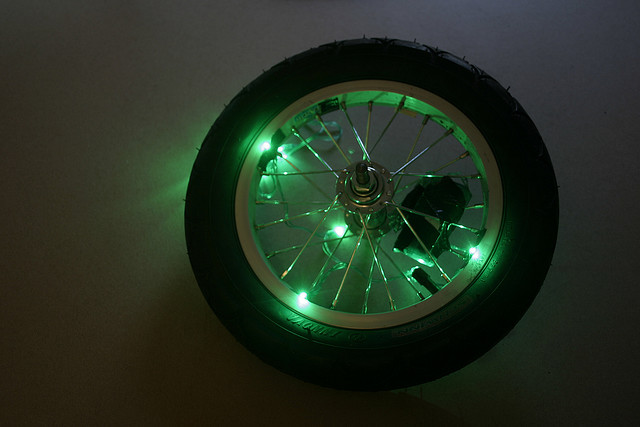
All done! The spokes helped with spacing — I placed a light near every third spoke, sticking to the same side of each spoke for consistency (e.g., to the left of each).
You’ll need a handle to attach to the axle. I’ve used handles from paint rollers — the cheap skinny kind works great. Or you can drill out a dowel slightly smaller than the axle and thread it in by twisting. Both methods work well!
∆
Thanks to earsaregood for the wheel. 😊

Testing one
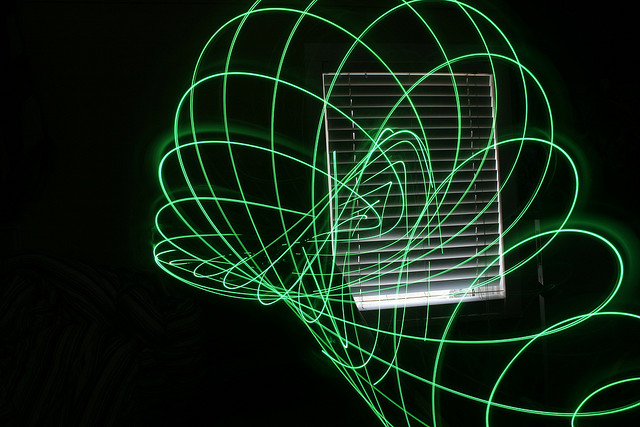
Testing two
Check out more of Dana’s Light Painting work at TwinCitiesBrightest.com and flickr.com/photos/twincitiesbrightest.