How to Light Paint a Peacock Effect – Step‑by‑Step Tutorial
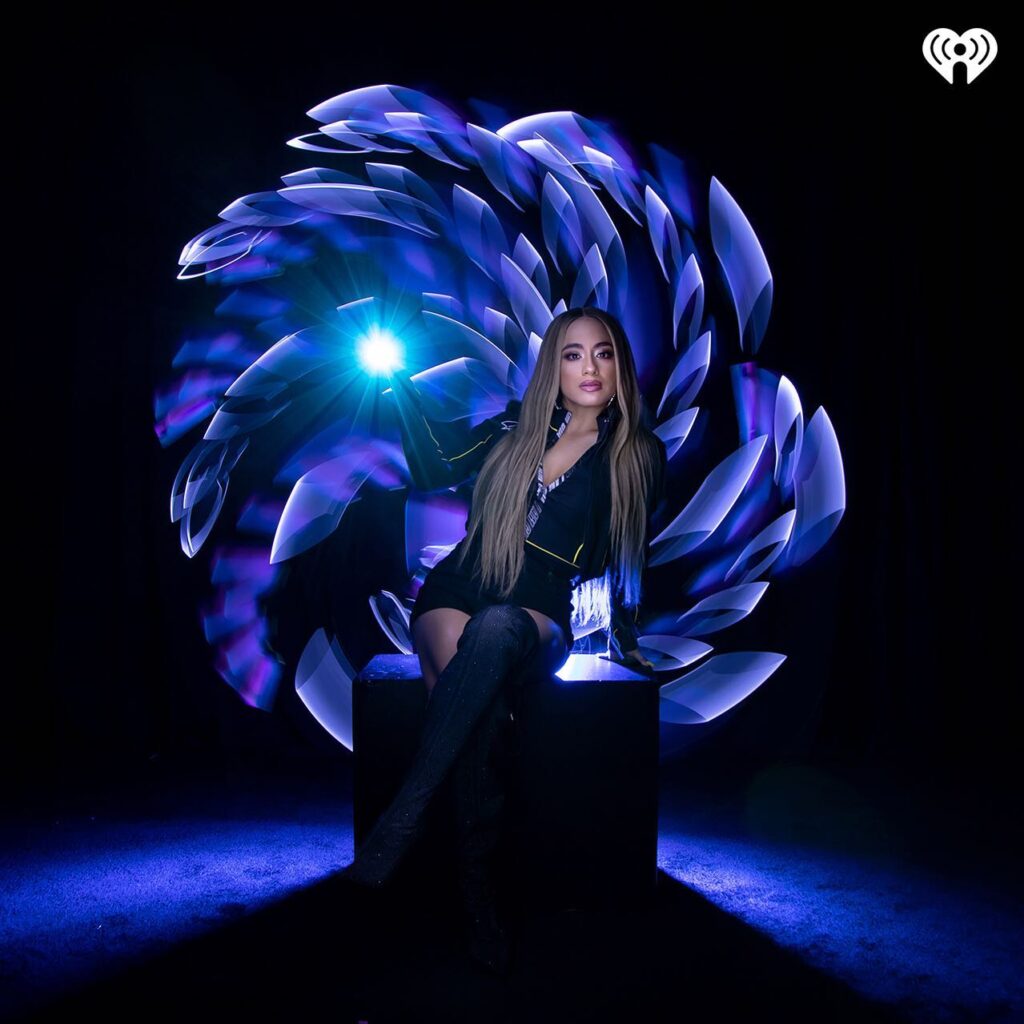
In this tutorial, Light Painting Artist Jason Rinehart presents his signature “Peacock” technique—creating dramatic feathered arcs of light that fan outward from a central point using tools from Light Painting Brushes. The result resembles a glowing peacock tail in one long-exposure frame.
🛠 What You Need
- Plexiglass tools from Light Painting Brushes
- Camera with Bulb mode
- Tripod
- Remote shutter release or timer
- A dark environment—studio or outdoors at night
📸 Recommended Camera Settings
- Shooting Mode: Bulb
- Shutter Speed: Approx. 50–90 seconds
- Aperture: f/8
- ISO: ~400
- Manual focus locked on starting position of the light tool
🎨 How to Create the Peacock Effect
- Set your camera on a tripod and frame your scene.
- Begin the long exposure.
- Sweep the light tool upward and outward in a smooth fan pattern.
- Create evenly spaced “feathers” radiating from center.
- Stop before exiting the frame, turn off light, then close the shutter.
✨ Creative Tips
- Combine multiple fan sweeps with different colors for layers.
- Use plexiglass for bold strokes.
- Practice your sweep motion at normal speed before firing long exposures.
📍 Helpful Notes
- Wear dark clothing to stay invisible in the exposure.
- Pre‑visualize the maximum reach of your fan before lighting up.
- Use a remote shutter or intervalometer to minimize camera shake.