Light Painting Photography

For the promotion and progression of Light Painting Art and Artist.

  • Home
  • Blog
  • History
  • Artists
    • Dean Chamberlain
    • Eric Staller
    • Susan Sims-Hillbrand
    • Vicki DaSilva
    • David Lebe
    • Troy Paiva
    • Bruno Mesrine
    • Chanette Manso
    • Patrick Rochon
    • Aurora Crowley
    • LAPP-PRO
    • JanLeonardo
    • Lightmark
    • Arturo Aguiar
    • Pete Eckert
    • Trevor Williams
    • Michael Bosanko
    • Jason D. Page
    • Nocturne
    • Brian Hart
    • Jeremy Jackson
    • Janne Parviainen
    • Jadikan-LP
    • Dana Maltby
    • Lichtfaktor
    • Dennis Calvert
    • TigTab
    • Hannu Huhtamo
  • Tools
    • Light Painting Brushes Starter Kits Introduction
    • Fiber Optics Light Painting Tools for Photography
  • Tutorials
    • Beginner Light Painting Tutorials
    • Light Painting Tutorials by Artists
    • Light Painting Tool Tutorials
    • Kinetic Light Painting Tutorials
    • Light Painting with Fire Tutorials
    • How To Light Paint A Flower
    • Light Painting Photography Tutorial: The Spiked Orb
    • How To Light Paint a Faberge Orb!
    • No More Orb Feet – Light Erases Darkness
    • The Tinfoil Light Painting Technique
    • How To Light Paint A Ghost
    • Electric Orb Light Painting Tutorial
    • Spirographs and Physiograms Tutorial
    • On Camera Light Source
    • Off Camera Light Source
    • Orb Techniques
    • Steel Wool Tutorial
    • Custom White Balance
    • Omnidirectional Light Cap
    • Gel Holder
    • Simple Orb Tool
    • 4 Ways to Add Color to your Plexiglass Light Painting Brushes
    • Driving Shots at Night
    • Wire Wool Spinning
    • El Wire Tutorial
    • Light Stencils
    • Orbs
    • Dome Tutorial
    • Battery Operated Cathode
    • Light Wheel
    • Double Wheel
    • Fire Wall Tutorial
    • Fire Rain Tutorial
    • Smoke
    • How To Light Paint with the Polaroid One Step +
    • How To Focus In The Dark
    • Light Painting Tutorial The Peacock Technique
    • How To Shoot Defocused Fireworks Tutorial
    • Drone Light Painting Tutorial
    • Light Stencil By Trevor Williams
    • Andrew Whyte Dome Tutorial
    • Light Painting Workshop by Patrick Rochon
    • Rob Turney Refractographs
    • SpiroJib by Johnny Griffin
    • Lens Swap Light Painting Tutorial
    • Camera Rotation Light Painting Tutorial
  • Videos
    • Light Painting Documentaries
      • Jason D. Page Documentary
      • Ball of Light
      • Night Photography: Finding Your Way In The Dark
      • Lightpainted Reality
      • SeeMe | In Focus : Pete Eckert
      • Pete Eckert – Dancing on The Edge of Perception
    • Dean Chamberlain
    • Vicki DaSilva
    • Patrick Rochon
    • Lichtfaktor Light Painting Videos
  • Terms
  • Links
  • Connect With Us!
  • About
You are here: Home / Blog

Light Painting Break Down: Insider by Tim Gamble and Chris Thompson

June 22, 2016 by Jason D. Page

Light-Painting-Tim-Gamble-Insider

From time to time we come across a light painting and just stare it wondering how the F@#! did they do that?!?! Break Down is a series if which I only ask the artist one question “How the F@#! did you make this” its up to the artist to tell as little or as much as they want. For this Light Painting Breakdown Tim Gamble talks us through how he and fellow light painter Chris Thompson created the above image titled “Insider”

So Tim how the F@#! did you make this?

I’ve been a massive fan of silhouettes within silhouettes since seeing awesome work from LED Eddie and Mart Barras. I had also seen some images from people on Instagram which whilst being pretty visually appealing they were created in F%?#ing Photoshop. I saw one which involved a hooded top being pulled open by the model to reveal something lurking inside. Always keen for a challenge I decided to give it a try in-camera as it’s always way more fun that way.

Firstly I needed a suitably dark and moody spot to shoot this in and I headed to my favorite lime kiln with Chris Thompson. This was the first outing with Chris T’s new softboxes and I knew the quality of light from them would work a treat for the first part of the exposure. We set one up on either side of me with a Yongnuo 560iv in each.

Next we worked out the best settings and light positioning to gain perfect exposure on the Parka. I had already worked out the best way to keep my face and torso from exposing and that was to wear my favorite black light painting hoodie back to front. Whilst looking incredibly strange it worked a treat. It was really important that no light fell on those areas so as to keep a blank canvas for the inner silhouette.
Light-Painting-Insider-Set-Up-by-Tim-Gamble

Once happy with that aspect we added another light directly behind me about 8 feet away. Another Yongnuo 560iv on full power @24mm gelled “Jaffa Cake” orange to add a slight separation light or rim light and to expose some of the stonework in the kiln. The final piece of the first part of the exposure was to add the laser which was stuck with gaffer tape to the top of the rim light. I filled the air with Vape from my e-cigarette and through trial and error nailed down how long the laser needed to expose correctly. Once happy we moved onto the second part of the exposure.

As I was with the net curtain waving champion of the world I knew that was the effect I wanted to create the fire for the silhouette. Orange gel on my led lenser P7.2 and the Light Painting Brushes Universal Connector as a snoot.

I stand still and Chris frantically wafts the net curtain up and down whilst lighting it with the gelled torch from behind me. We had to work out where I was to stand so I didn’t interfere with the first part of the exposure. The cherry on the cake was the flare from the middle of my chest. Once happy, markers were placed on the floor and it was time to put it all together in one go.

I turned live view on so Chris could position me in a central position, ensuring both of my hands stayed in the frame. I filled the kiln with vapor from my e-cigarette, pulled my black hoody over my face, turned on the laser, torch off and I fired the shutter.

Chris fired the soft boxes and rim light with the radio trigger and we let the laser burn in whilst I held still. 30 seconds of laser and Chris replaced the lens cap. I made my way to my second position and turned off the laser. Chris removed the lens cap and made his way behind me with the torch and the net curtains. After Chris had finished expertly waving them around for the flames he passed me the torch and I popped it on full power for less than a second for the flare held in the middle of my chest.

Shot on a Canon 650D, Tokina 11/16mm, 3 x Yongnuo 560iv flashguns, 2 x Photo-R 24” x 24” softboxes with stands, 1 x green laser pointer, vape from my e-cigarette (smoke bombs would do), 1 x Light Painting Brushes Universal Connector as a snoot and a Led Lenser P7.2.

Settings.
12mm,
F7.1,
Iso 100,
223 seconds
Auto White Balance.
3 x Yongnuo 560iv’s full power @24mm.

A massive “big up” to Chris Thompson for his help in realizing this shot. Without him I’d still be there now. Cheers.

This is some freaking incredible work and thank you to Tim for sharing some of his secrets! Below are a few more stunners from Tim using a similar technique! Check out more of of Tim’s work HERE and you can find Chris right HERE.


Filed Under: Break Down, Light Painting Photography

Ignite a Light Painting Stop Motion Animation by Daniel Barreto

June 17, 2016 by Jason D. Page

Ignite Light Painting by Daniel Barreto

Check out this awesome Light Painting Stop Motion Animation by Daniel Barreto. Daniel created this piece from hundreds of single exposure light paintings using a Pixelstick and LED Light Wands.

Filed Under: Light Painting Photography, Light Painting Video, Stop Motion

Using Light Painting to Visualize Radiation at Chernobyl and Fukushima

June 11, 2016 by Jason D. Page

Light Painting Radiation in Chernobyl by Greg McNevin 01
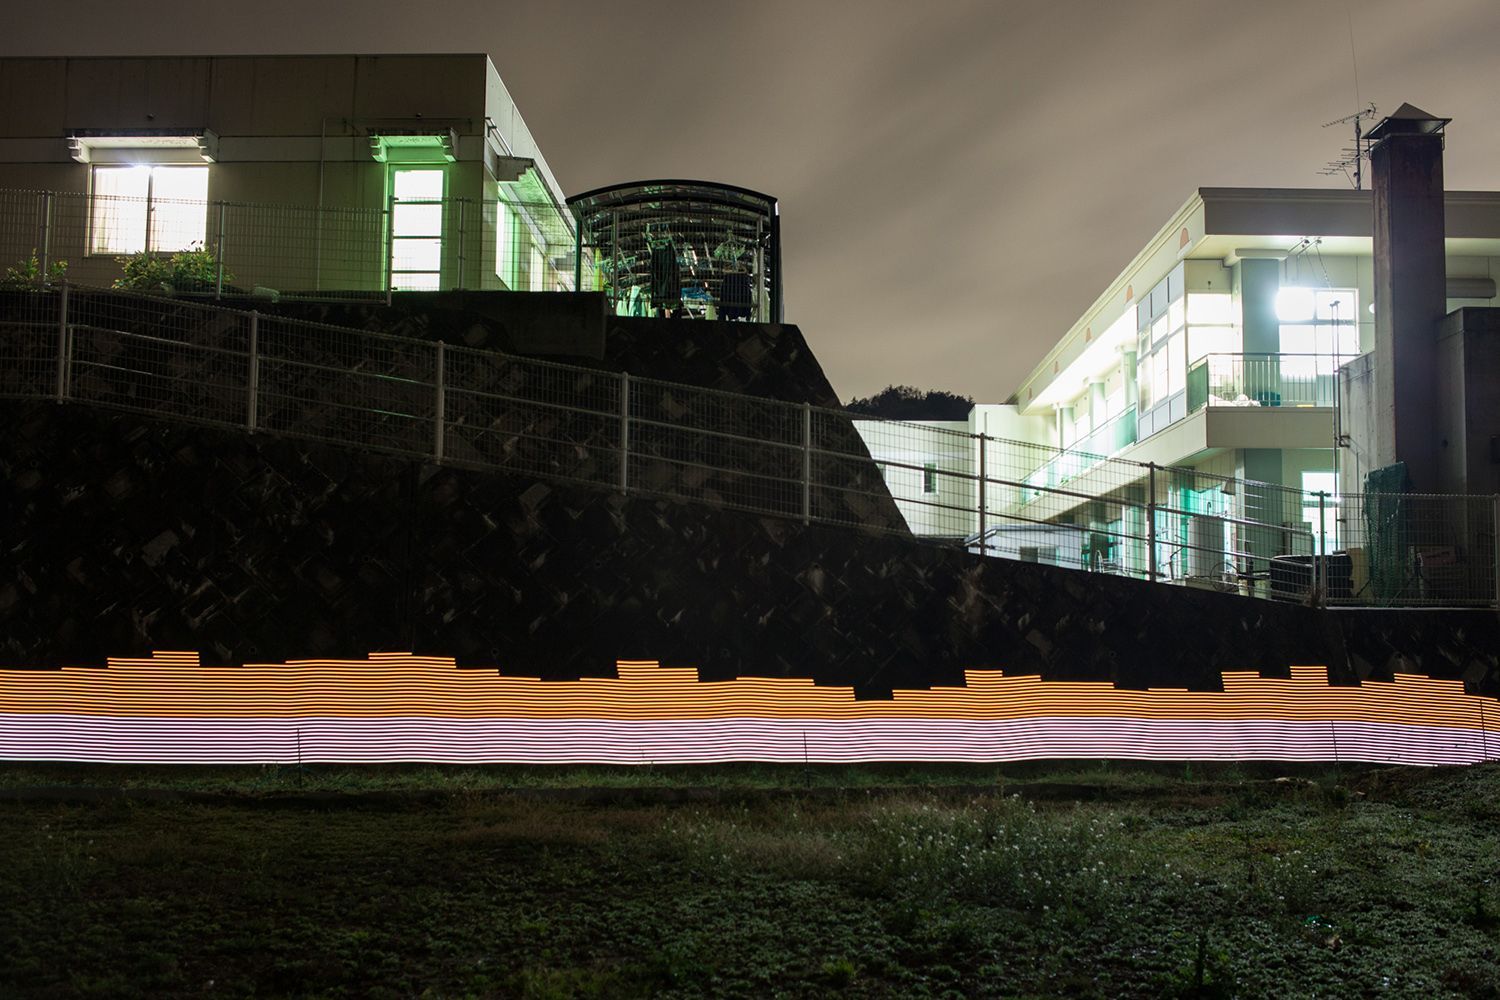
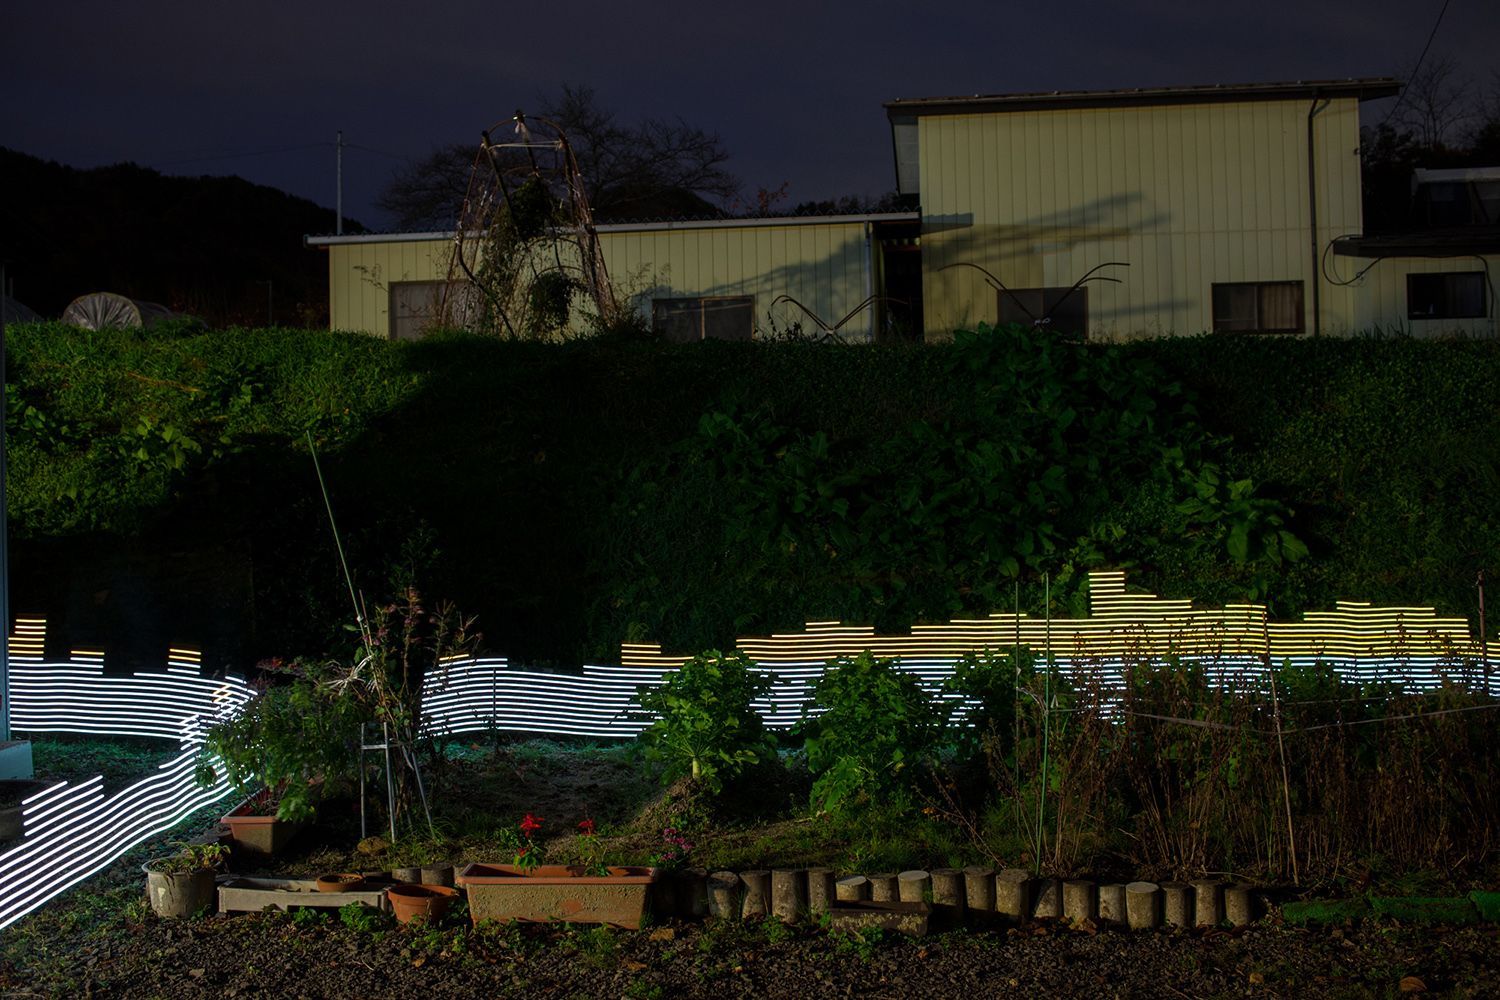
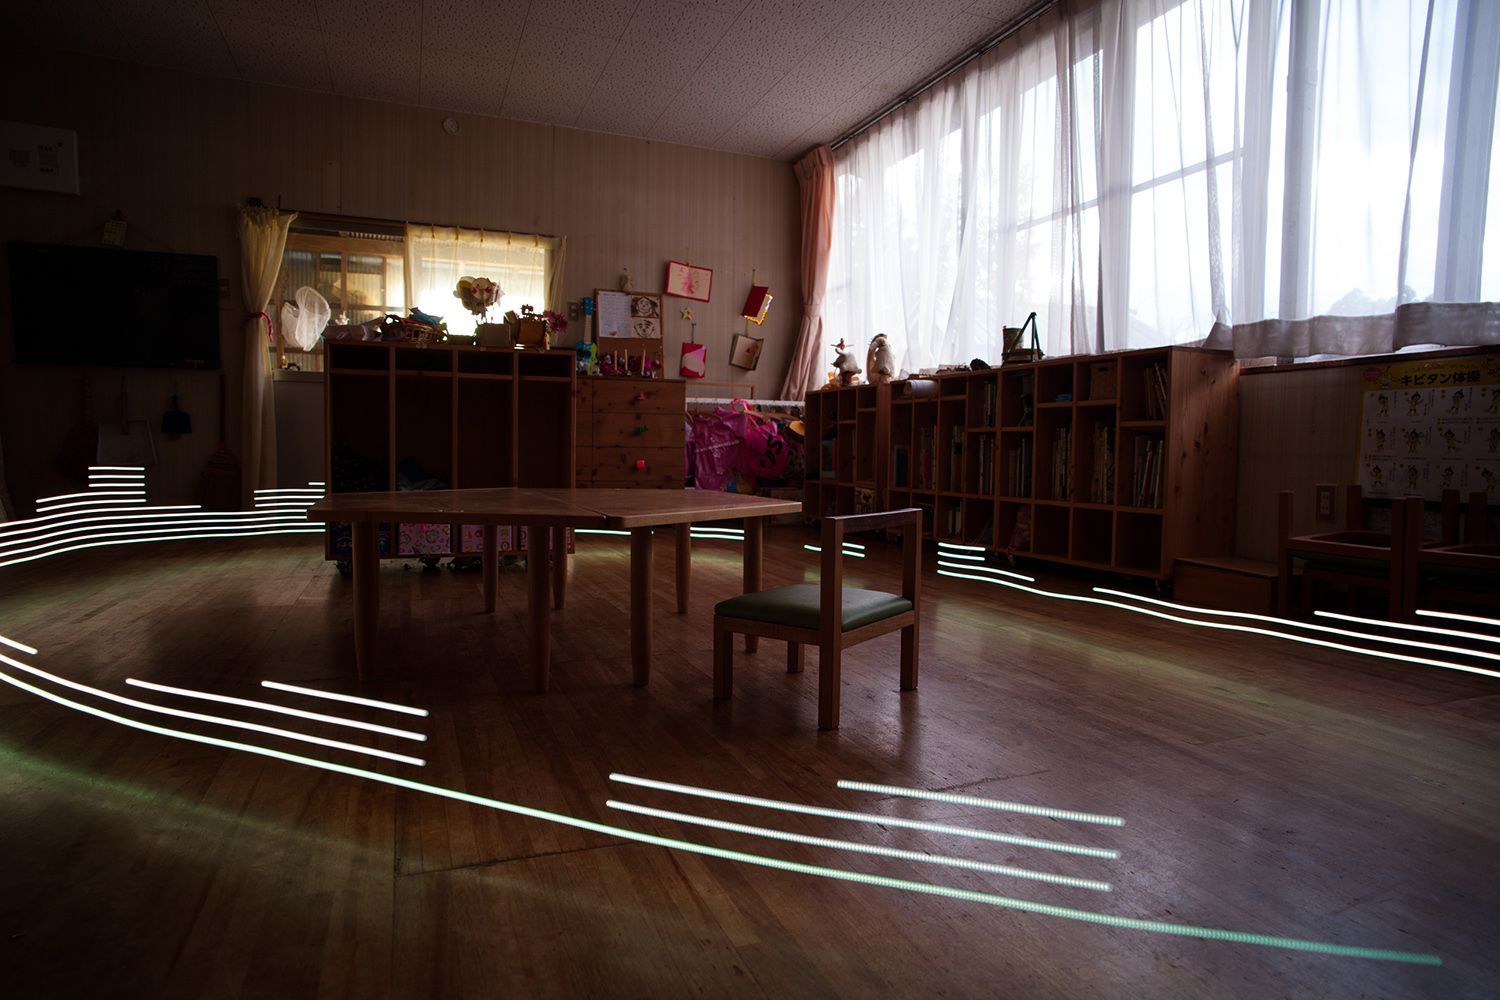
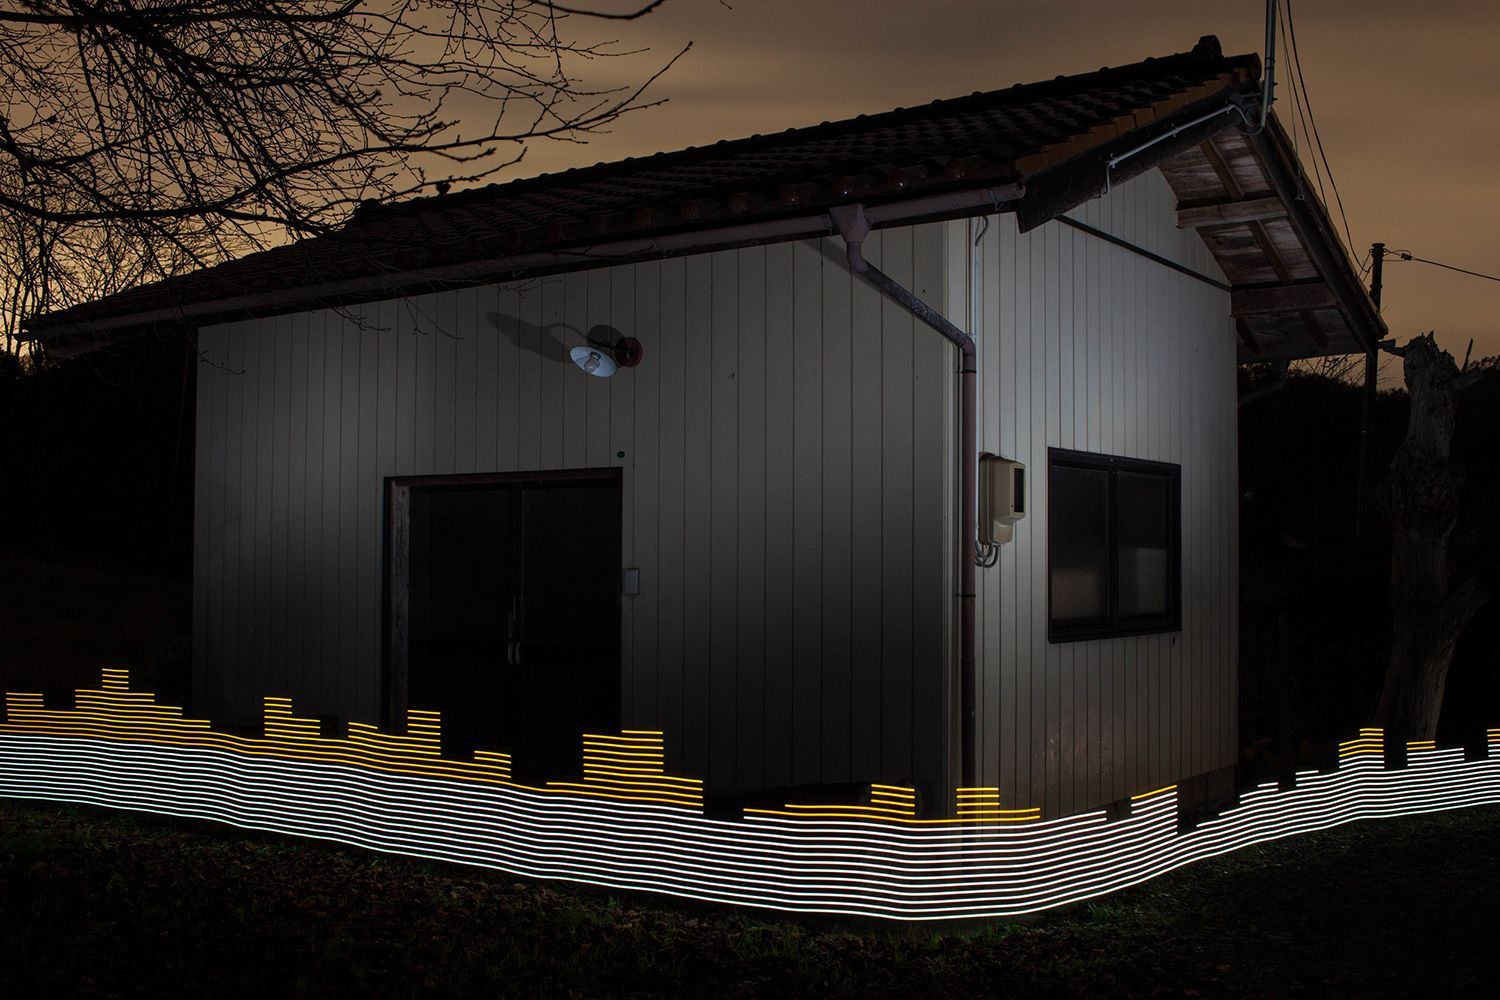
You might remember Greg McNevin’s previous light painting project called Immaterials a project that explored the invisible terrain of WiFi networks in urban spaces by light painting signal strength in long-exposure photographs. Greg’s most recent light painting work has taken the technology that he developed from Immaterials and adapted it to show the invisible killer that is radiation in two of the world’s most contaminated places, Chernobyl and Fukushima.
Light Painting Radiation in Fukushima by Greg McNevin 06

Greg created light paintings working along side Greenpeace by using a programmable LED light rod connected to a Geiger counter that would output an analog signal. The signal was then converted into a light display on the LED light strip via the onboard Ardunio controller.
-White light showed levels of radiation the governments viewed as acceptable for 8 hours of exposure.
-Orange light showed levels of radiation the governments suggested protective measures should be considered to prevent radiation exposure.
-Red light showed levels of radiation where protective measures we necessary.
Light Painting Radiation in Fukushima by Greg McNevin 02
Testing areas that the governments had “Decontaminated”, some areas 30 years after the disaster, Greg consistently recorded radiation levels elevated above the official acceptable guidelines. Greg says his lightmapping series isn’t a critique of governments’ decontamination efforts, rather it is a visible demonstration of long-term effects of Nuclear Disaters.


Read more about this project on Greg’s website HERE.

Filed Under: Light Painting Photography

Darren Hopkins Plexiglass Light Painting Color and Texture Tutorial

June 4, 2016 by Jason D. Page

LPB & Liteblades 8

Light Painting Photographer Darren Hopkins has been doing some amazing things using his plexiglass light painting tools. The colors and light textures he has been producing are simply beautiful. I asked Darren if he would share some of his secrets with us and he provided this excellent light painting tutorial showing exactly what he is using to create his imagery.

Plexiglass Blade Light Painting Tutorial by Darren Hopkins:

In this tutorial I am going to explain how to get different textures and colors from the plexiglass blades, using simple items to customise them. I will also explain the camera settings I use and the techniques that work for me.

Kit-1
Equipment you will need:
Camera capable of bulb mode (or Long Exposure)
Tripod
Remote or Cable Shutter Release
Plexiglass Light Painting Attachment
Torch or Flashlight
Colored gels
Masking tape
Sellotape or Transparent Tape
Cling film

Customising the Blades

The tools that I use are the Light Painting Brushes Plexiglass Attachments and Patrick Rochon’s Liteblades, customised with colored gels, masking tape, sellotape and cling film.
With the Light Painting Brushes, I cut strips of colored gels to go around the edge of the blades and attach them with the sellotape. Using a combination of different colours on the edges to give an interesting effect when waved. I will also half cover some of the blades with extra large masking tape which gives a smoky/milky effect and is a nice contrast to the vivid edges.


I do a similar thing with the Liteblades. Put little pieces of coloured gels in the connecting part of the blade, again half cover with masking tape and use cling film around the base of the blade.

Set up

Set up is simple – just the camera on a tripod focused on the area where you will be waving the blades.

To set focus you turn the lights on. Mark the area where you will be working. Zoom in pull focus (either on manual or auto focus) once you have the focus set switch the camera to MANUAL focus and then pull back out and frame the shot. Switching the camera to manual focus will make sure the camera will remain in focus when the lights are off.

The camera settings I use are f/11, bulb mode, white balance daylight and ISO ranging from 100 to 320. I usually keep the settings the same and adjust the ISO until I’m happy with the results.
The lens is set at about 28mm for most of the shots (full frame); I stand about 1.5m – 2.0m away from the camera and use a remote to release the shutter.

There are two torches work with Partick’s Liteblades they are the Klarus XT12 and RS11, I use both of them. The Klarus torches have a maximum lumen output of 930 lumens, I sometimes use them on 1/2 power mode to get a pulse width modulation effect.

With the Light Painting Brushes Plexiglass you can use just about any torch attached via the Universal Connector. With the Light Painting Brushes I use the Klarus lights and I also use the LED Lenser M7 with a 400 lumen output.

Technique

The technique is trial and error but I’ve found some movements give more interesting results:

A twisting, stabbing motion towards the camera gives a messy textured look with the appearance of lots of layers and a bit of light flare as contrast.
LPB & Liteblades 8

Dragging the blade from left to right, swirling in the middle, gives a tidier look and can produce nice loops with different colors.


Swinging the blades out towards the lens and back to your body produces an arch of different colors.
LPB & Liteblades 3
LPB & Liteblades 7

I also hold two or three blades in one hand for these techniques, which gives more texture and interesting patterns as the light from one blade passes through another. Using the strobe mode on the torch also adds a different look.
LPB & Liteblades 9
LPB & Liteblades 10

Happy waving.

Check out more of Darren’s work at the links below:
Darren’s Facebook
Darren’s Instagram

Filed Under: Light Painting Photography

Light Painting Photography Contest Winner, May 2016

June 3, 2016 by Jason D. Page

Light Painting Contest 03 May 2016

And the winner for the March 2016 Light Painting Photography Contest is… Christina Salinas! Christina created the super cool winning image ⇧ above ⇧ using light stencils and a multitude of different light painting tools all in a single 196 second exposure. Christina is a Digital Photography teacher in northern California who loves to share light painting with her student, she will be donating all the new gear she receives in her prize package to her school and students! Here are all the steps Christina took to create the winning image:

Step #1: I created a (2) 8.5 x 11 black and white stencils with the Logo design (in yellow) & the Array in Red/orange
Step #2: I then made a light tight, exposure box to hold the stencil.
Step #3: I printed two copies of each stencil, placing them into a sheet protector and placing them on the exposure box, using straight pens to hold in place.
Step #4: Camera settings were set to ISO 100, F 14, Bulb Mode
Step #5: I used a cannon Speedlite flash and covered it with a yellow gel setting it to Manual, full power.
Step #6: I then locked my shutter with a cable release and exposed the Logo stencil using the flash &, and then switched the stencil to the array stencil. For this stencil, I used the Light Painting Brushes red & orange hooded gels exposing the edge of the array with red and orange in the middle.
Step #7: I then used the Godspeed lite blade along the edges of the stencil, moving every few inches around the stencil design.
Step #8: To finish the exposure, I raw processed the image and cropped to an 8×10.
This exposure lasted for 196 seconds.

To see more of Christina’s light painting work you can check out her LPWA profile HERE. For this fabulous creation Christina will receive a LPP prize pack filled with treasures from our sponsors below. Click here to see the current contest theme and find out how to enter to win your LPP prize pack!

Light-Painting-Brushes-Banner

Click here to see the current contest theme and find out how to enter to win your LPP prize pack!

Filed Under: Light Painting Contest, Light Painting Contest Winner, Light Painting Photography

« Previous Page
Next Page »

Copyright © 2026 · News Pro Theme on Genesis Framework · WordPress · Log in