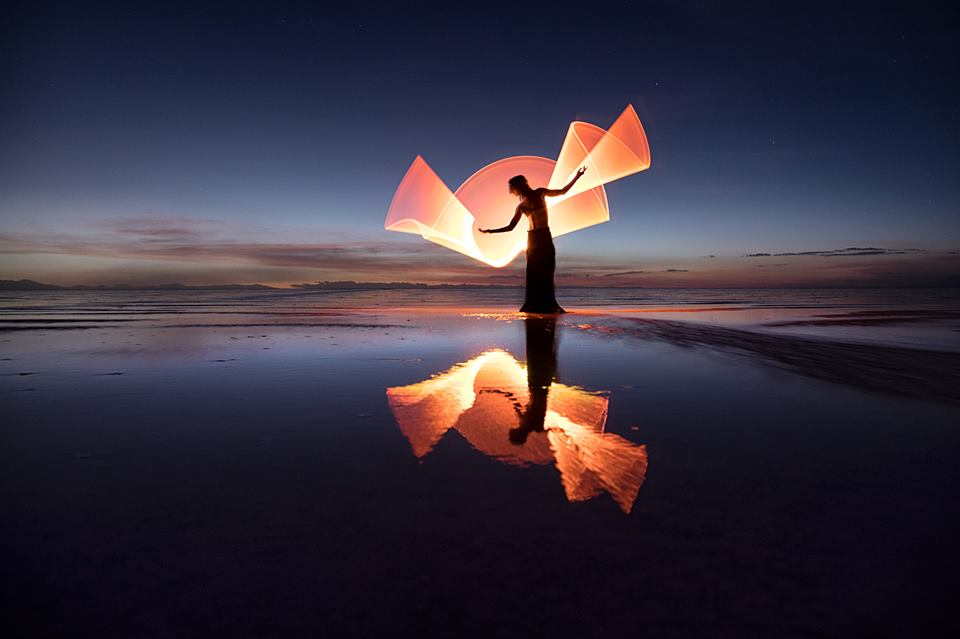
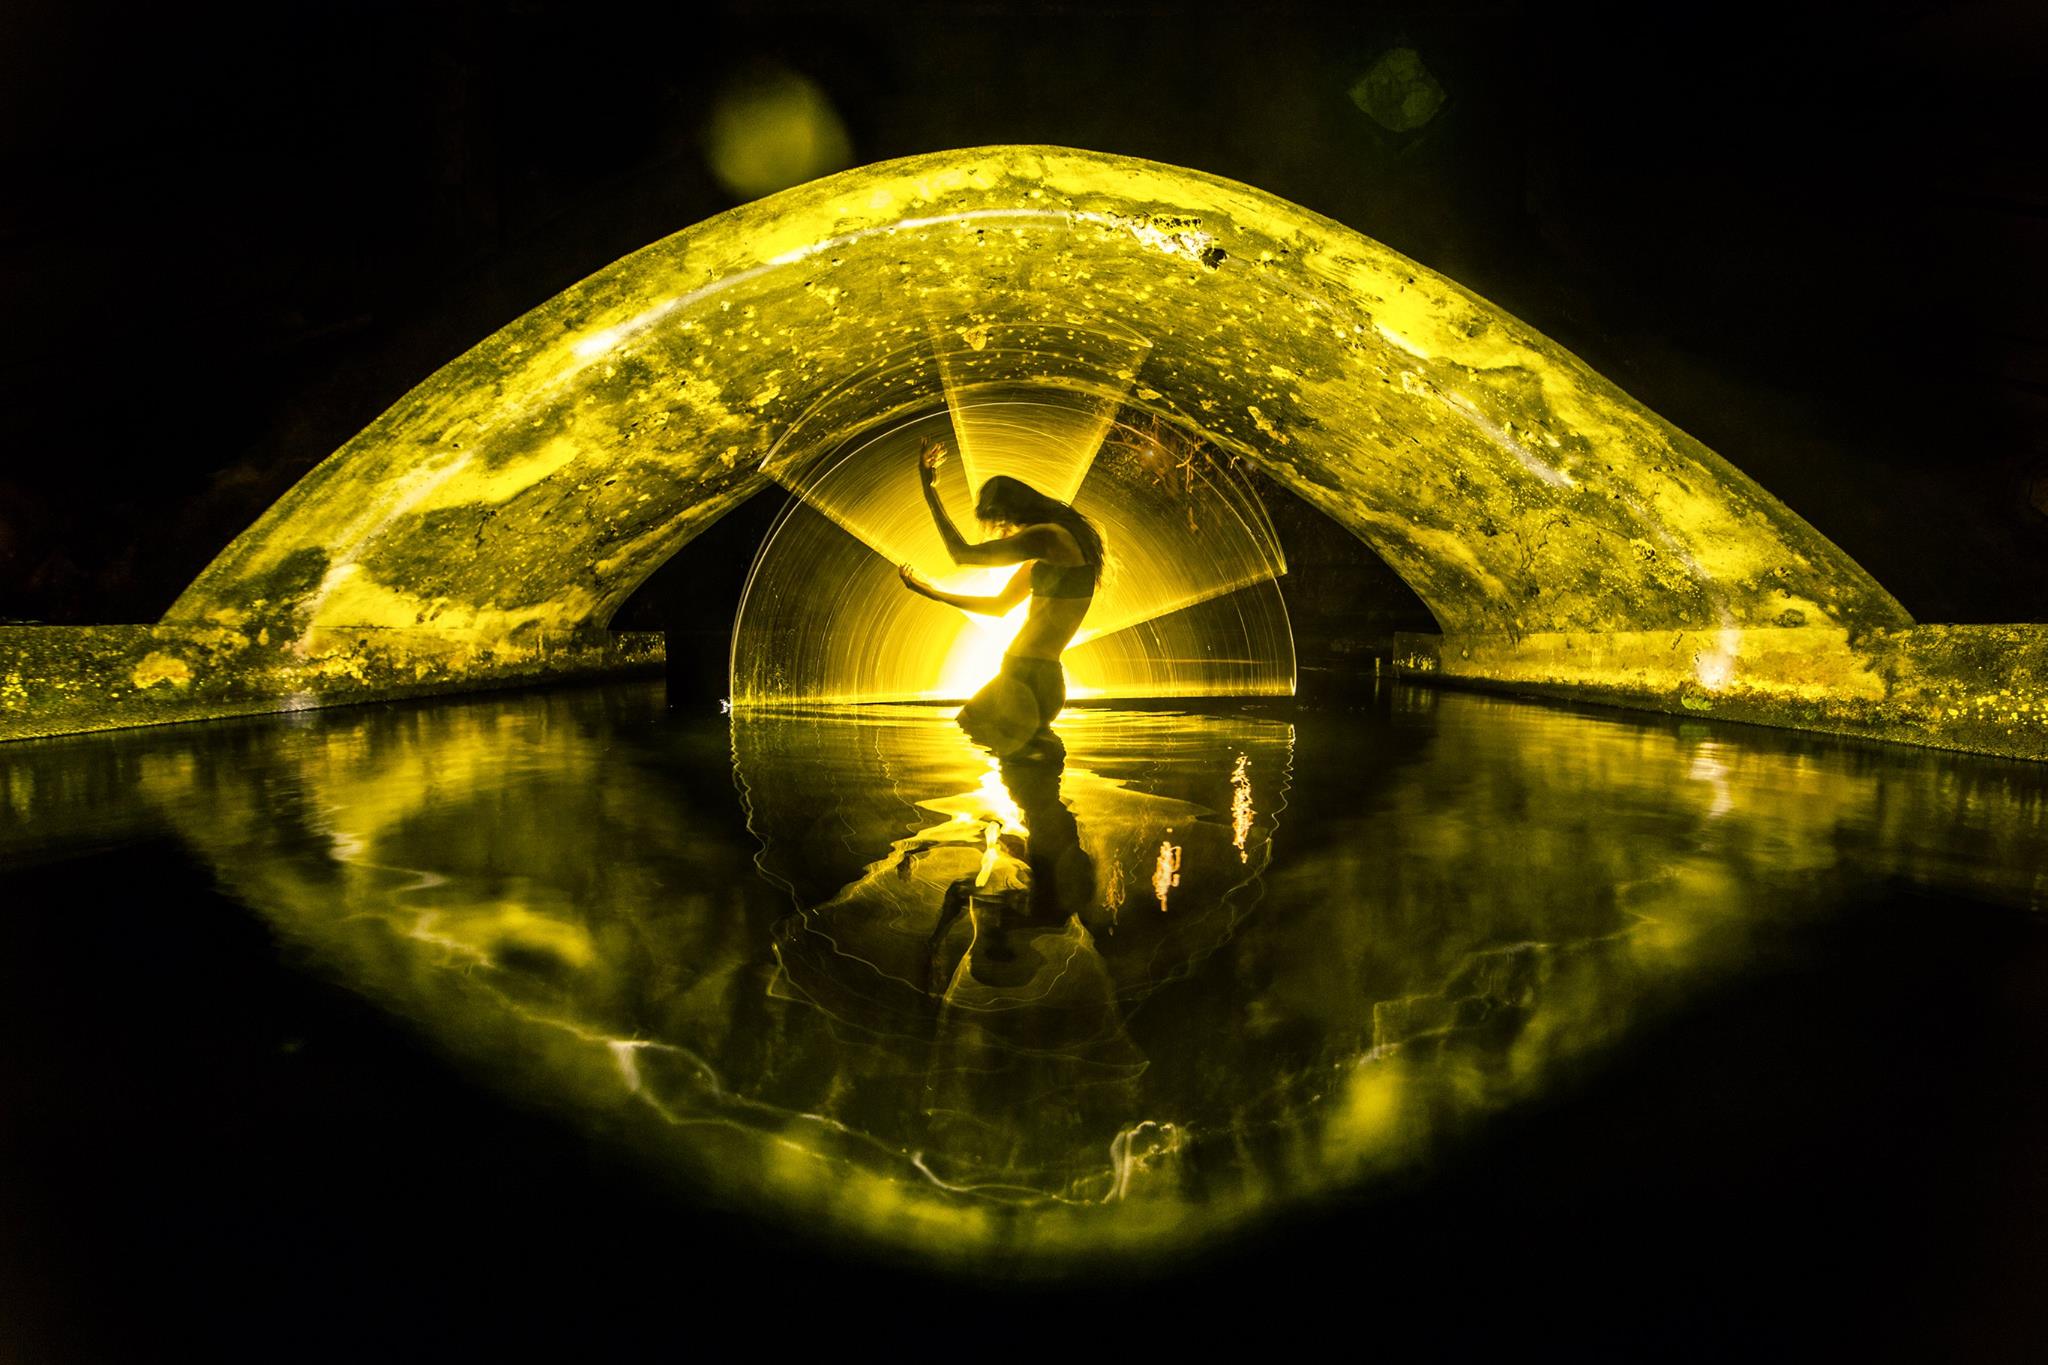
Tube Stories Episode 3 by Eric and Kim Thats A LOT of Tubes… Enjoy.
Light Painting Interval Exposure
Innovation is in the fabric of the Light Painting Photography Art Form and community. For many of us so is inventing and/or modifying our own tools and gadgets to create a specific effect that we are looking for. Dennis Berka is one artist that loves to create his own gadgets for light painting. Recently, while exploring new ways to capture fire in long exposures, Dennis came up with something entirely new that he calls Interval Exposure! This technique brings to mind the early Photoflash work of Gjon Mili, but instead of using a flash Dennis achieves his effect using a pretty cool invention! Enjoy.
Interval Exposure by Dennis Berka
Inspiration
At first I wanted to create a better way to capture fire in long exposures. The problem with fire in long exposures is that it usually gets burned out on the sensor. Fire has a lot of dark and bright details but they move around all the time. So I was looking for a way to prevent the bright details from burning out the dark details.
In the back of my head I had an article about the effect a rolling shutter created on fast movements and I thought this could be a good solution. But you would have to open and close the lens very fast, so putting someone next to the camera with a piece of cardboard was out of the question.
I designed a few discs with holes in them so once you let them rotate in front of the lens this would interrupt the exposure in intervals.
After the first experiments I soon realized that the wanted effect on fire could be achieved but the whole concept had the potential to do amazing things with any light source because it gives the light source an effect as if it had a strobe.
It is fascinating that no one tried this so far, seeing how simple and easy it is, but I guess you can say this for many things in life.
Structure
I took a geared 12V motor (around 720 RPM) with a PWM controller to adjust the speed and put this in a printed box. The box was easily mounted on a tripod and the axis of the motor left blank to be able to put different discs on it.
The great question is “how can someone design such a tool”. I have the advantage of using a 3D printer for my tool designs, so I was able to design and print this pretty easy. The files to print out this tool can be found on Thingiverse.
If you don’t have a 3D printer at your disposal you can use black acrylic to cut out the discs (or any other material that can be cut in stable discs of this size) just make sure the discs are balanced or they create a lot of wobble if spun fast.
As a connector to the motor axis you can use spacers for linear shafts used in mechanics. They are rings with small screws that can be attached to a shaft like the one on the motor. Simply glue one of these rings to the disc in the exact center.
There are probably a lot of other ways to do this and I am curious to see what designs others will produce!
After a few experiments I realized that a few different disc designs were very useful for different effects.
If you create a disc that has evenly distributed open and closed segments you half the exposure which gives any light source a strobe look. The speed and amount of open and closed segments controls how strong this effect is. You can see this effect most commonly in strobed flashlights or those dimmed with PWM. But you can apply this effect to any light source! No matter if it is fire, sparklers, a lamp or car trails.
Keep in mind that the amount of openings only influences the speed of the interval-effect. If you have a large variance in motor speed you just need one disc of this type.
If you use a disc that is mostly closed and only has small slits in it you get an effect that can be compared to shooting movement with a strobe flash. Because of the fast and short exposures any light source or lit object will appear relatively static on the photo. But keep in mind that even with small slits you will get a certain amount of movement blur depending on the speed of movement. Any light source (torches, sparklers, etc.) appears as if they are switched on and of real fast.
The amount of open segments in this type of disc influences the frequency of exposures. If you use wider segments you get more movement blur, if you use narrower segments you get sharper photo parts.
Keep in mind that you have to create the open segments with an edge along a line from the center of the disc to its circumference. This is because the further you go from the center the faster a point on a disc rotates. So if the open segments are wider at the outside the image gets exposed correctly everywhere. If the segment was the same width along its length the outer side of the photo would get less exposure then the inner side.
Usage tips
The most important thing to keep in mind is that the exposure is interrupted. This means that you increase your exposure time depending on how many open segments your disc has. If your disc has an even distribution of open and closed segments the exposure is halved. So if you would need 5 seconds for a scene to be lit correctly you will need 10 with the disc. With discs that have small slits this effect is even stronger. I use a disc that has two 10° slits, so only 20° of the whole 360° are open. This means that only 1/18 of the disc is open, which means the exposure time is multiplied by 18. One second exposure would then take 18 seconds.
You can combine this with normal techniques. So you could light a scene normally then cover the lens and put the disc in front of the lens and let it rotate, then remove the cover to create intervalled light streaks.
Also keep in mind that there will be a small gap between the lens and the disc, so any light that hits the disc from behind can be reflected into the lens and create flares and strange lights in your photo.

At the top right you can see some strange light that were created by reflections of colored light behind the camera.
Examples

Black fiber optics and a fast turning disc. The tips of the fiber optics create an awesome light rain effect
Conclusion
Even though this technique is really simple it has a lot of potential. I have tried out a couple of different lightpainting elements with it already and found out that it is worth to try it out on any old technique you know. It can create quite amazing effects even with techniques you know for years.
I have a lot more experiments planned for this, so stay tunes for even more examples and results.
I hope a few other light painters will adapt this technique and build their own interval exposure tools. Looking forward to see your amazing photos and results using this technique!
If you have questions you can reach Dennis on his Facebook page Ryu’s Lightworks.
Light Painting Tube Stories 2, by Eric Pare.
Light Art Digital Magazine 2nd Edition
The second Edition of Light Art Digital Magazine is out and it is full of amazing images interviews! Download it for free right here!
Light Art Congress Speeches from Oviedo
All of the speeches from the second International Light Art Congress in Oviedo Spain have been uploaded to the intrawebs! If (like me) you were not able to attend this awesome light painting photography event at least you can check out some of the speeches from some of the leaders of the light painting movement! Below is an interesting one from light painting pioneers Lichtfaktor and all the links to the rest are below! Enjoy.
HANNU HUHTAMO “From light art to social art” [LightArtOVD 2016] (EN)
https://youtu.be/HD18nKI5CiI
PALA TETH “A little touch of magic and a big bunch of fireworks” [LightArtOVD 2016] (EN) https://youtu.be/XsOv8WlteRo
DAN WHITAKER “Organized chaos and seeing things from a different angle” [LightArtOVD 2016] (EN) https://youtu.be/Lhe3Sp4FViI
CHANETTE MANSO “Light or matter” [LightArtOVD 2016] (EN)
https://youtu.be/3E17ryQDi_s
JADIKAN “Relief Lightpainting Photography, another perspective” [LightArtOVD 2016] (EN) https://youtu.be/39fbFH_MI1E
ADRIESPELEO “Fotografía nocturna de naturaleza y mundo subterráneo” [LightArtOVD 2016] (ES) https://youtu.be/QTlSEItQh6s
MASS “The Light and the Body” / “Contorsiolight” [LightArtOVD 2016] (ES & FR) https://youtu.be/f0pPz_BmFms
ELEMENTAL LIGHT “Luz elemental” [LightArtOVD 2016] (ES)
https://youtu.be/V5Vpnz16r-o
DARKREDTEAM “Evolución en el light painting de DARKREDTEAM” [LightArtOVD 2016] (ES) https://youtu.be/cDqLN_xutxI