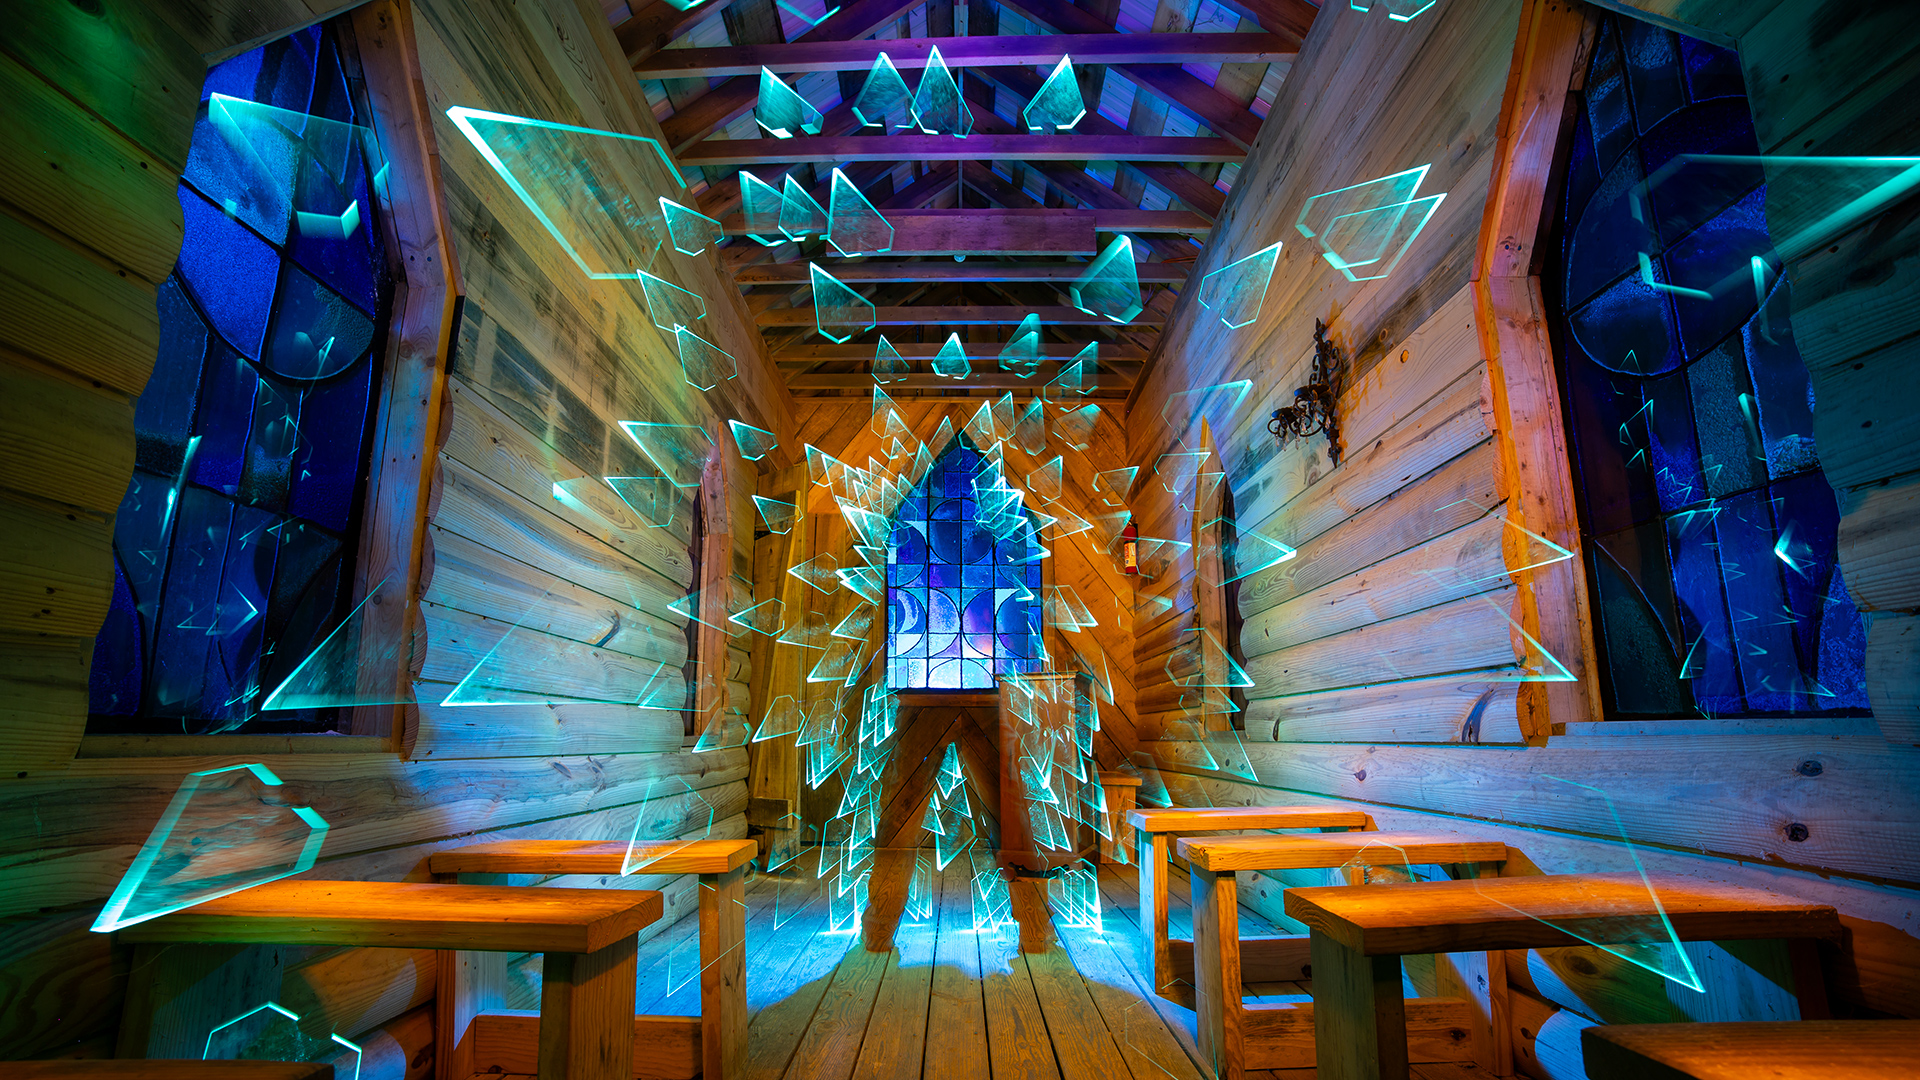
Light Painting 101: A Beginner’s Guide to the Art of Moving Light Through Space and Time
Welcome! I’m Jason D. Page, founder of LightPaintingPhotography.com and inventor of the Light Painting Brushes system. This guide will teach you the fundamentals of Light Painting—an expressive, inclusive art form created through the movement of light over time, captured in a single photographic frame using a long exposure.
🎨 What is Light Painting?
Light Painting is the movement of light, through space, over time. The Art Form of Light Painting is recorded using the photographic Technique of long exposure photography. Light Painting is not just a technique—it’s a distinct art form. Just as a canvas captures the brush strokes of a traditional painter, the camera captures the movement of Light through space, over time.
🧭 The Three Main Light Painting Techniques
- Light Drawing – The light source is seen by the camera (like orbs or light writing).
- Light Painting – The light source is hidden, and only the projected light is captured (used for landscapes, portraits, etc.).
- Kinetic Light Painting – The light stays still and the camera moves (like camera rotation or zoom pulls).
🧰 Gear You’ll Need
- A camera capable of long exposure (DSLR, mirrorless, cell phone with app)
- A tripod for stability
- Universal Connector + Light Painting Tools
- A flashlight or torch (preferably 1000 lumens or more)
- Dark clothing (to stay invisible in the frame)
📷 Camera Settings: Start Simple
- ISO 100-400
- Aperture: f/8
- Shutter: Bulb or 15–30 seconds
Use a brighter light or move slower to make your Light Painting appear stronger. Lower the aperture (f/11+) to give yourself more time. Every Light Painting is a recipe—mix light, movement, and settings to get your magic.
🎯 How To Focus in the Dark
- Always use manual focus when Light Painting. You can use auto to get your focus but always go to manual before you open the shutter of your camera to record.
- Illuminate your subject or scene with a flashlight, focus on auto then set focus to manual.
- Or place a light where you’ll be standing in the scene, focus on the light, switch to manual focus.
💡 Light Painting Examples + Video Tutorials
Explore signature techniques like:
📍 Where to Shoot
The darker the location, the better. Avoid light pollution when outside. Studios give you full control. Always scout your location during daylight for safety.
🛡️ Safety First
- Scout your location during the day
- Go with a buddy when possible
- Bring bear spray if in the wilderness
- Let someone know where you are
🧪 Ready to Create?
- Set up your camera on a tripod
- Dial in your basic settings (ISO100 – F8 – 30 Seconds)
- Focus using a flashlight, make sure your on manual focus
- Trigger the shutter and start painting with light
- Review your image and adjust light or movement as needed
🔗 Learn More
✨ Every trace of light is a reflection of where you’ve been. Create freely, the most important thing you can do when you are Light Painting is have fun.