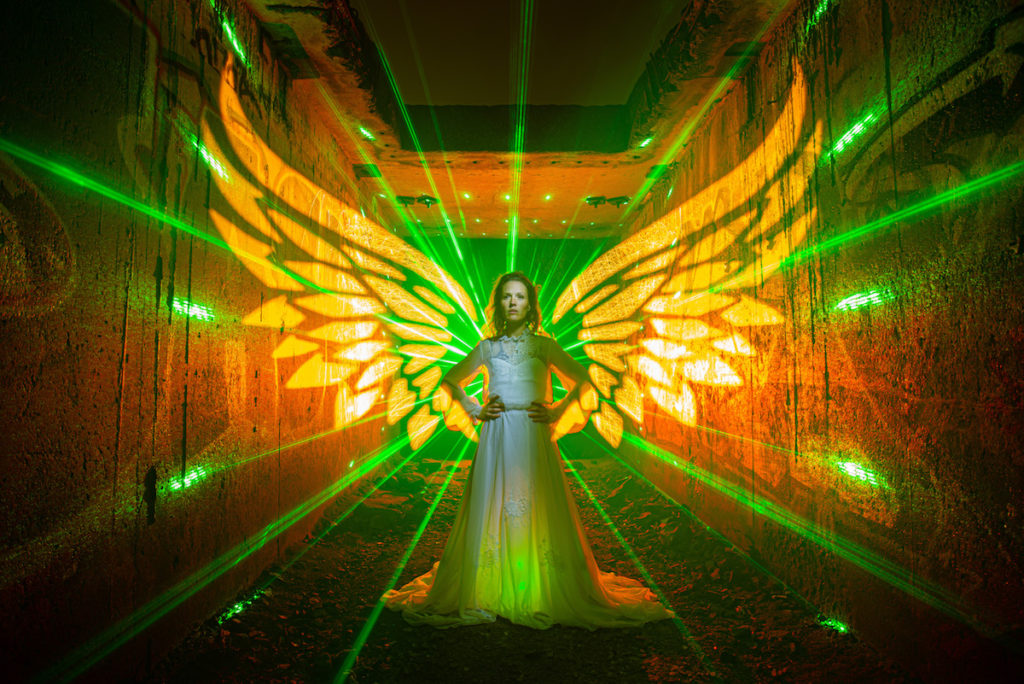
 The winner of the Light Painting Photography Contest for May 2020 is… Kim Von Coels for the image you see above! Kim took a unique approach to creating her wings for this winning image read on to see exactly how it was done!
Tools Needed:
Camera on tripod with cable release.
Stencil on stand with clips Laser on stand.
Smoke pellets and lighter.
Steel wool.
With a chain and clip for spinning.
Portrait scanner.
Or small handheld flash for front light.
Strong torch for backlight with coloured filters.
I used a LedLenser xr21.2 and some hand cut gels.
Fantastic model
Assistant (if you have one) in this case it was Phill Fisher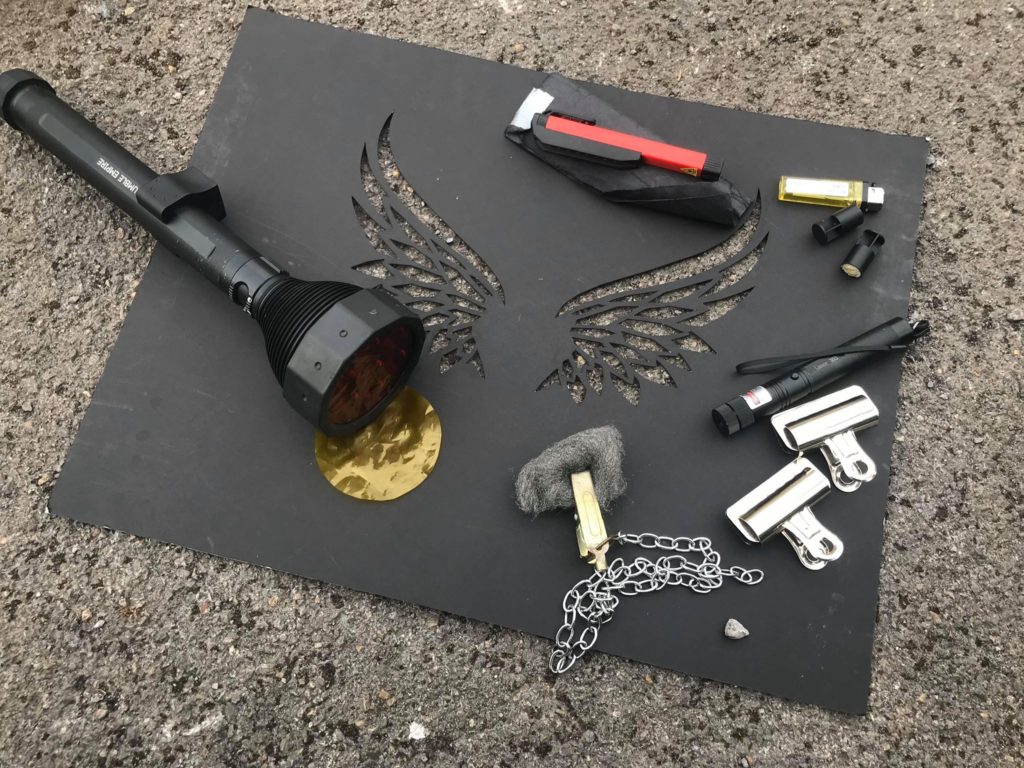
How to: Firstly you need to line up all the elements of your shot. Laser at the very back on a stand. Model in the centre. With plenty of space between the model and the laser so you can spin the steelwool. Stencil stand infront of the camera. I attach my stencil with clips to the stand so I can swing it in and out of the shot.


Then I compose my shot. Make sure the model is central. I use the focus box in the view finder so I know its exactly right. I then focus on the model and turn my focus to manual. I mark the ground where the model is standing so I don’t always need to refocus.
Once everything is lined up and in focus I bring the stencil in and line it up in my viewfinder. I know where the model is because of the focus box. When the stencil is in shot I cannot see the model so its important to have a reference so I can line the stencil up with the model perfectly.
Once everything is ready the process is as follows:
1. Start exposure using bulb mode and shutter release cable.
2. Steel wool spun behind the model.
3. Backlight with yellow filter shone onto the walls to fill the rest of the stencil where the steel wool didn’t reach (in my case we shot in a tunnel so the steel wool bounced off the walls and didn’t reach the tips of the wings)
4. Move stencil out of the way.
5. Backlight model with red filter.
6. Front light the model either with a portrait scanner or little hand held flash.
7. Light smoke pellet and fill area with smoke to make the laser beams stand out in the picture.
8. End exposure.
Repeat until all elements if the picture are satisfactorily balanced. In my case i think we did about 20 attempts before we were truly happy. Pro tip: be fussy!!!! Dont be satisfied unless its perfect. Do it again. Persistence pays off.


For this winning Image Kim will receive a prize package filled with light painting tools and treasures from our sponsors COAST Flashlights, Neon Flexible, Rosco and Light Painting Brushes ! Please support these awesome companies that support our light painting art from, without them this contest series would not be possible! If you would like to enter the next Light Painting Photography contest click here for all the details.


Cha says
Excellent. Go girl.
christina salinas says
I love this!!!! Congrats Kim, well done!!
Karin says
Dear Kim, congrats at your Pic! Your stencils are very fine and extraordinary!
Rob Wazny says
Great process. I had thought you used a pixel stick or something like that. This is way cool. Congratulations on your win. Well deserved.
Donna says
Congratulations Kim, great image, love your stencil work.